Configuring an API in APIgator
APIgator protects data in transit through APIs and gateways. It deploys alongside your existing gateway and secures data in JSON, XML, or streaming formats (Kafka, Solace, and more) using REST or gRPC.
This guide walks through configuring how APIgator recognises and protects the fields in one API's payload, then testing that configuration before it goes live.
Portal Navigation
1. Navigate to https://portal.exate.co/home
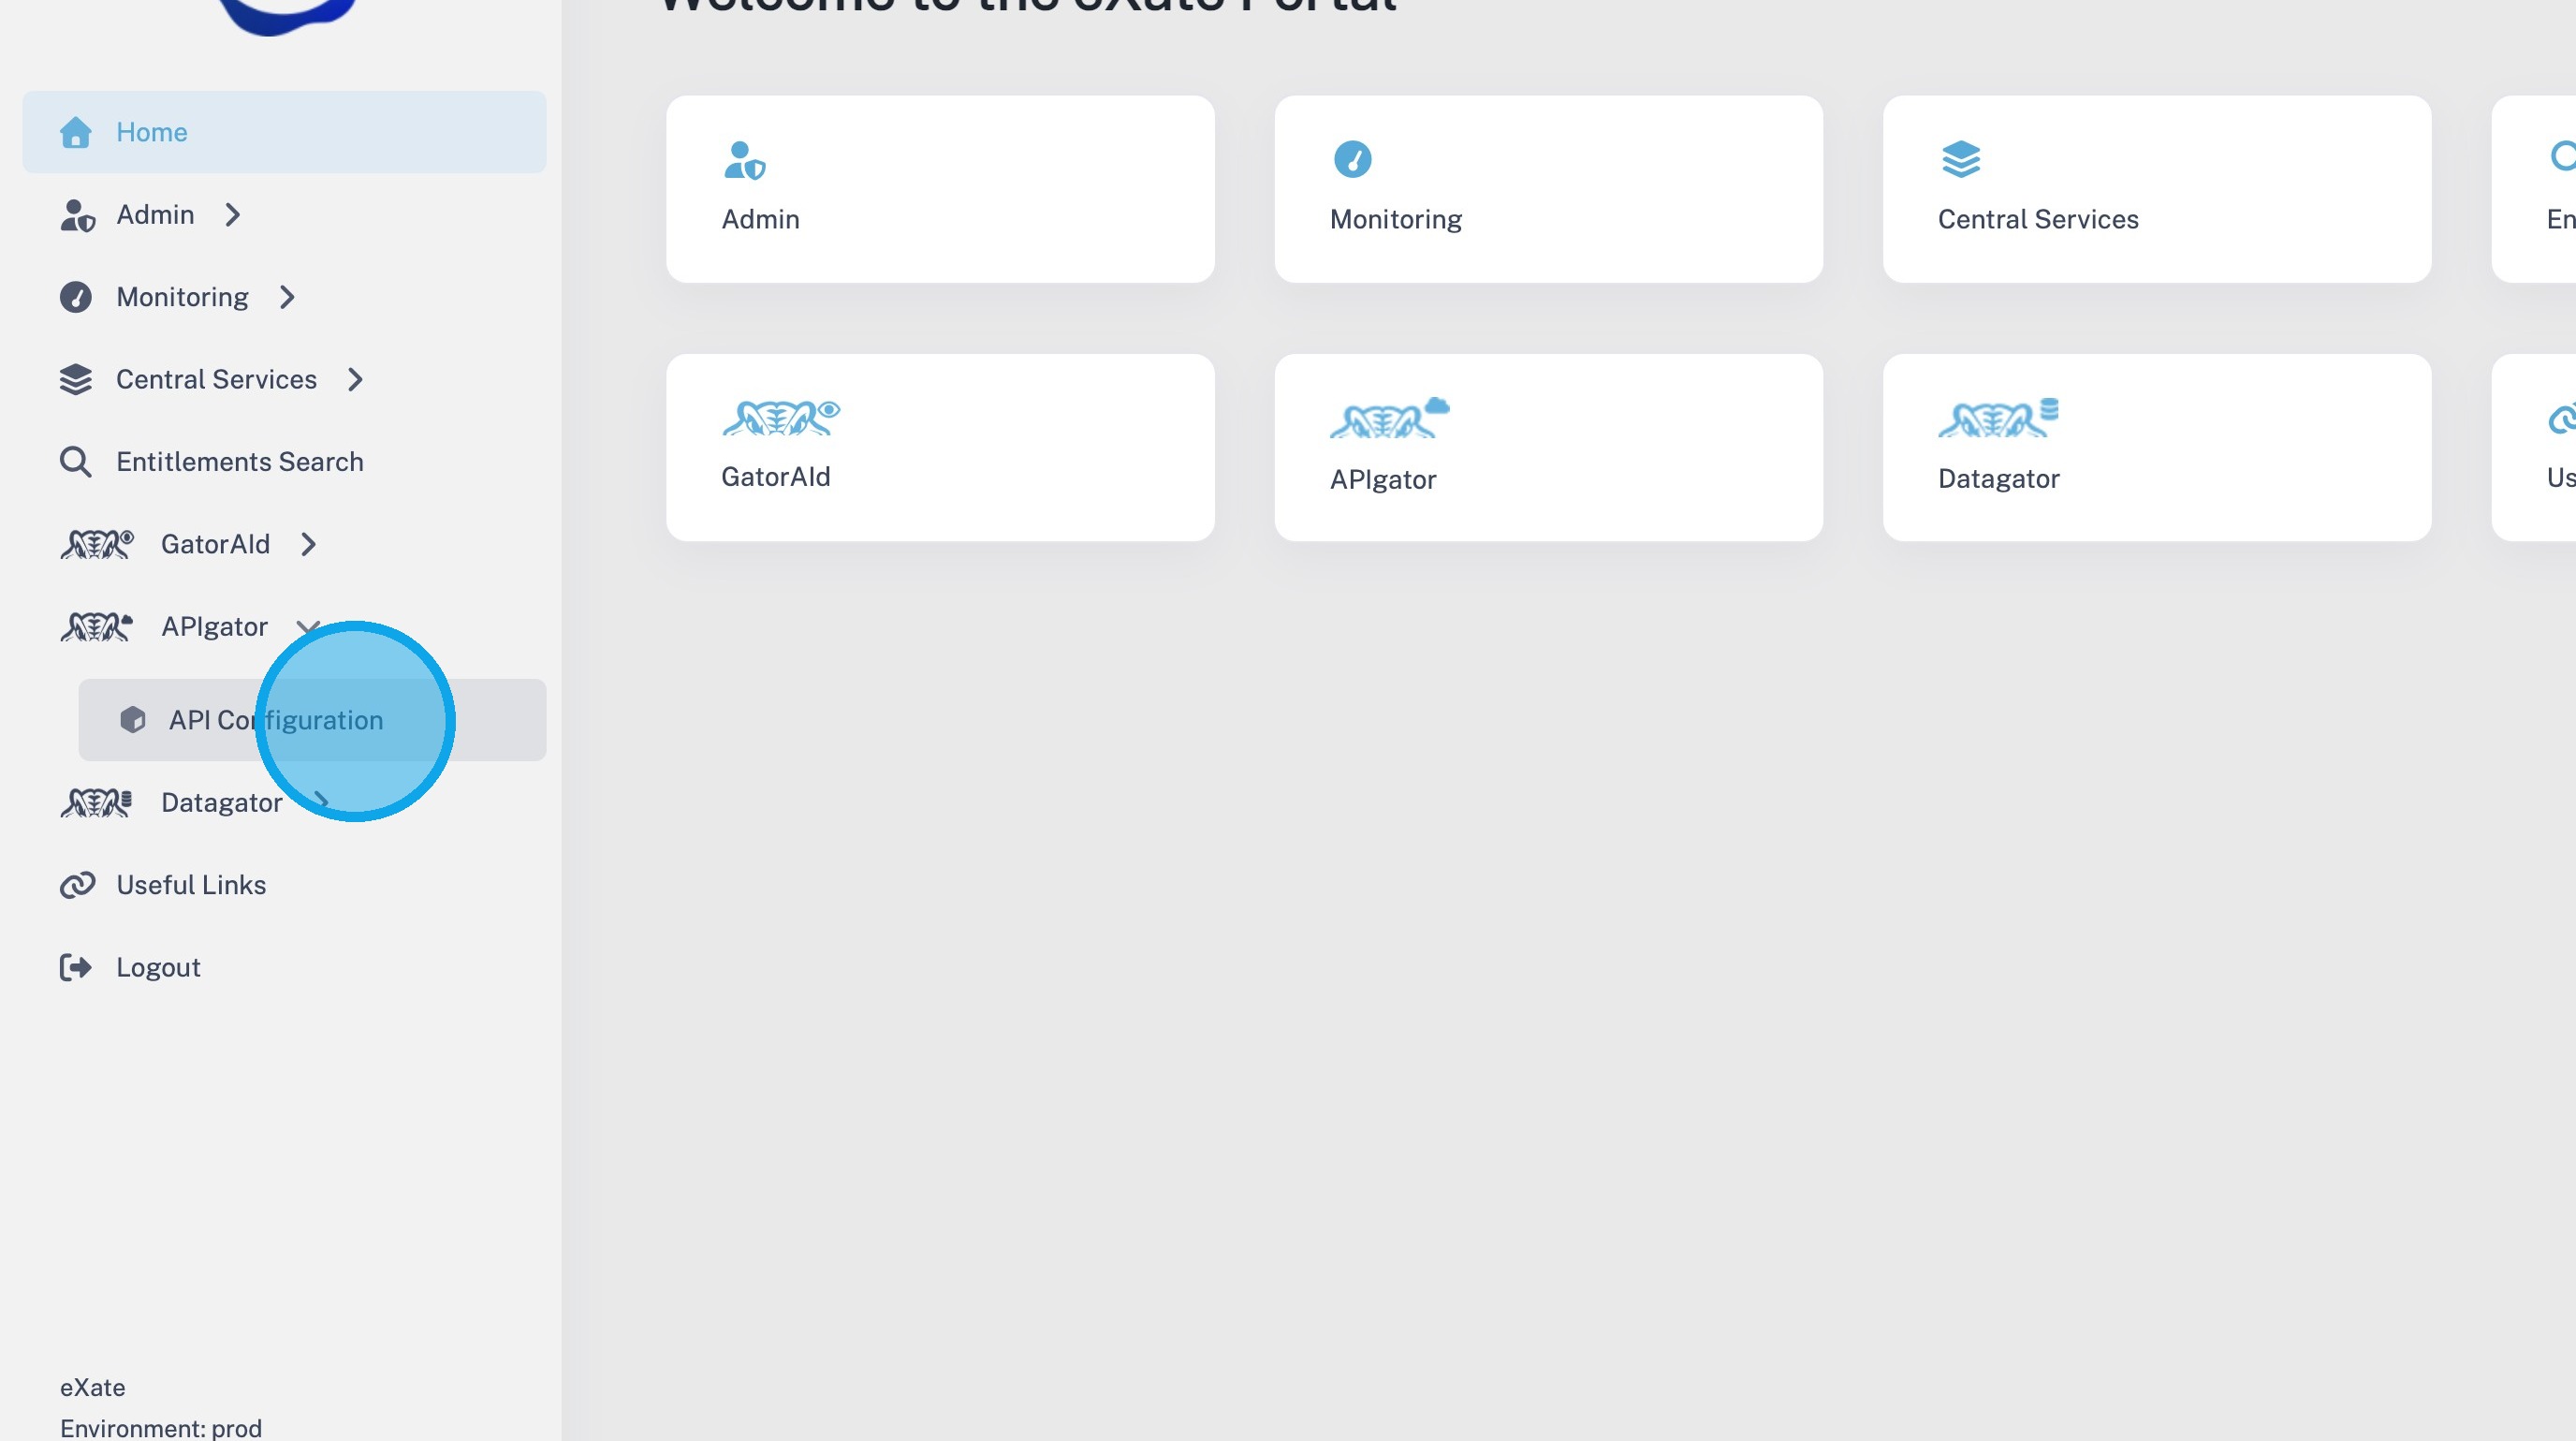
2. Select "API Configuration" from the sidebar menu.
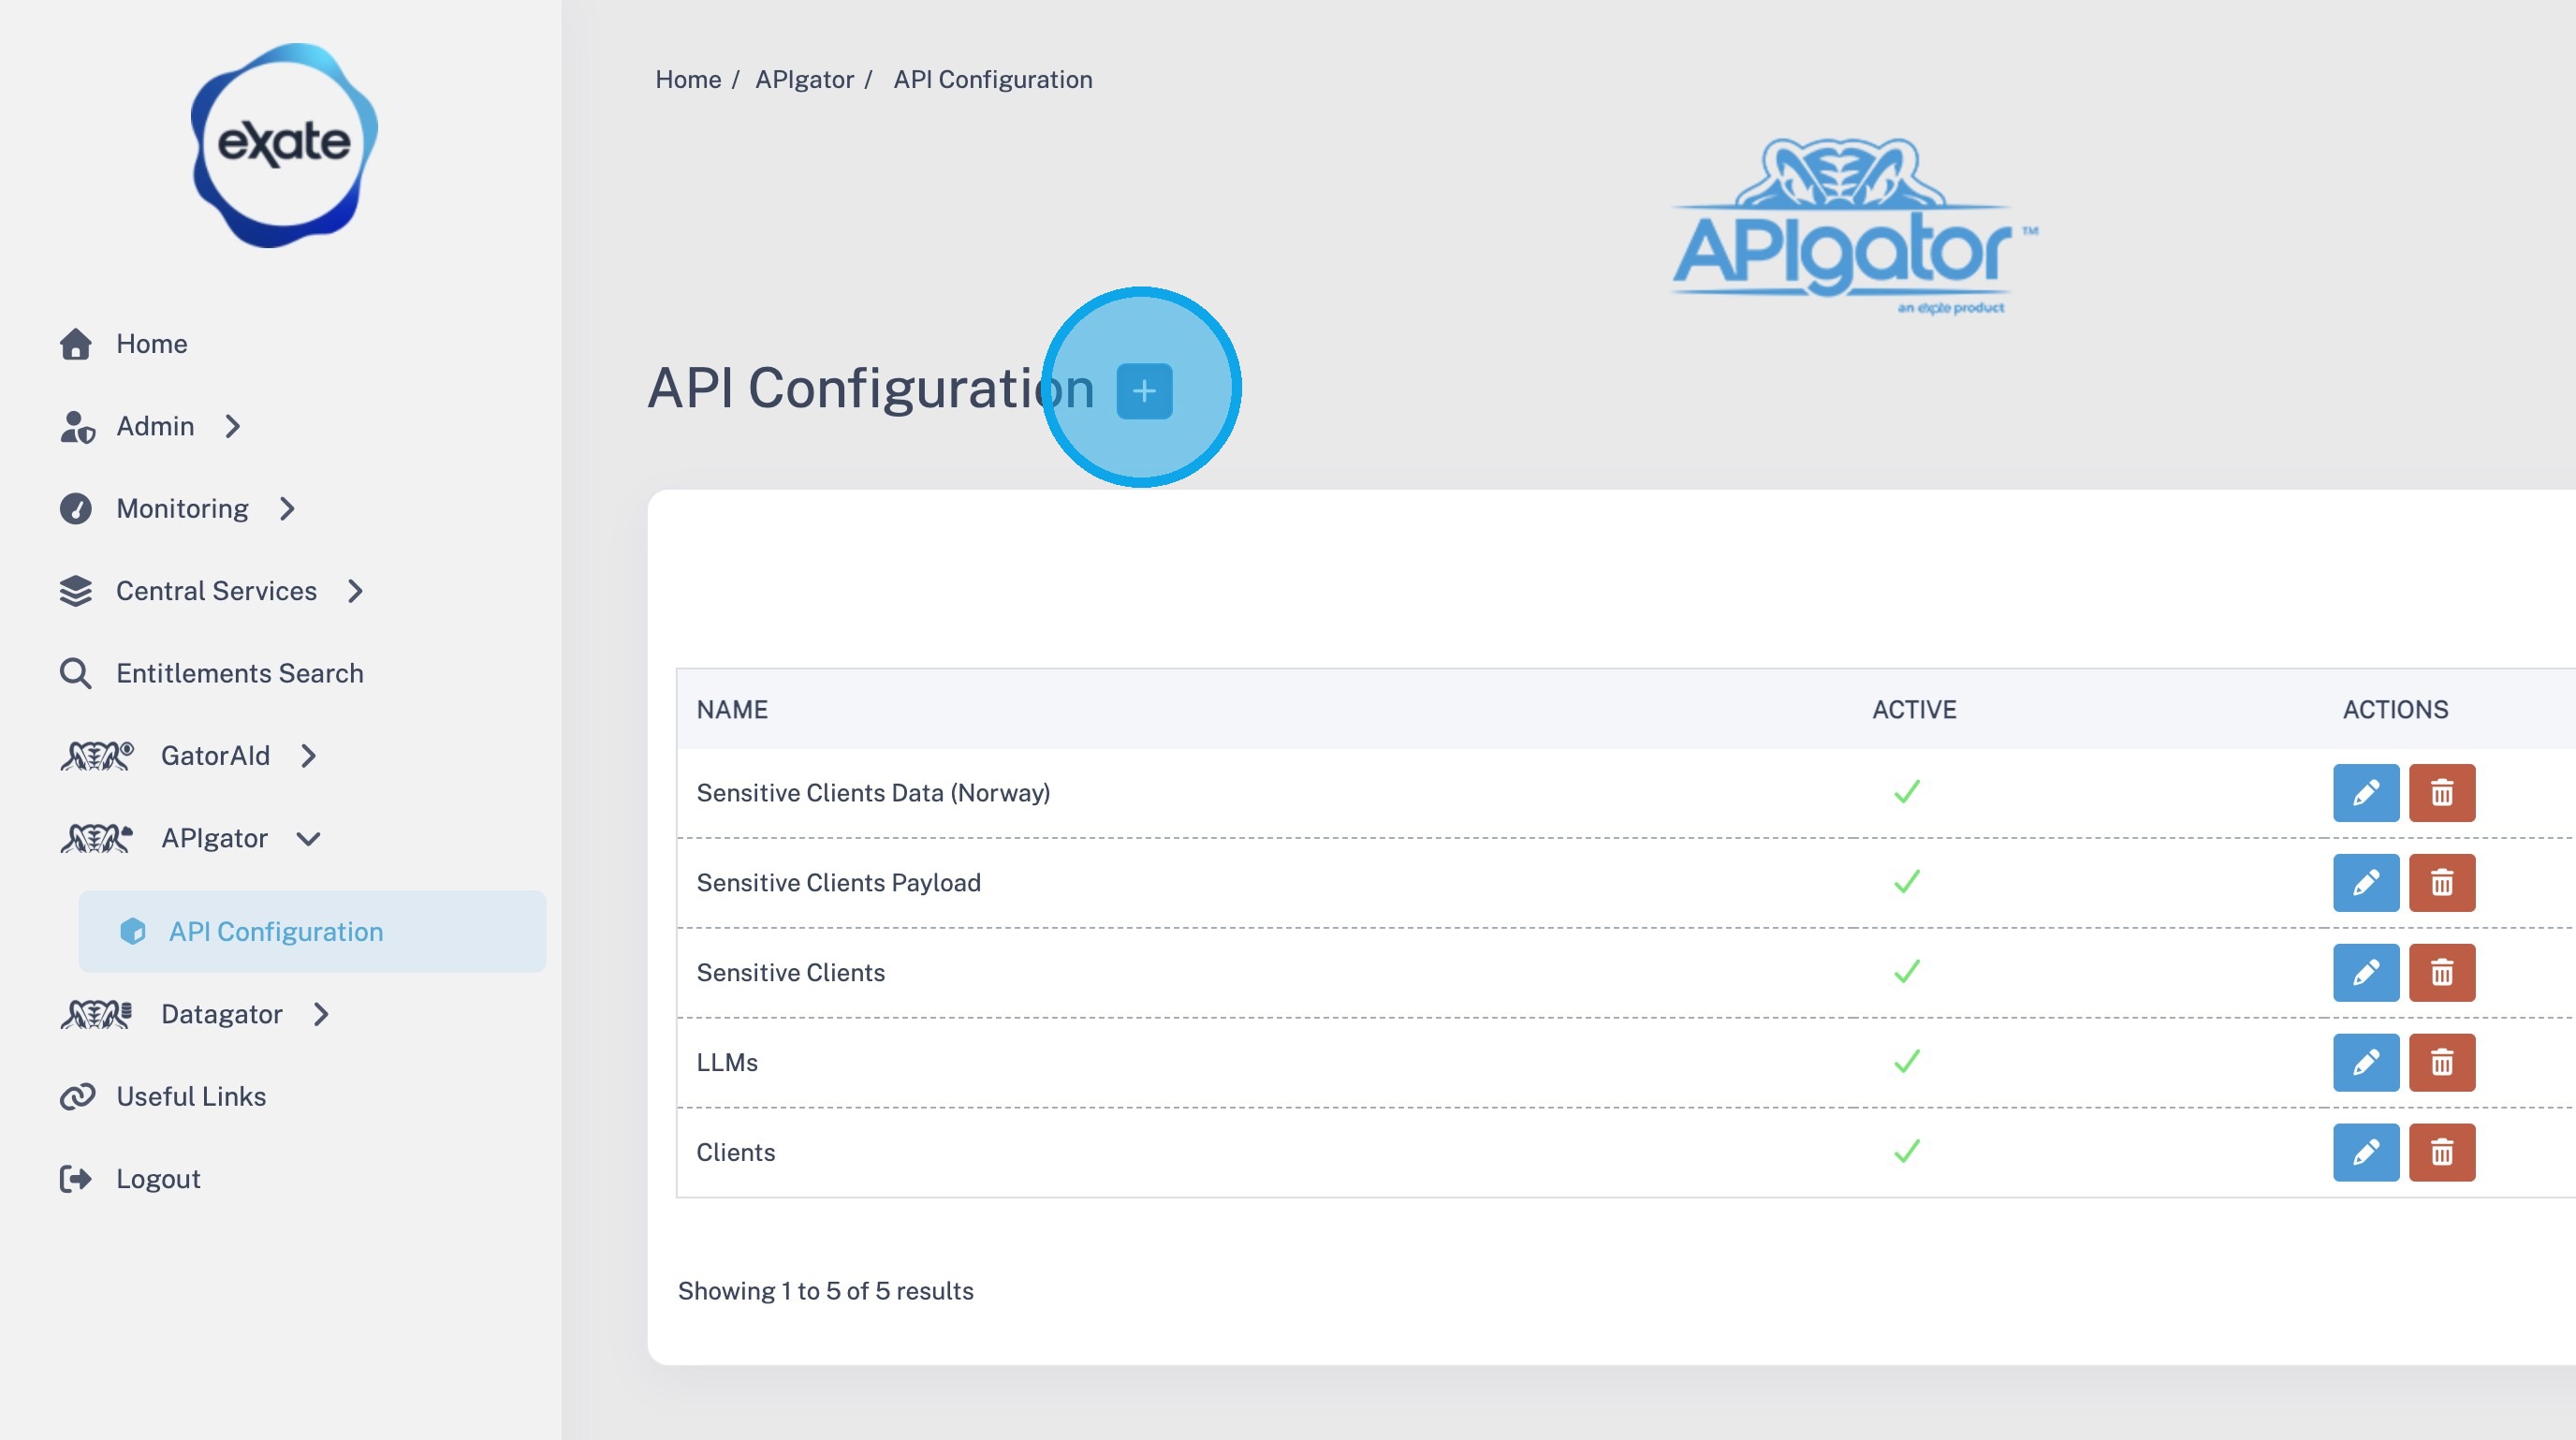
3. Click the "+" icon to create a new API Configuration.
Concept check: what you're creating here is a Manifest, the object that maps your actual data schema to eXate's protection model. "API Configuration" is the portal's name for creating a Manifest specifically for an API payload. See the eXate Object Hierarchy for how Manifests relate to everything else.
To create a new API configuration click the "+" icon and fill in the following fields:
- Name: Name of manifest
- Sample Payload: Button to add Sample Payload
Manifest Configuration
4. Type the manifest name into the Name field.
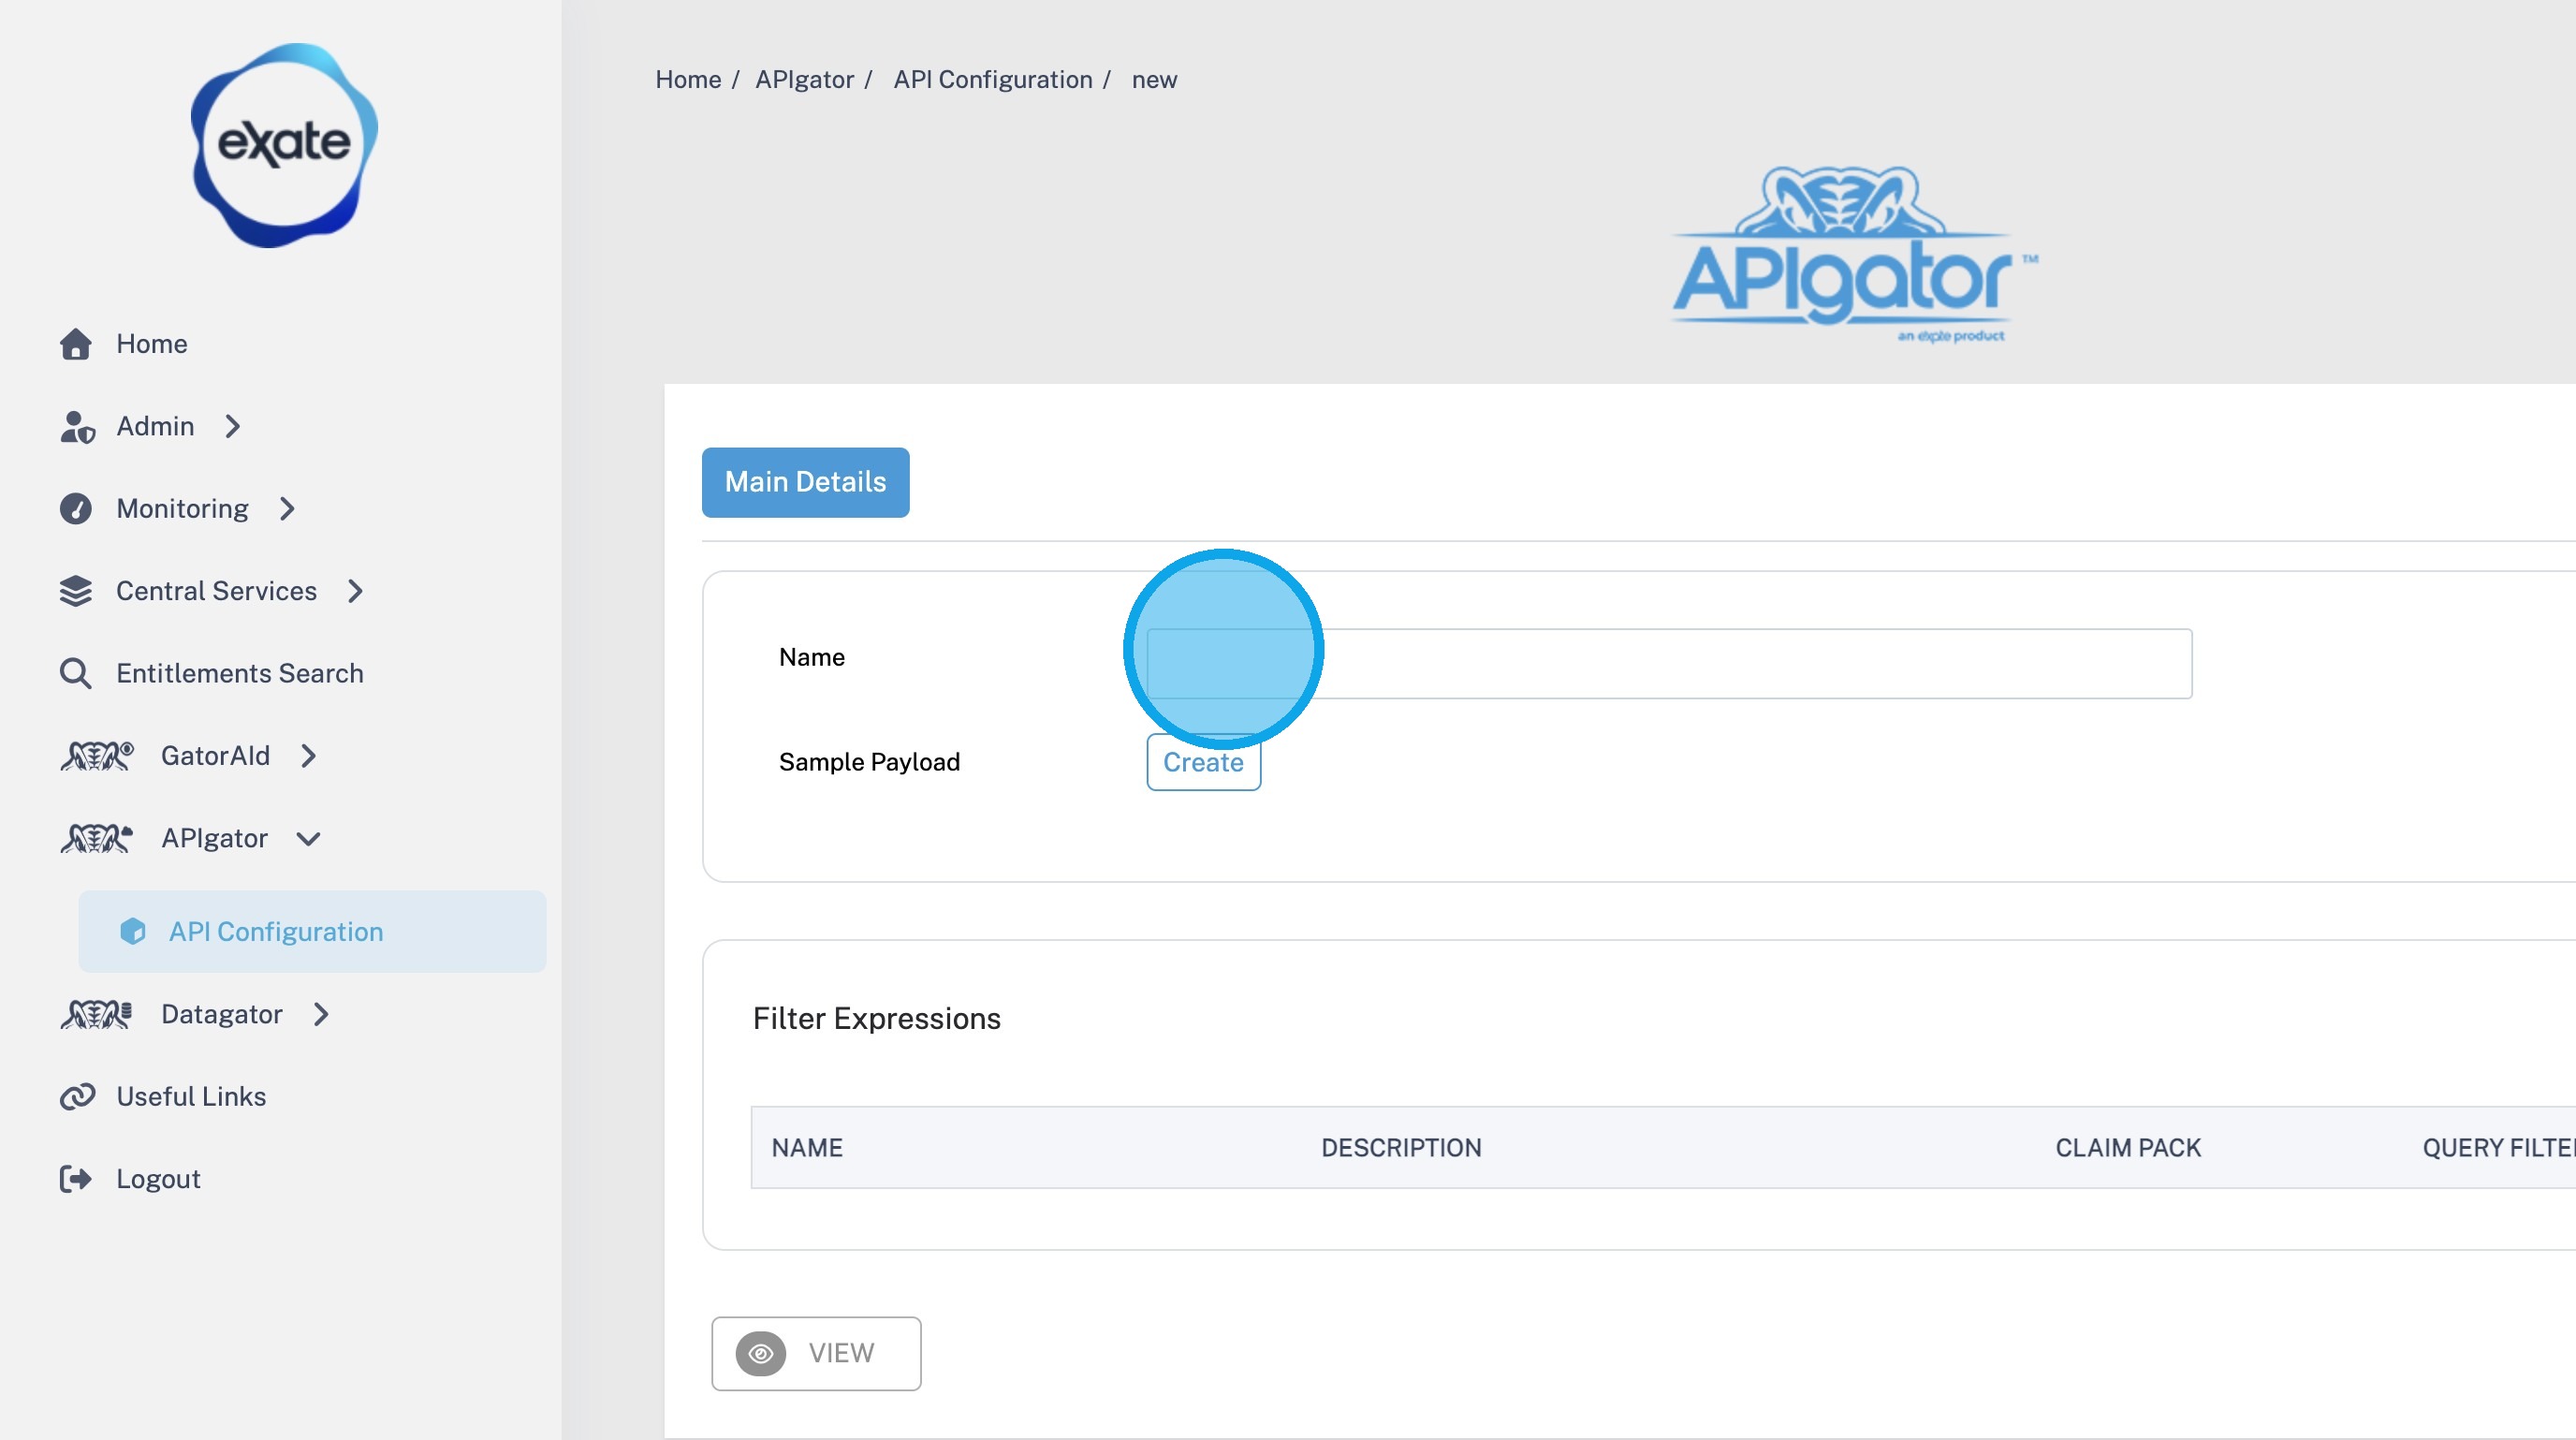
5. Click "Create" under the Sample Payload section.
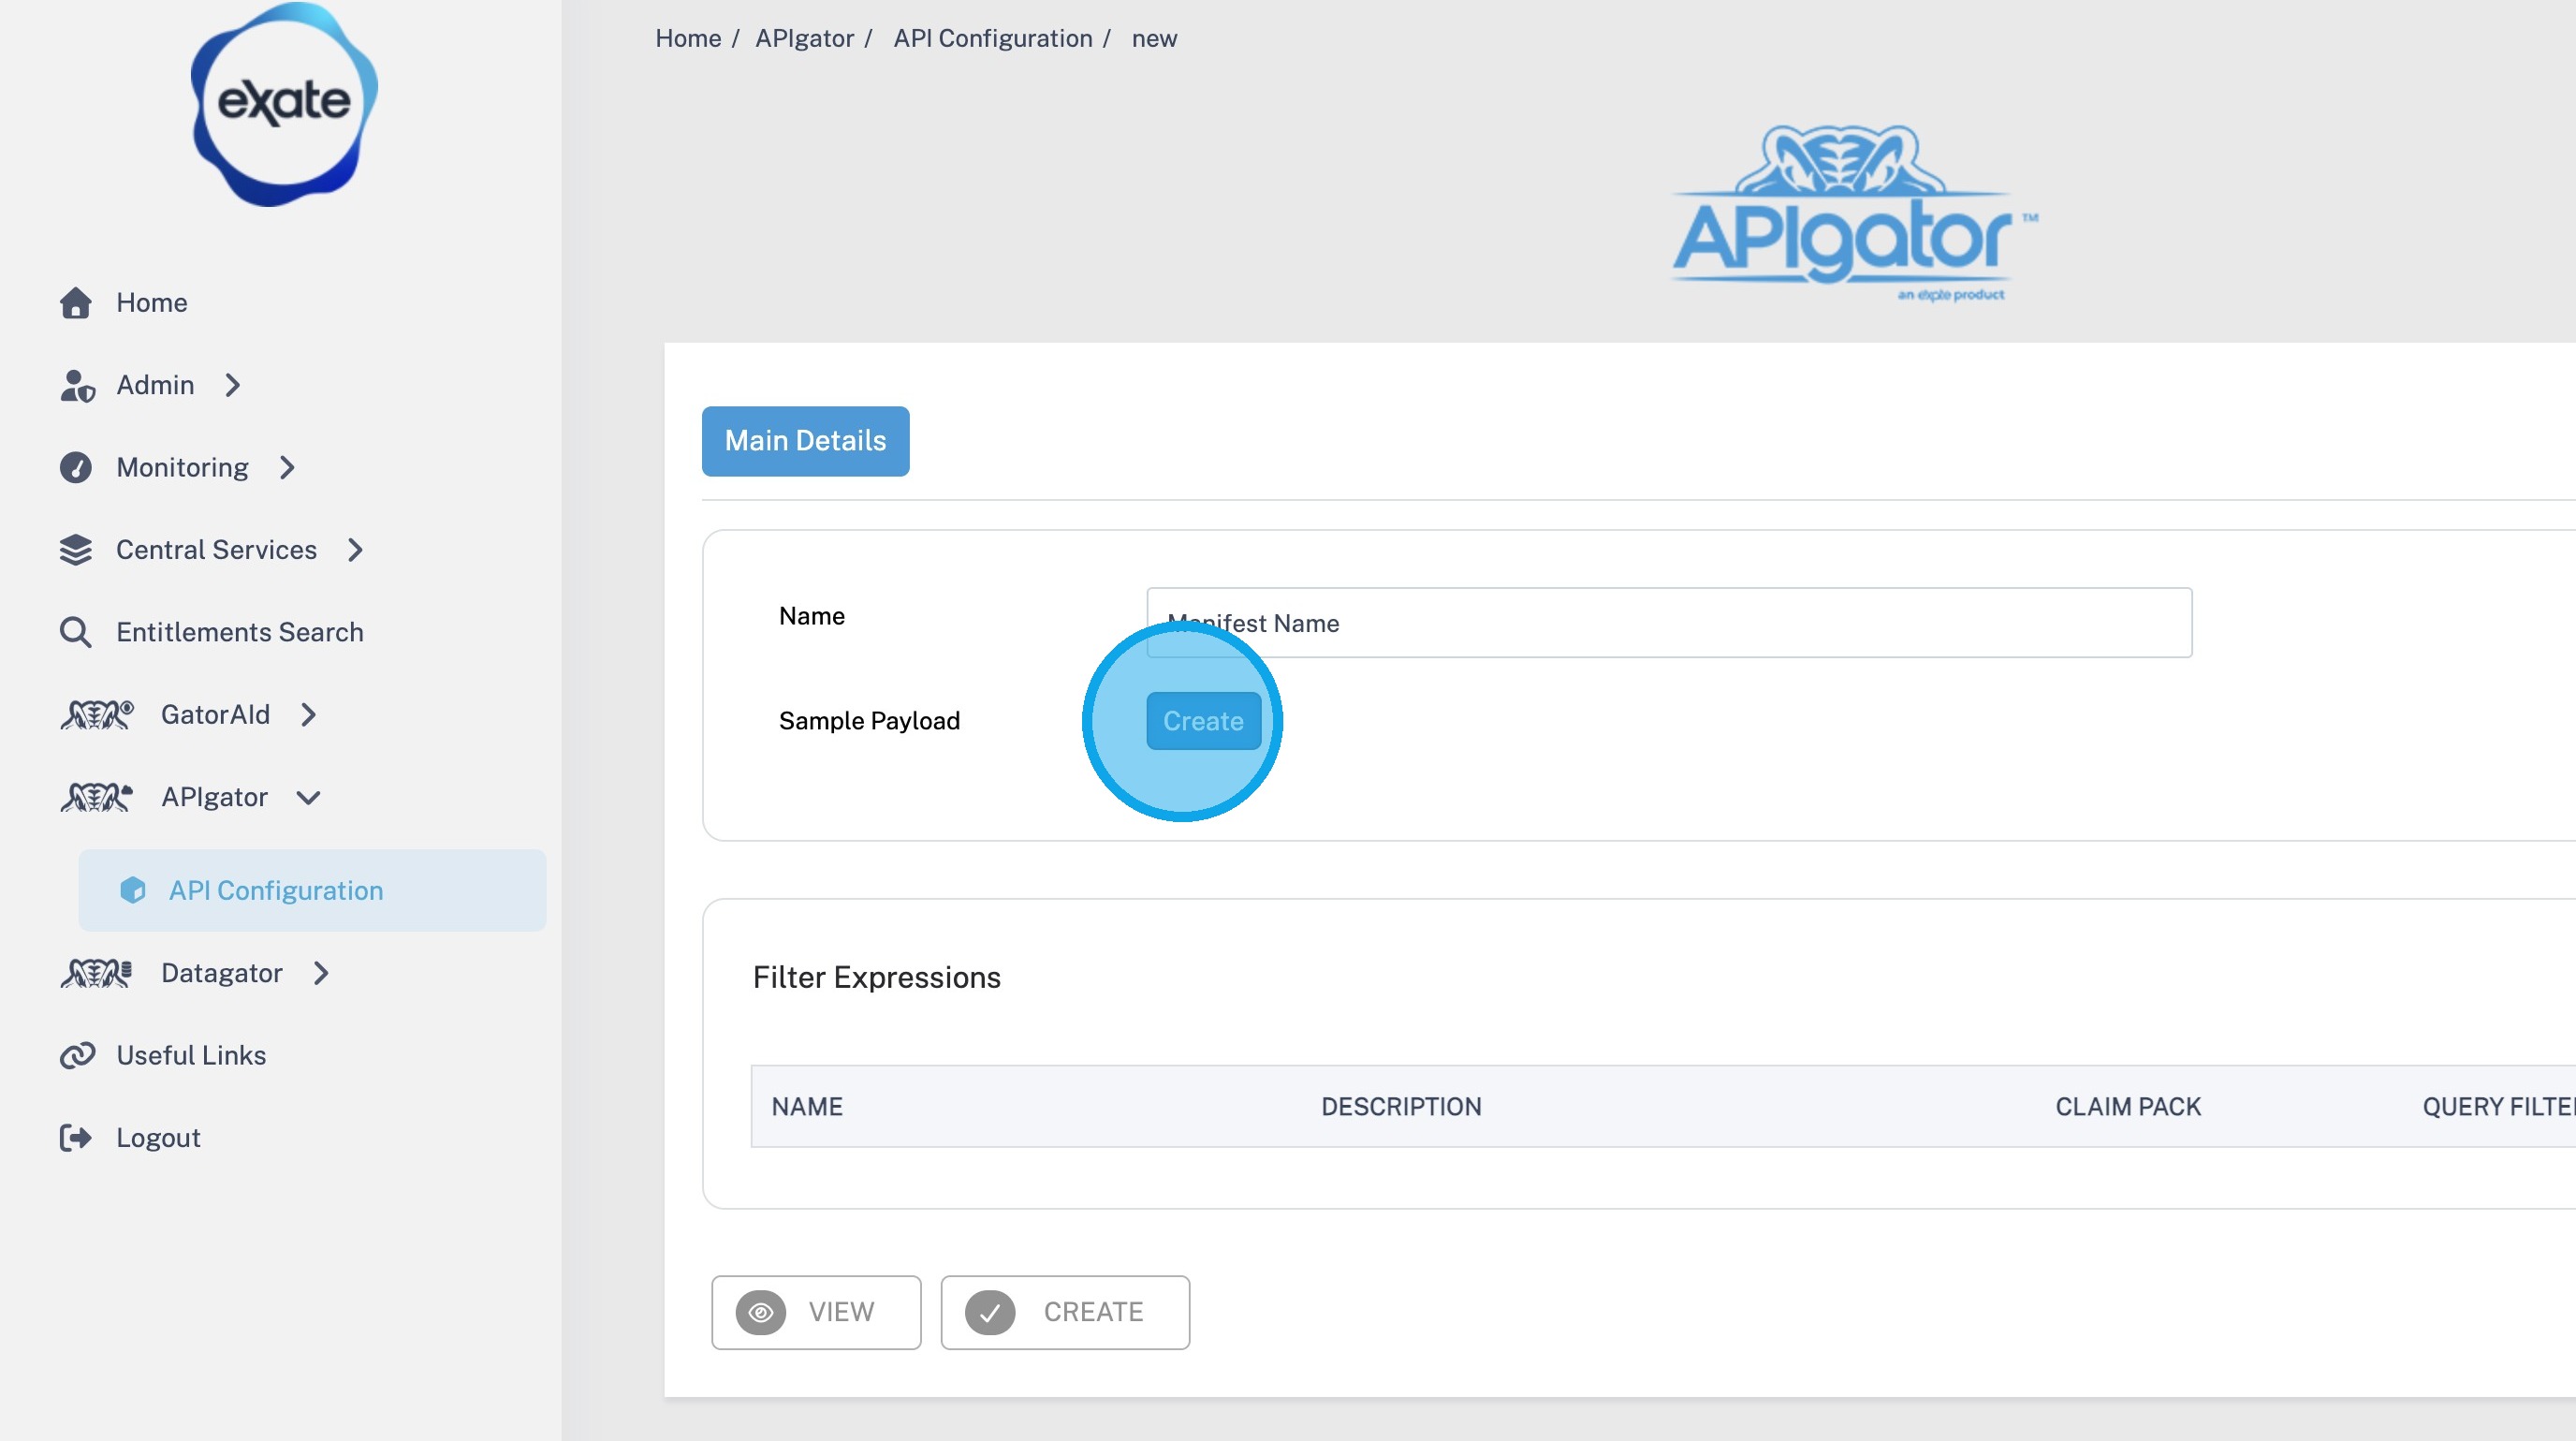
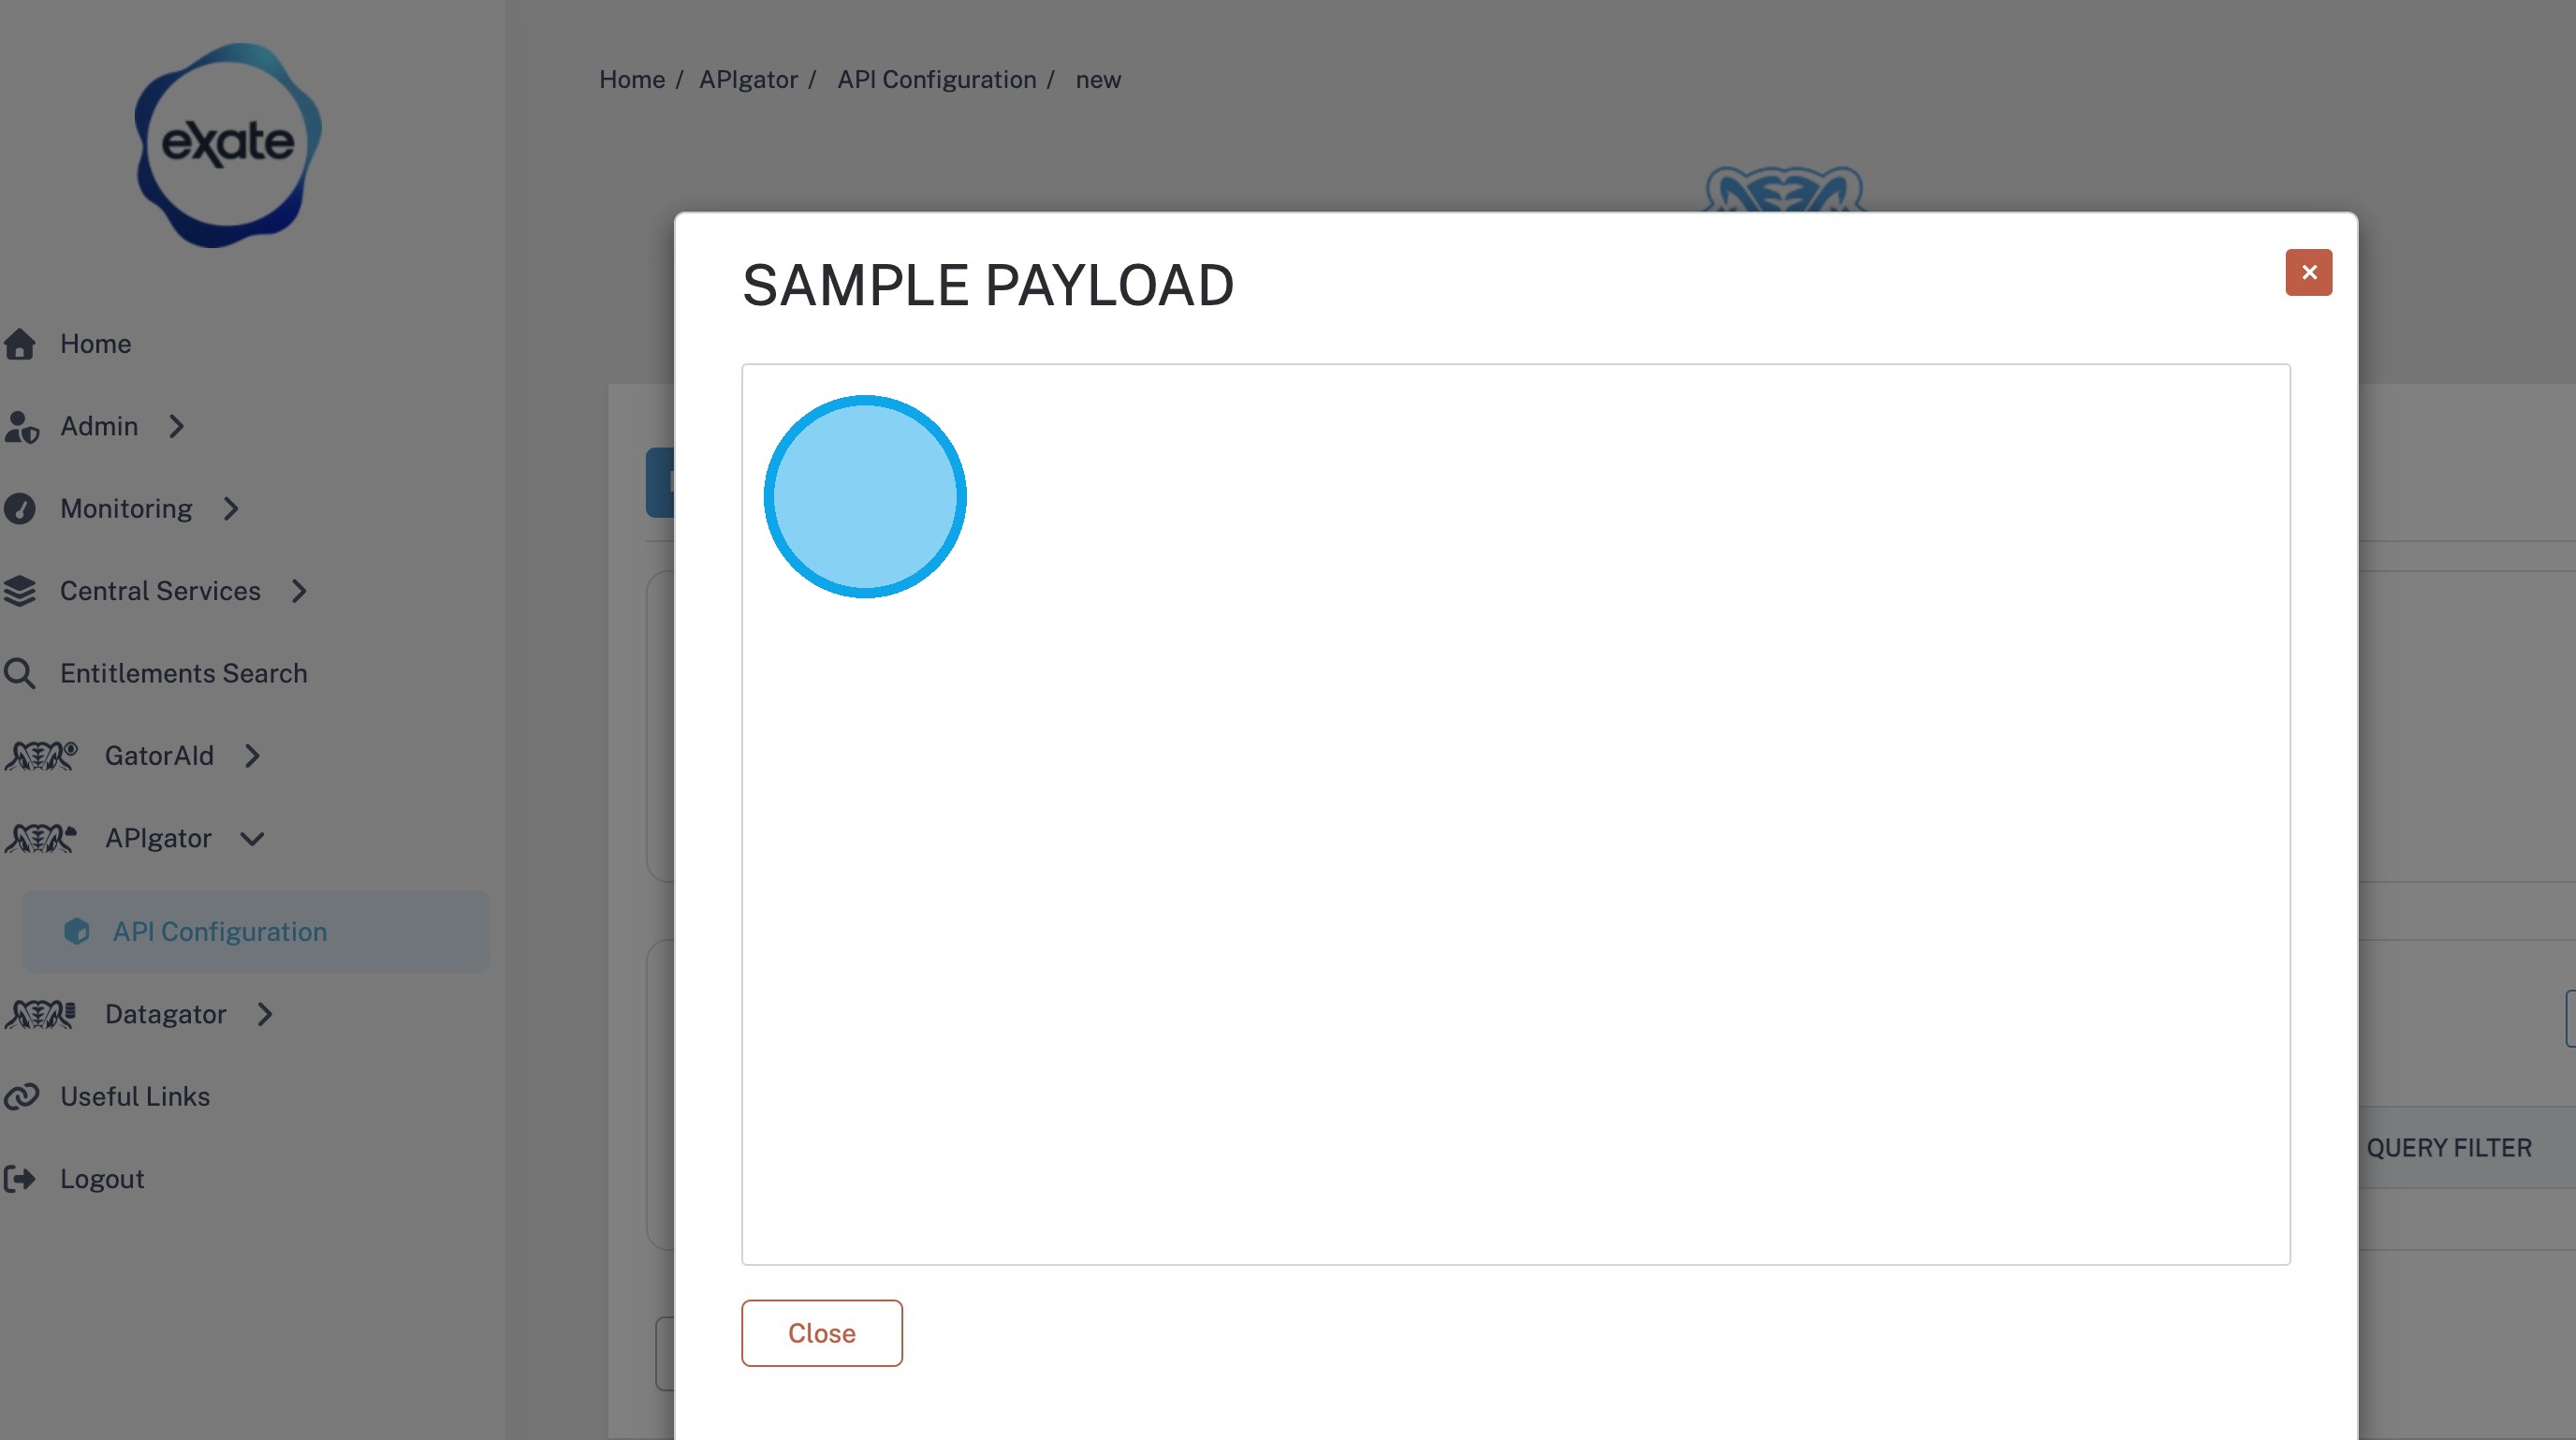
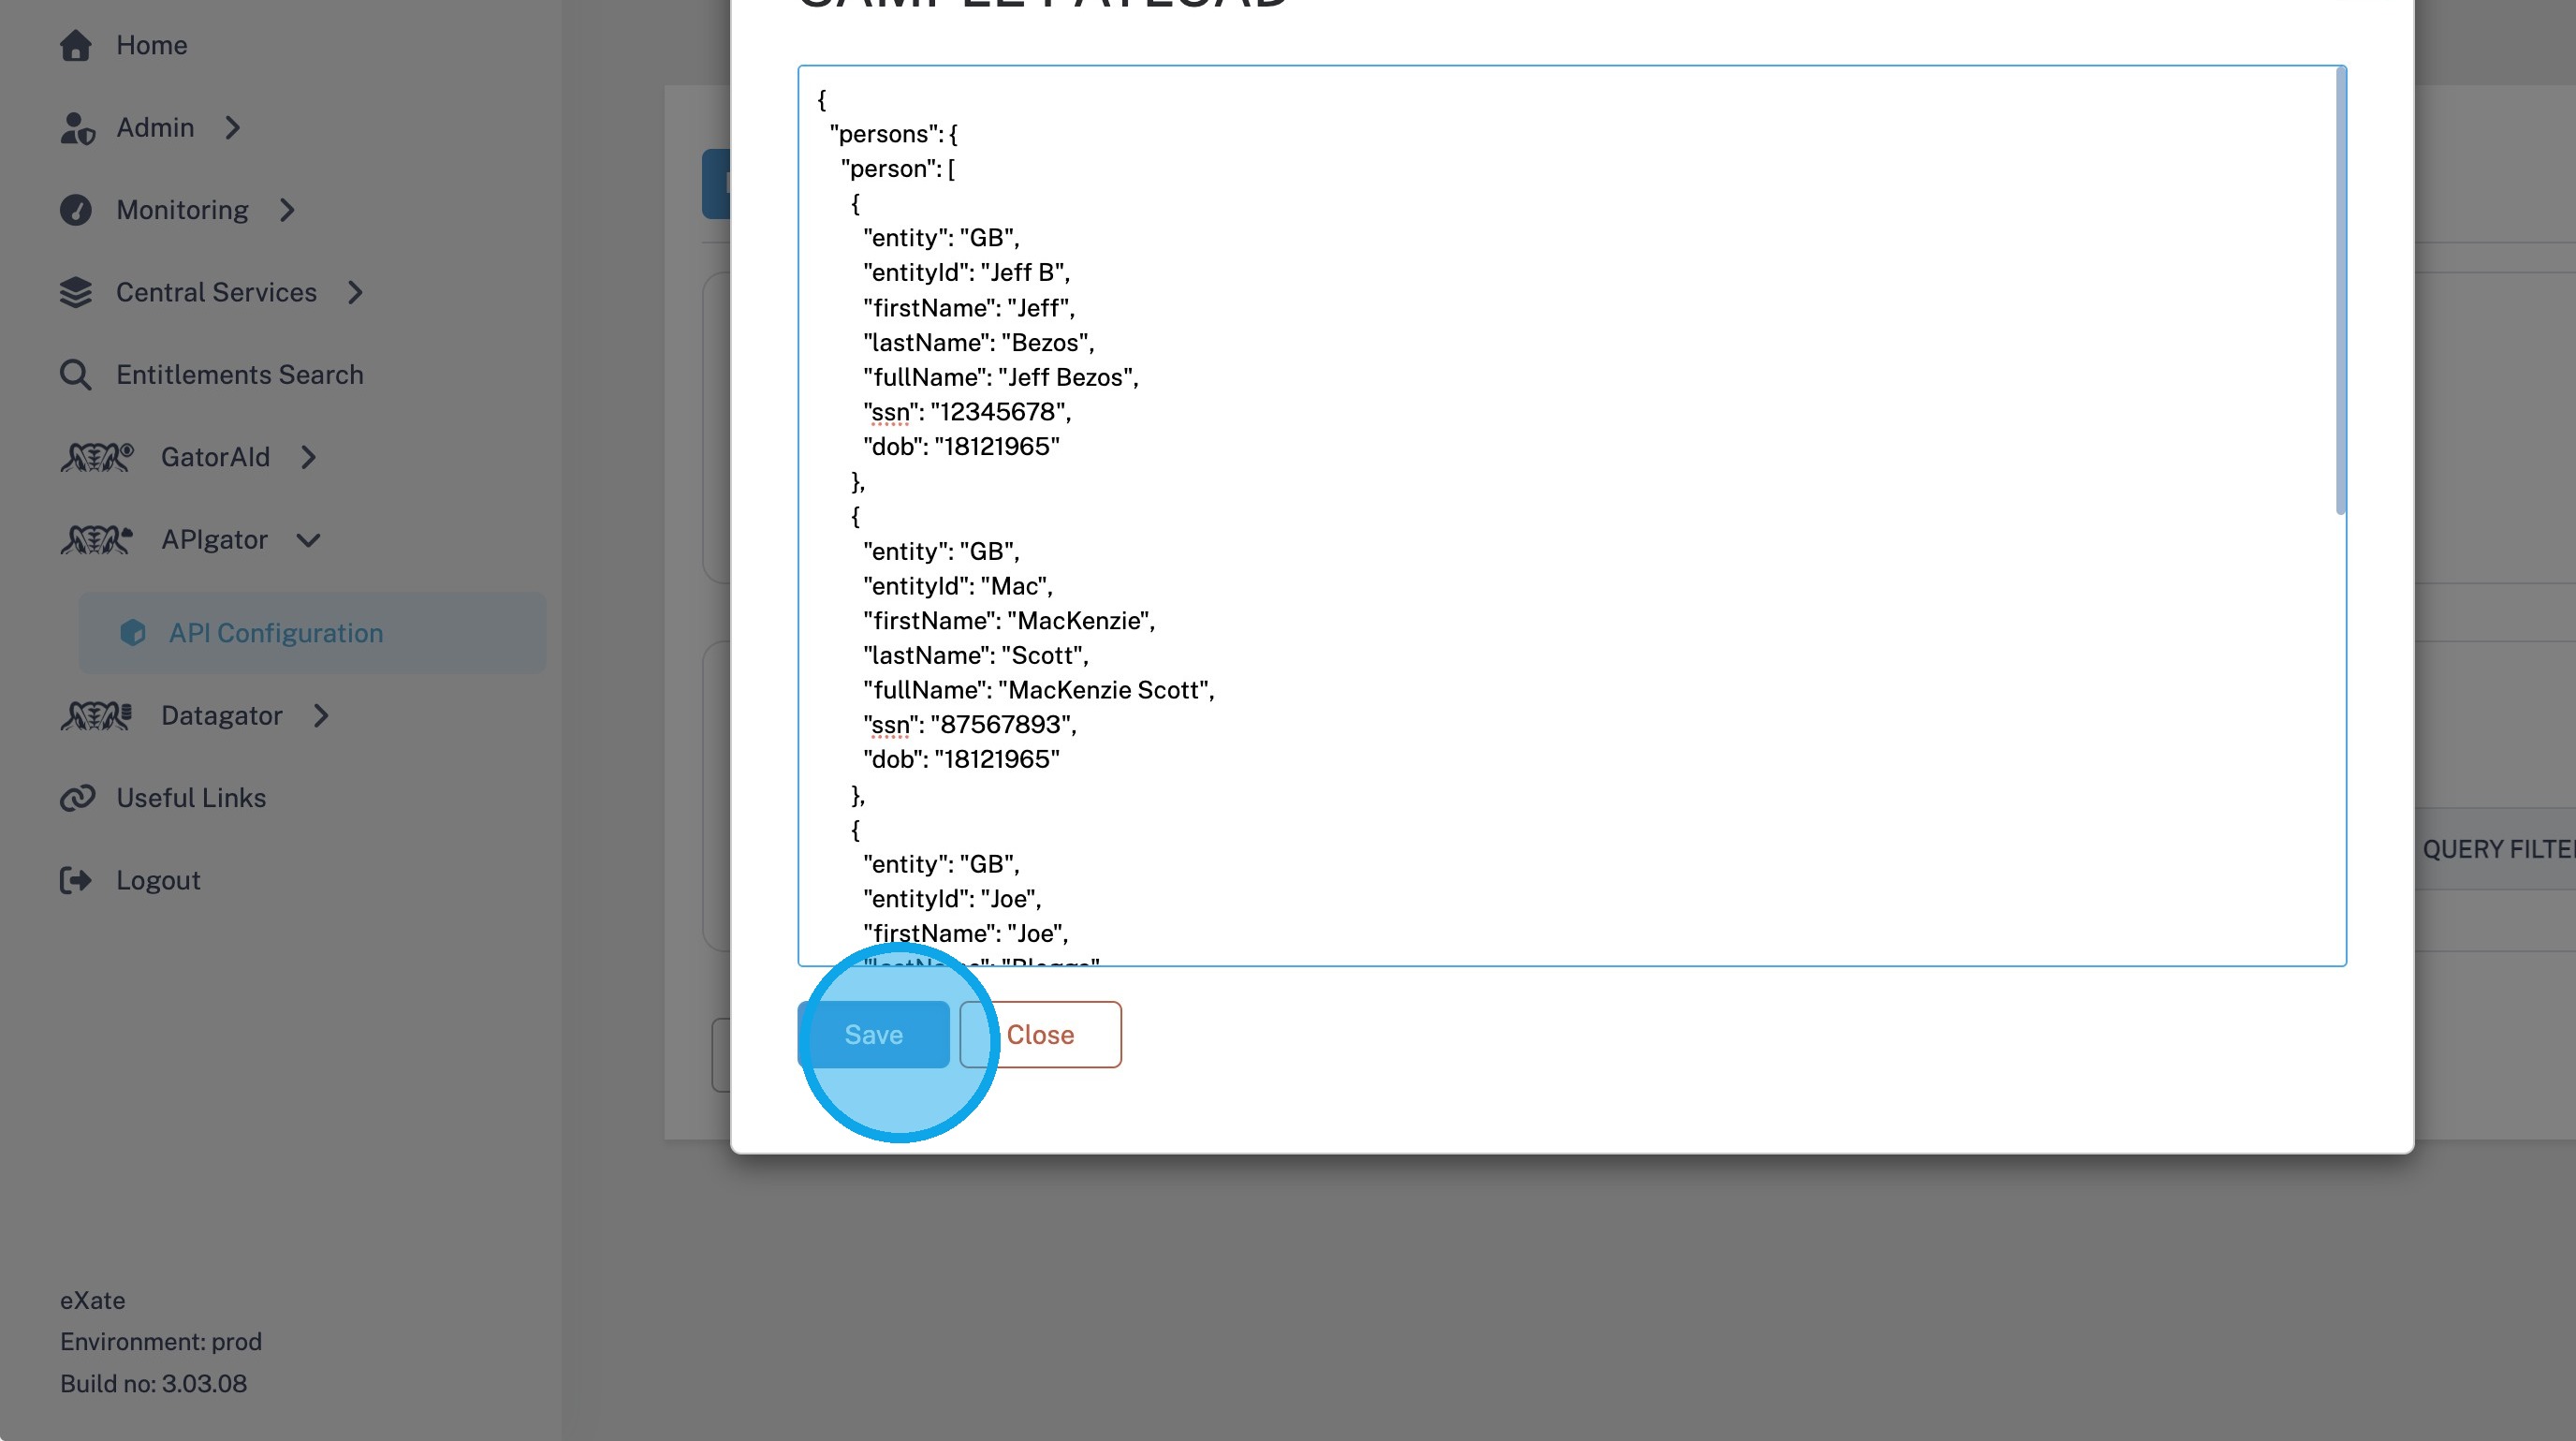
6. "Sample Payload" allows you to upload an XML or JSON payload to test your configuration. The uploaded payload is analysed and displayed within the platform, enabling you to identify and configure the data attributes you want to protect.
7. Click "Save" to apply the sample payload.
GatorAId
Concept check: GatorAId is eXate's classification engine. Instead of manually identifying every sensitive field in your payload and labelling it, GatorAId inspects the payload and suggests which fields are likely Attributes (Email, SSN, Date of Birth, and so on). You still review and confirm before anything is protected, these are suggestions, not automatic decisions.
8. To enable GatorAId, select the model you want to use from the GatorAId Model drop-down list.
For this example, exate-pii has been selected. This model analyses the uploaded sample payload and suggests attributes that may contain Personally Identifiable Information (PII).
Note: The suggestions provided by GatorAId are recommendations only. Users should review and validate the suggested classifications before applying protection Policies.
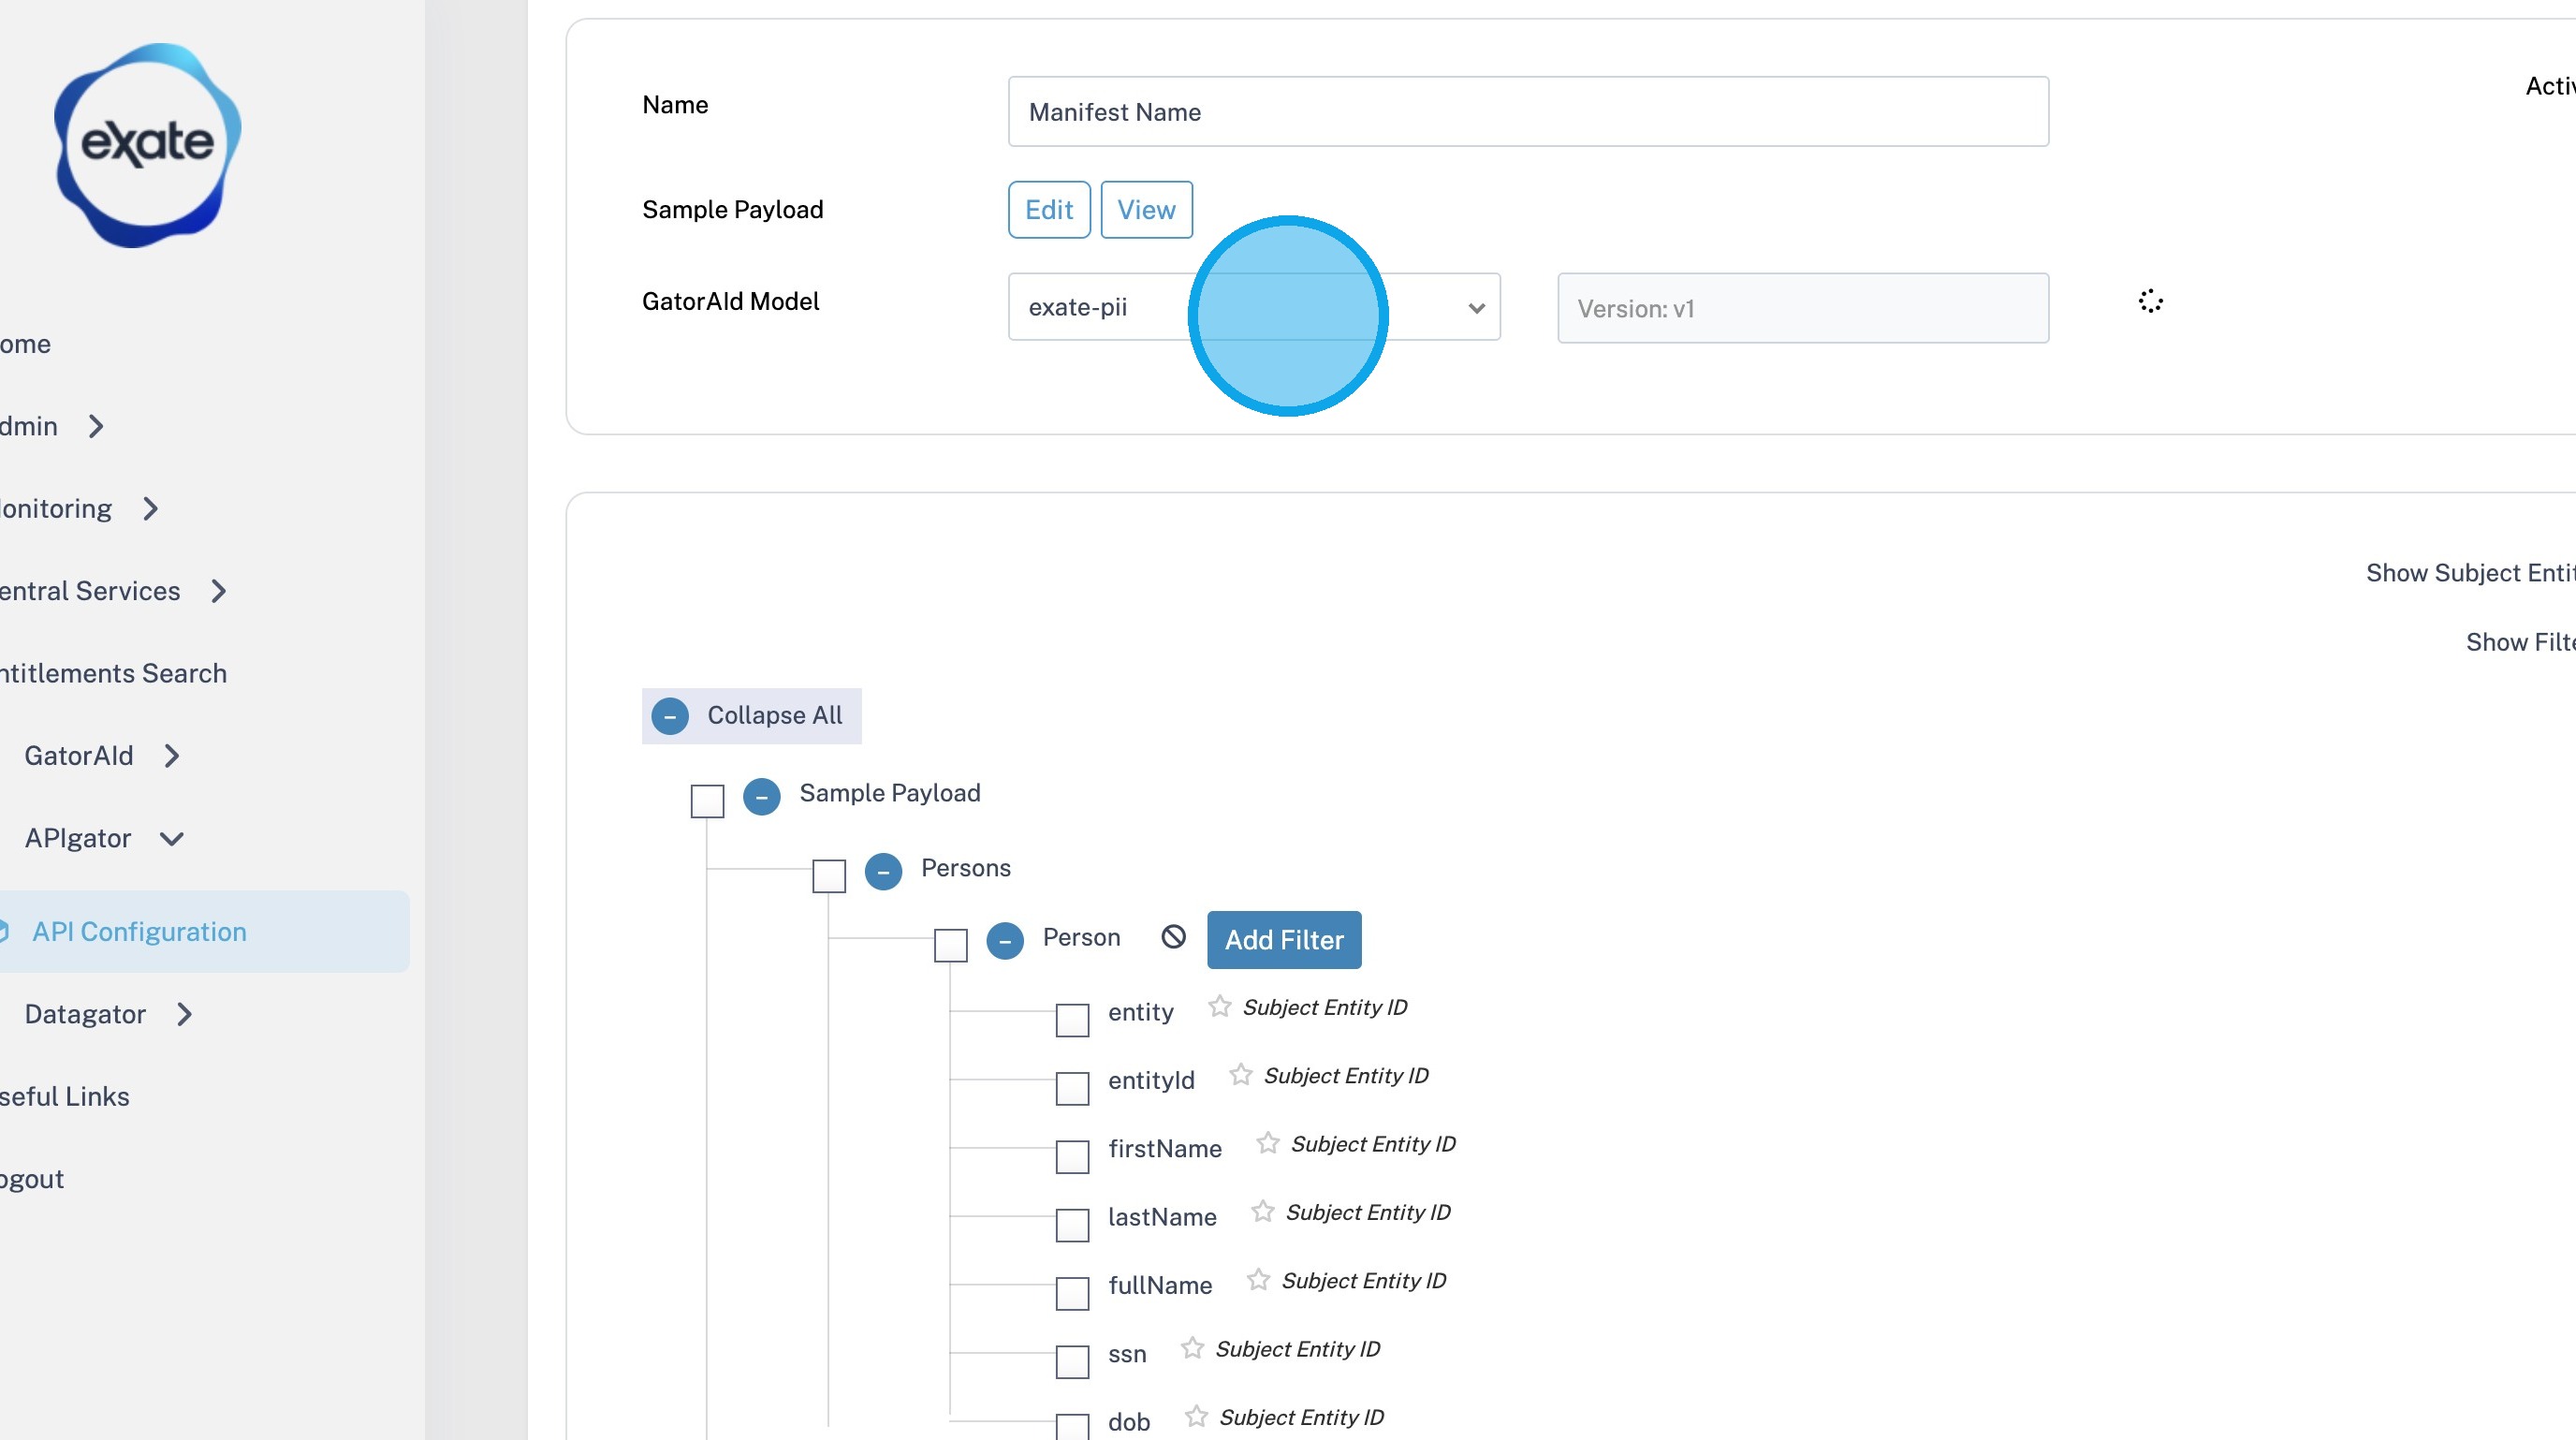
9. Once a GatorAId model has been selected, click "Apply Suggestions".
GatorAId will analyse the uploaded sample payload and display suggested business terms alongside the relevant attributes within the payload structure.
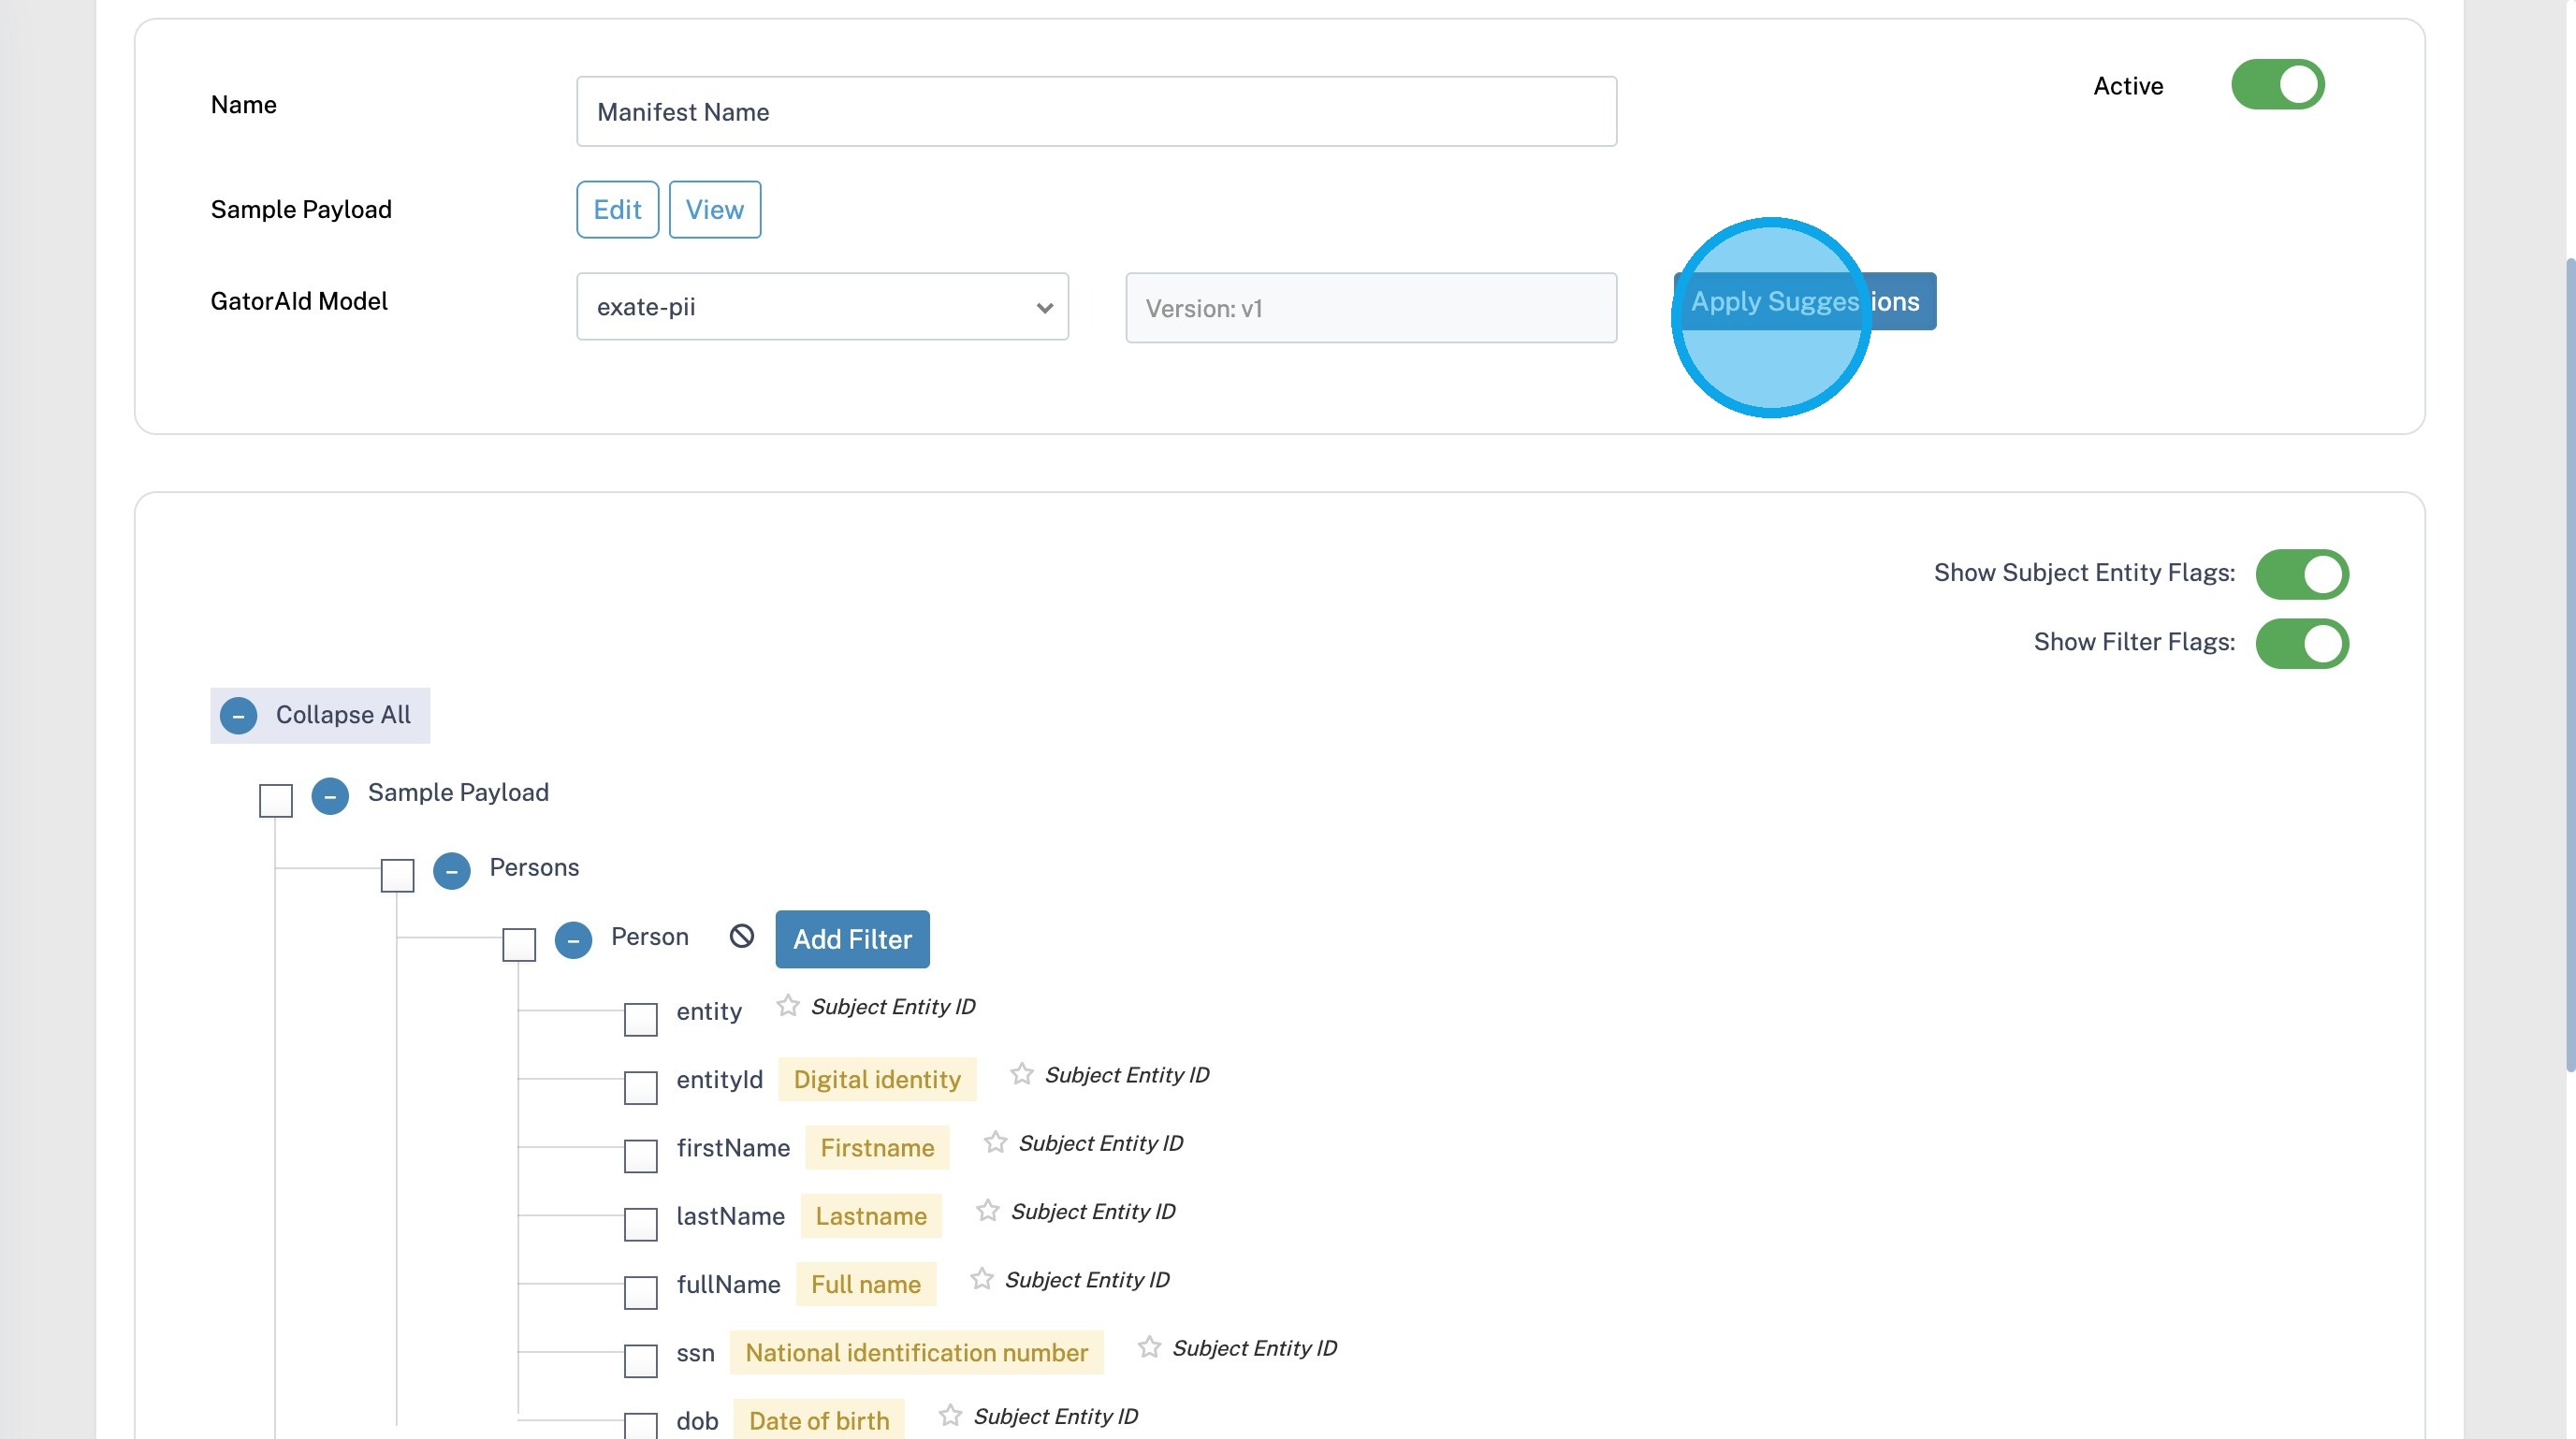
10. Review the suggested attributes and select the fields you want to protect by ticking the corresponding checkboxes.
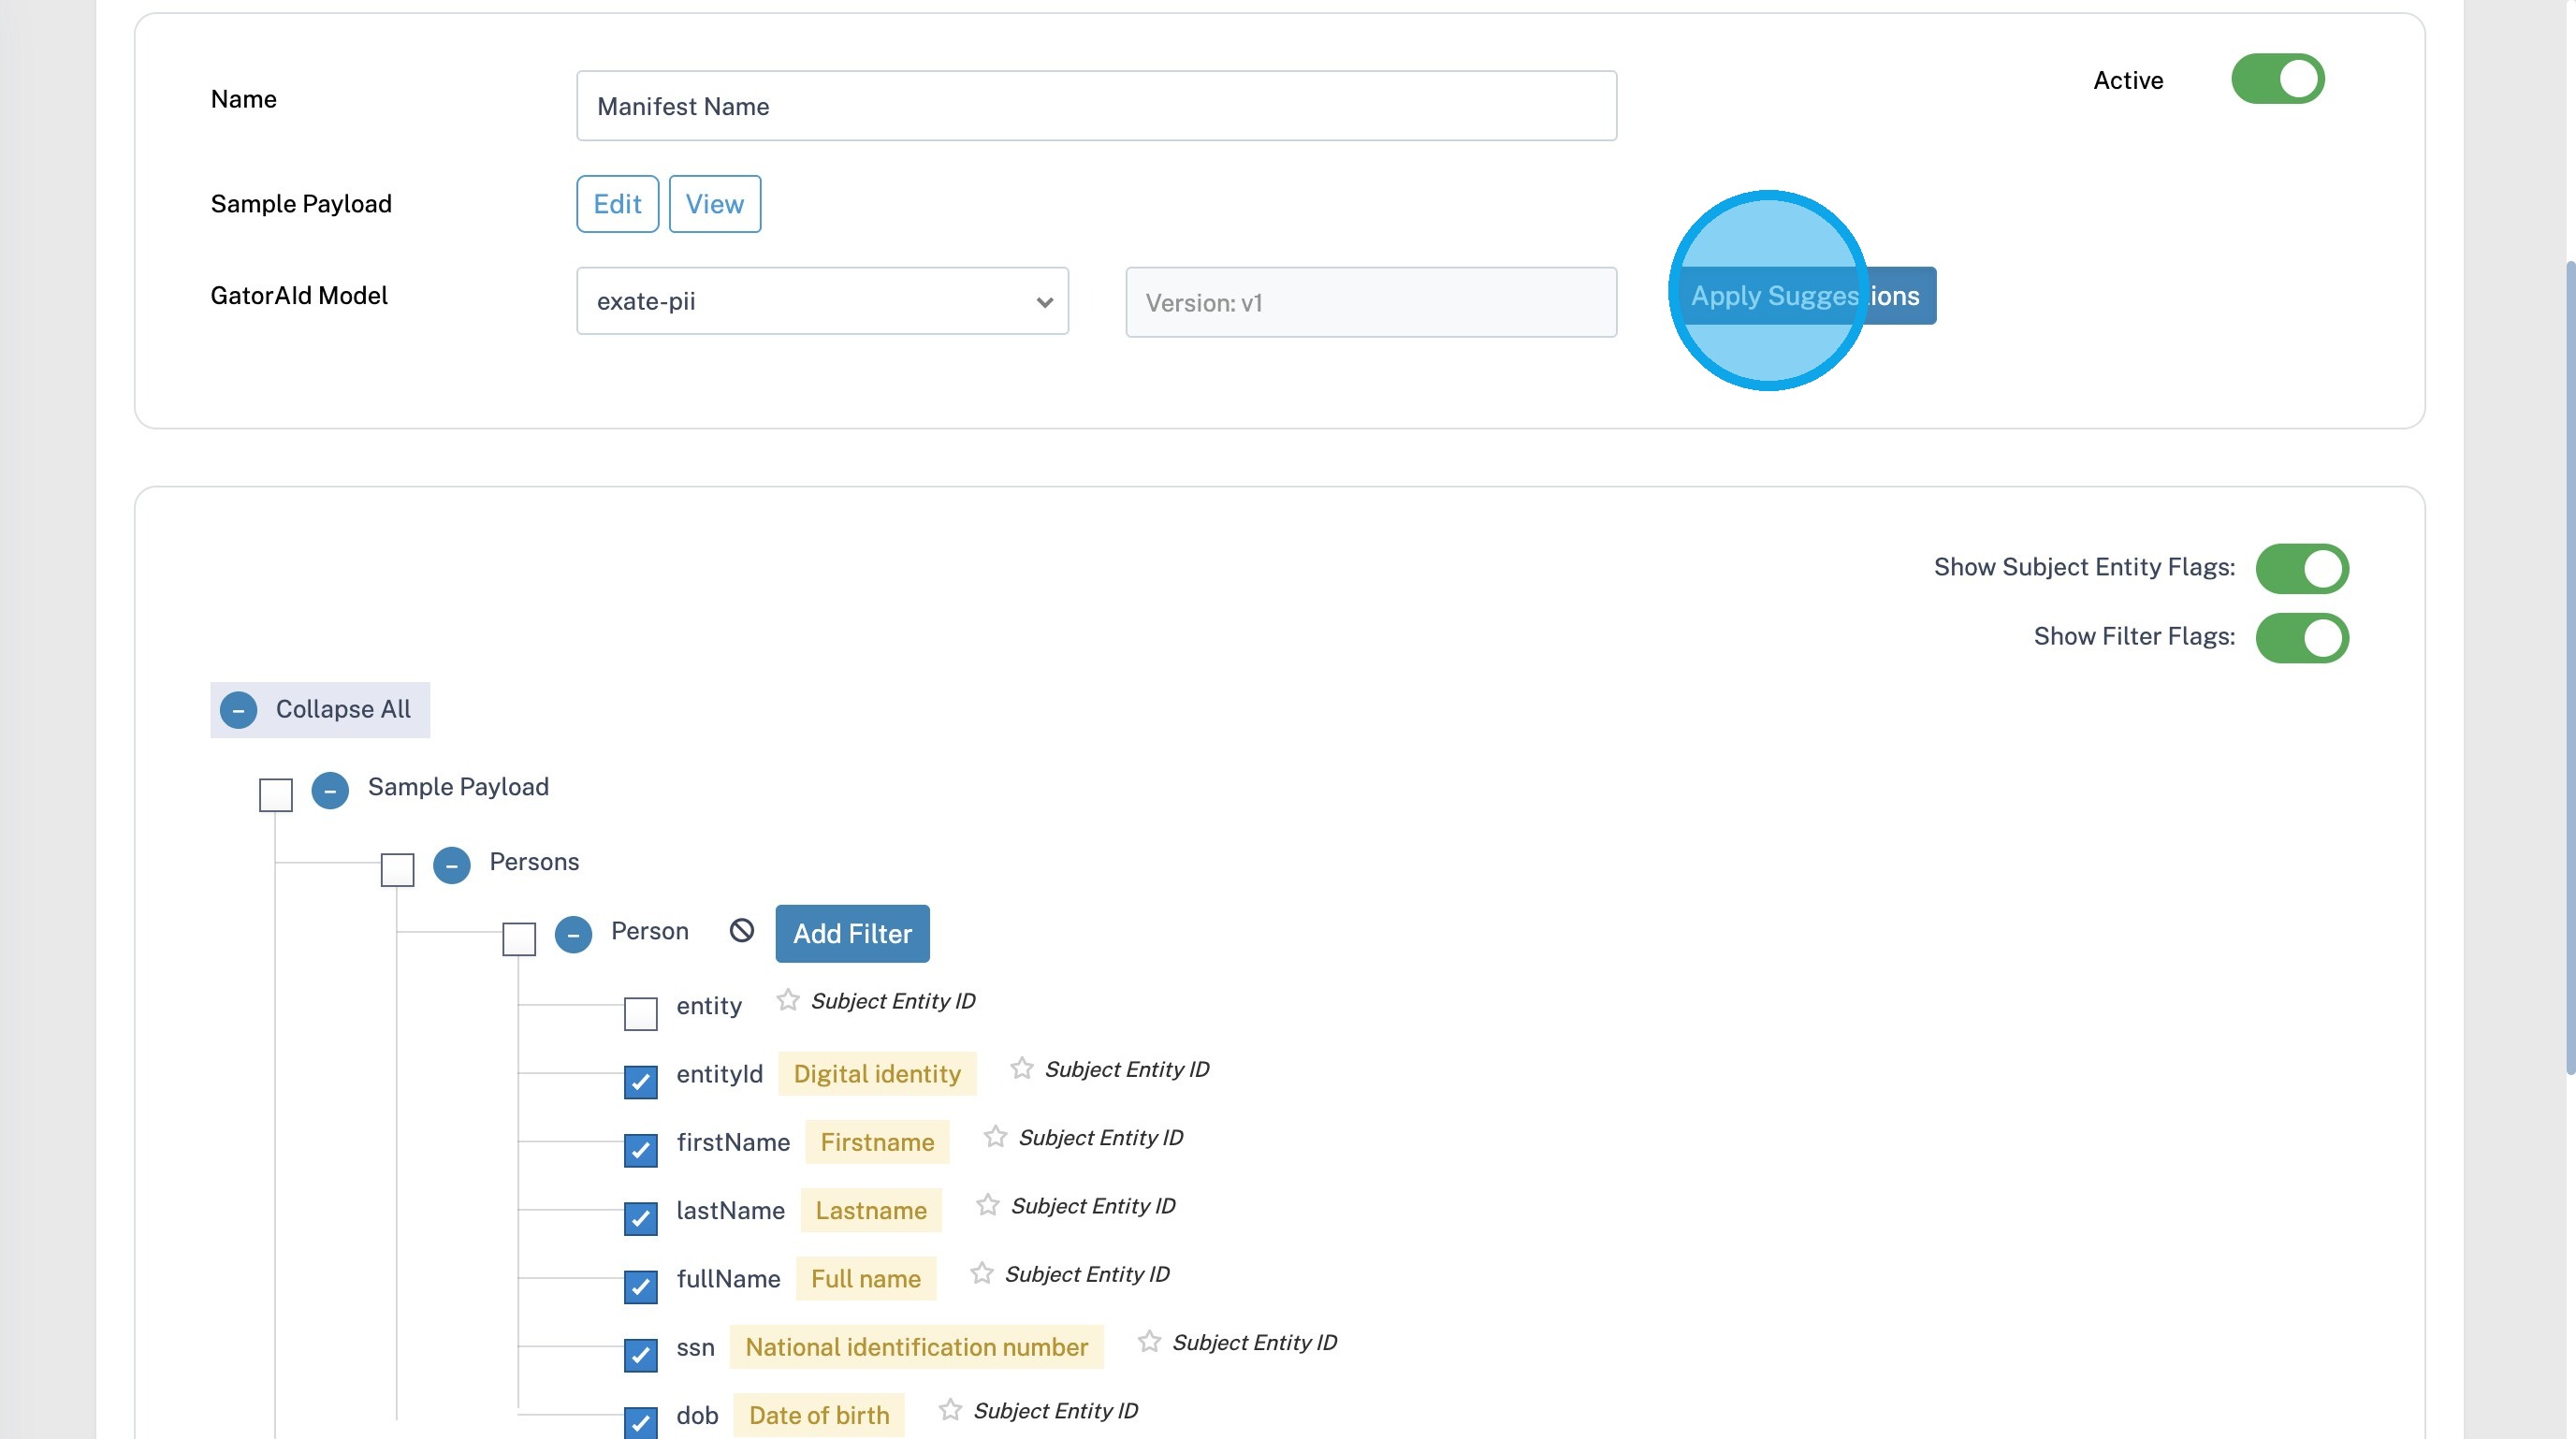
Tip: Only the selected attributes will be added to the Selected Attributes section, where you can configure their protection settings.
Selected Attributes Configuration
Each row in this table is one field from your payload, mapped to how it should be protected.
Video walkthrough
From an earlier product version, so field names or screens may have shifted slightly.
11. The first column "Selector" shows the JSON path expression to identify that particular attribute. This is generated automatically, you shouldn't need to edit it.
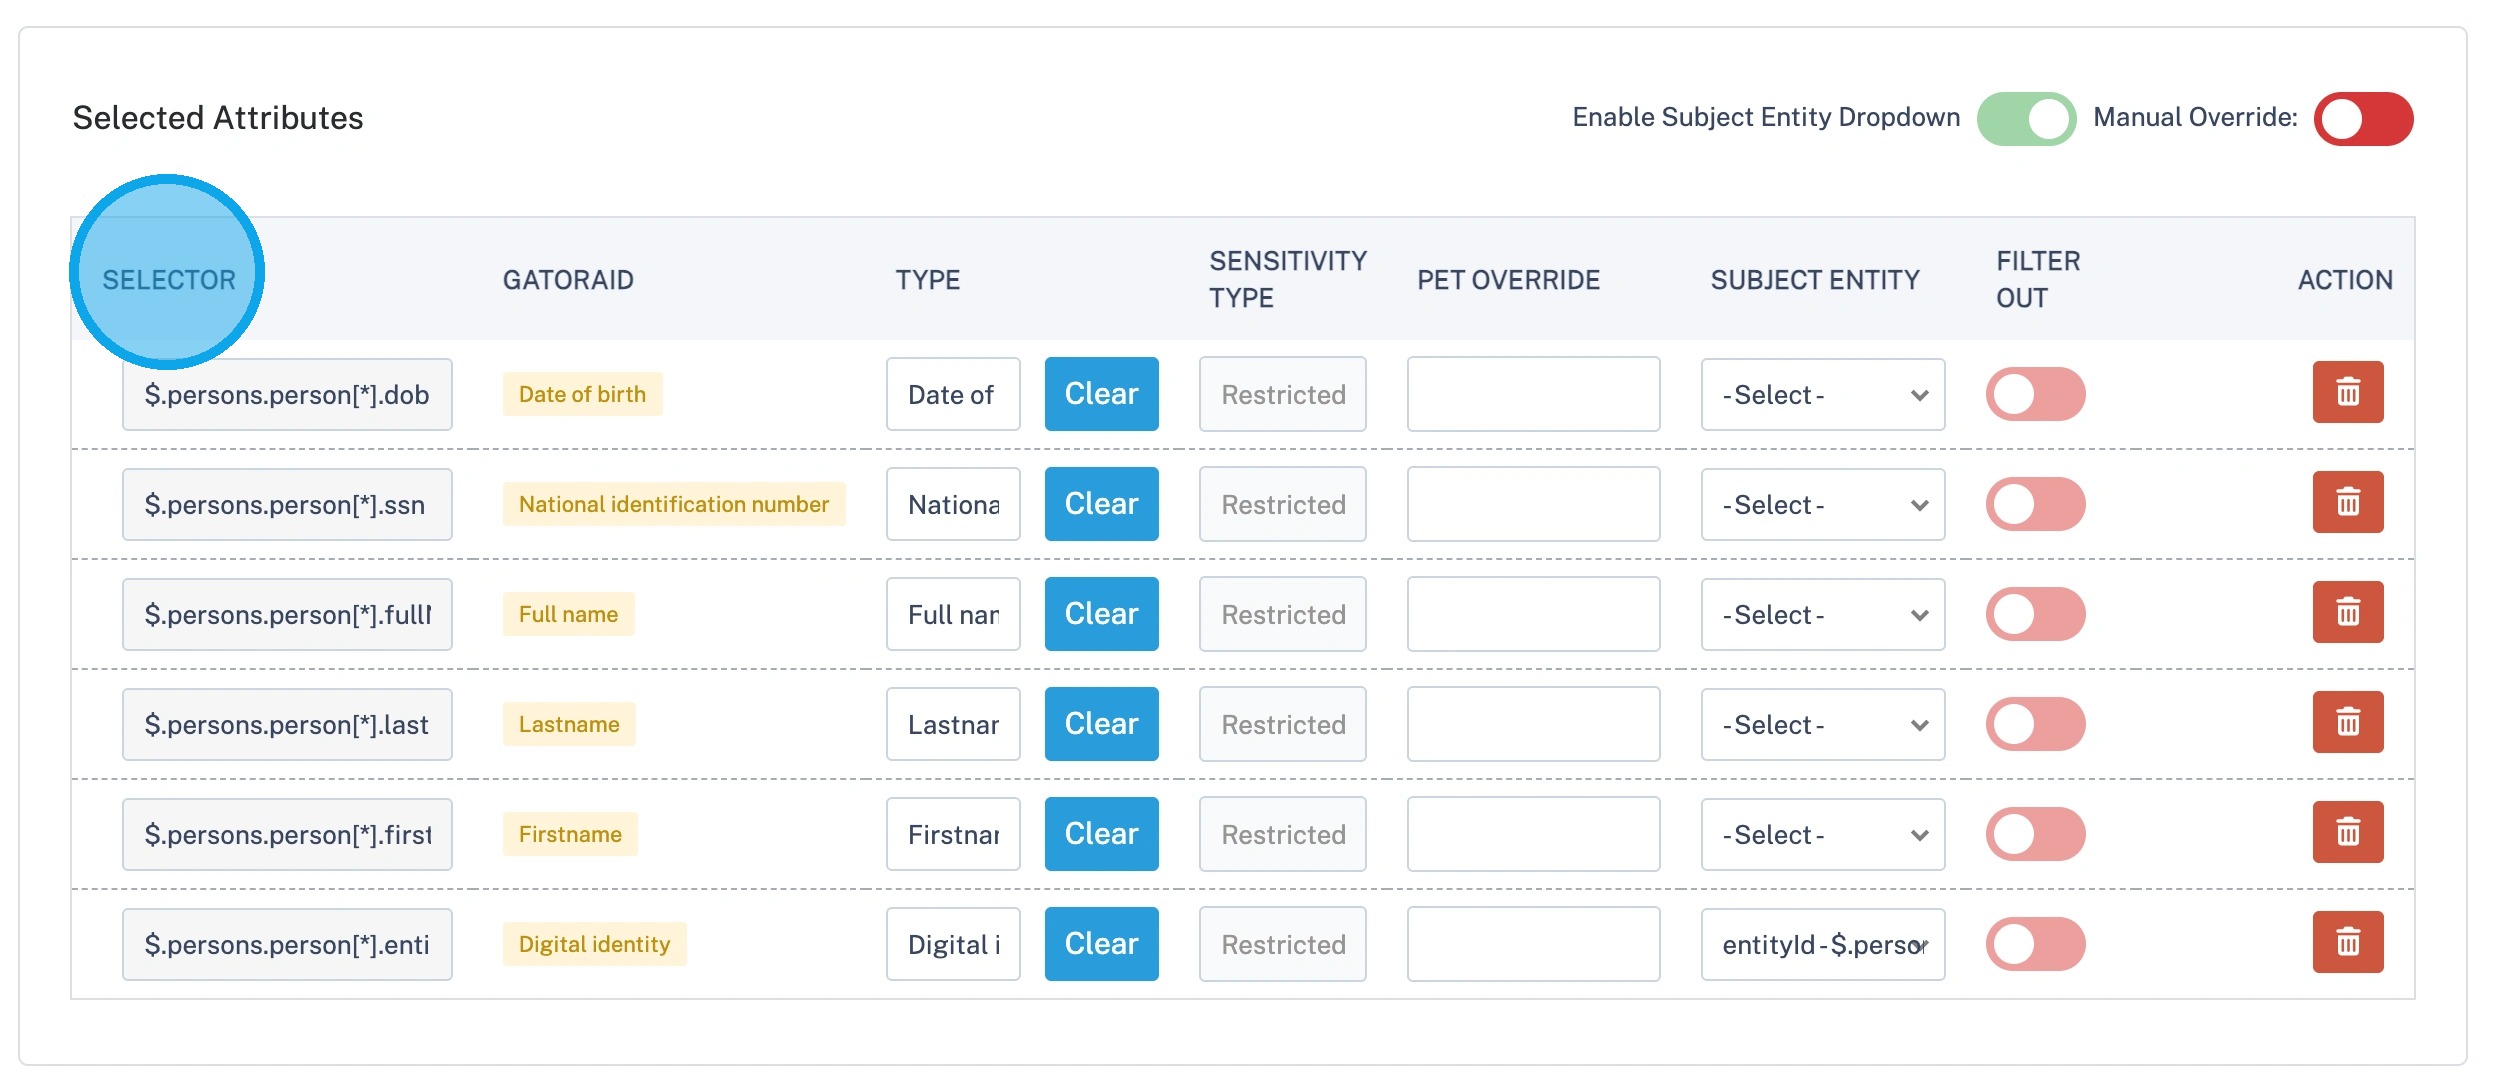
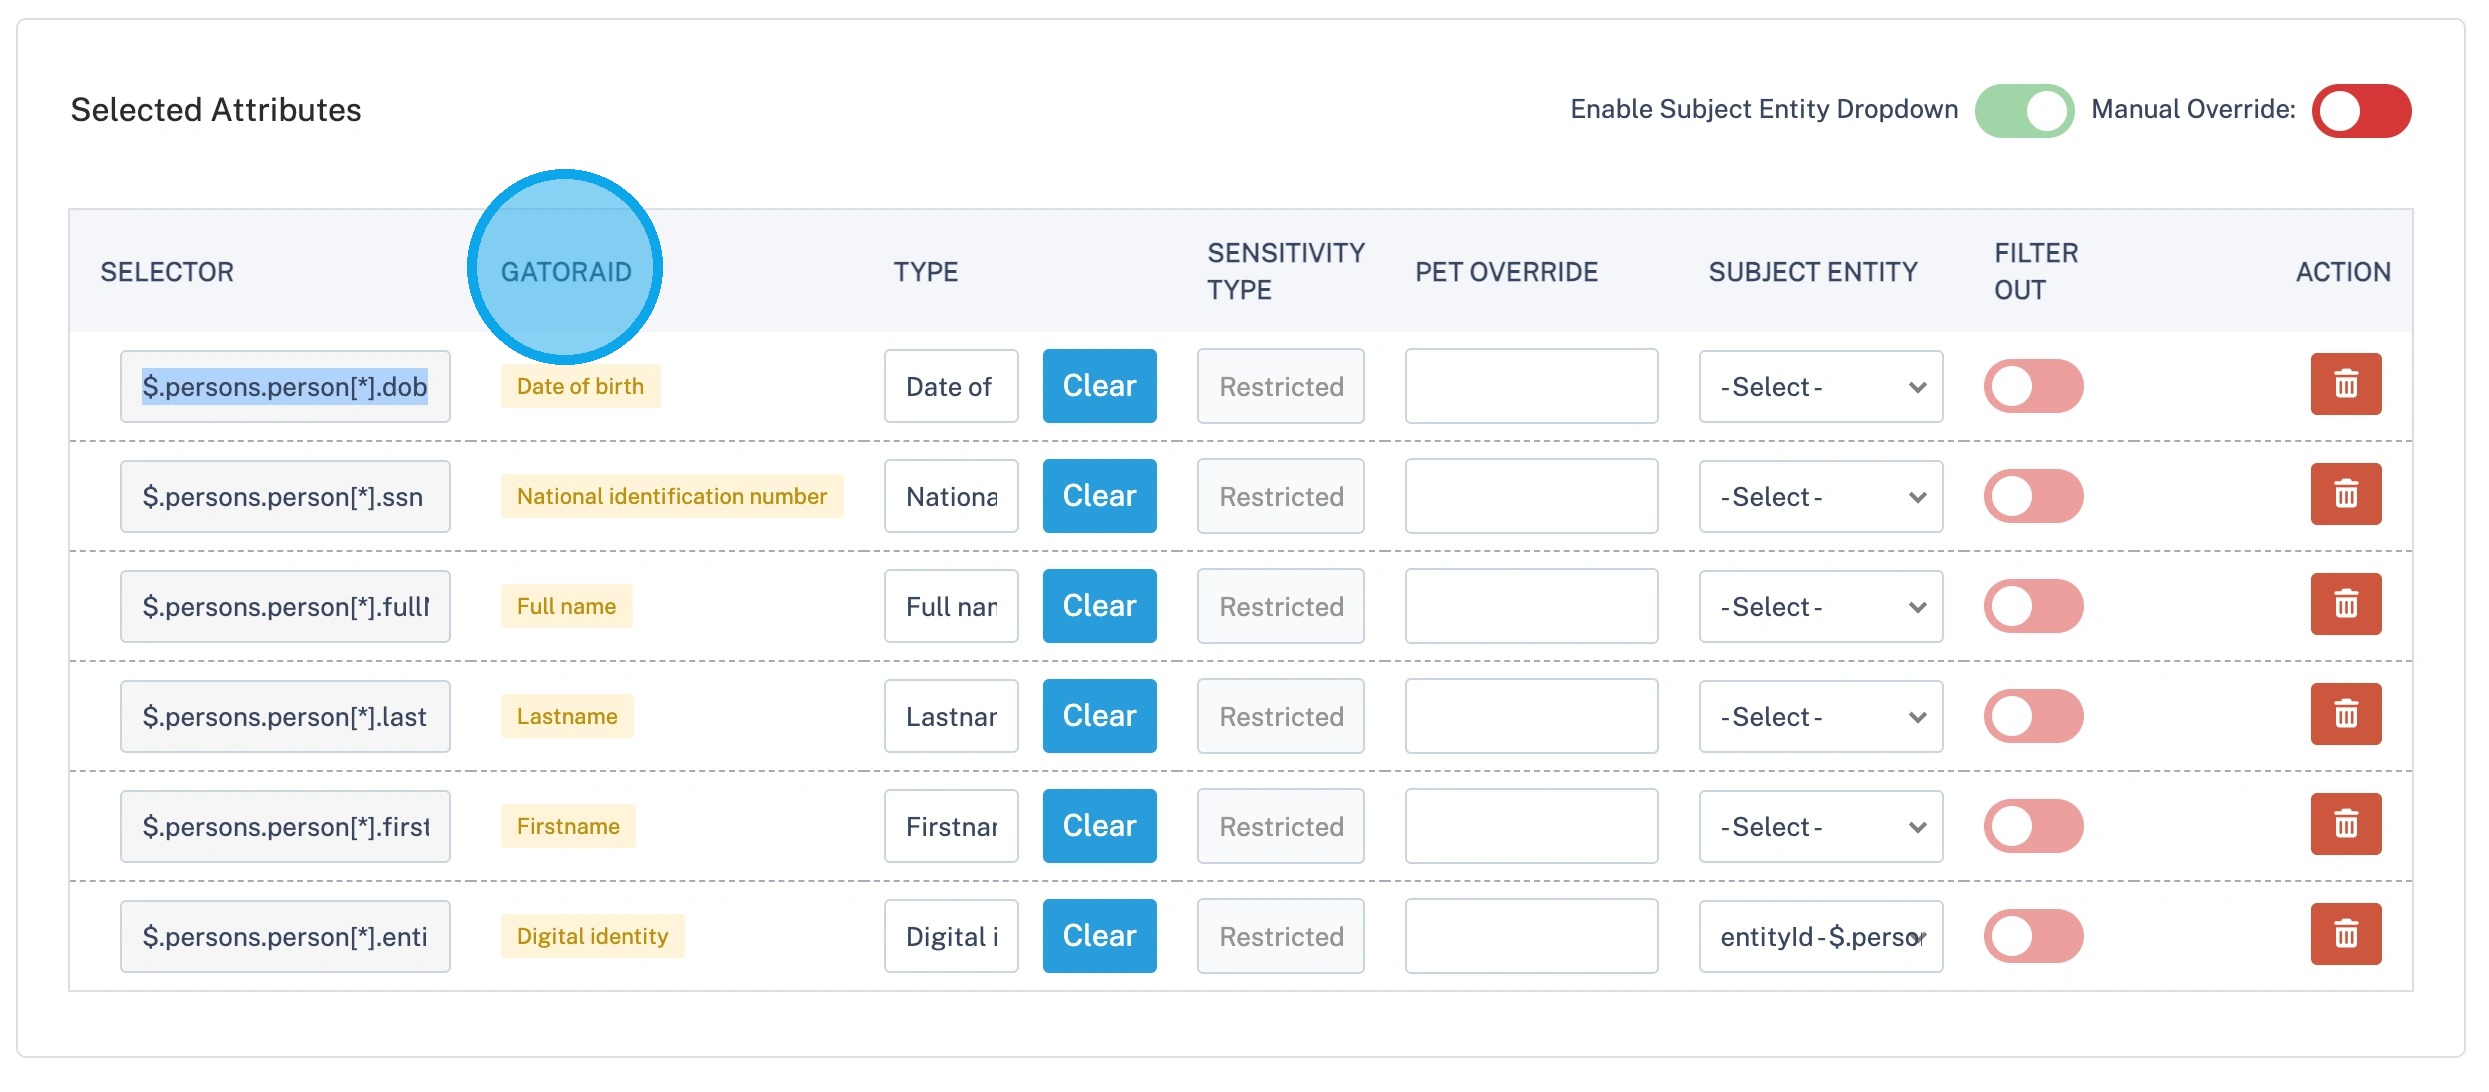
12. The second column, "GatorAId", maps technical field names to recognised business terms.
For example, fname may be mapped to First Name, dob to Date of birth, and ssn to National Identification Number. These suggestions are provided to assist with data classification and can be reviewed before configuring protection Policies.
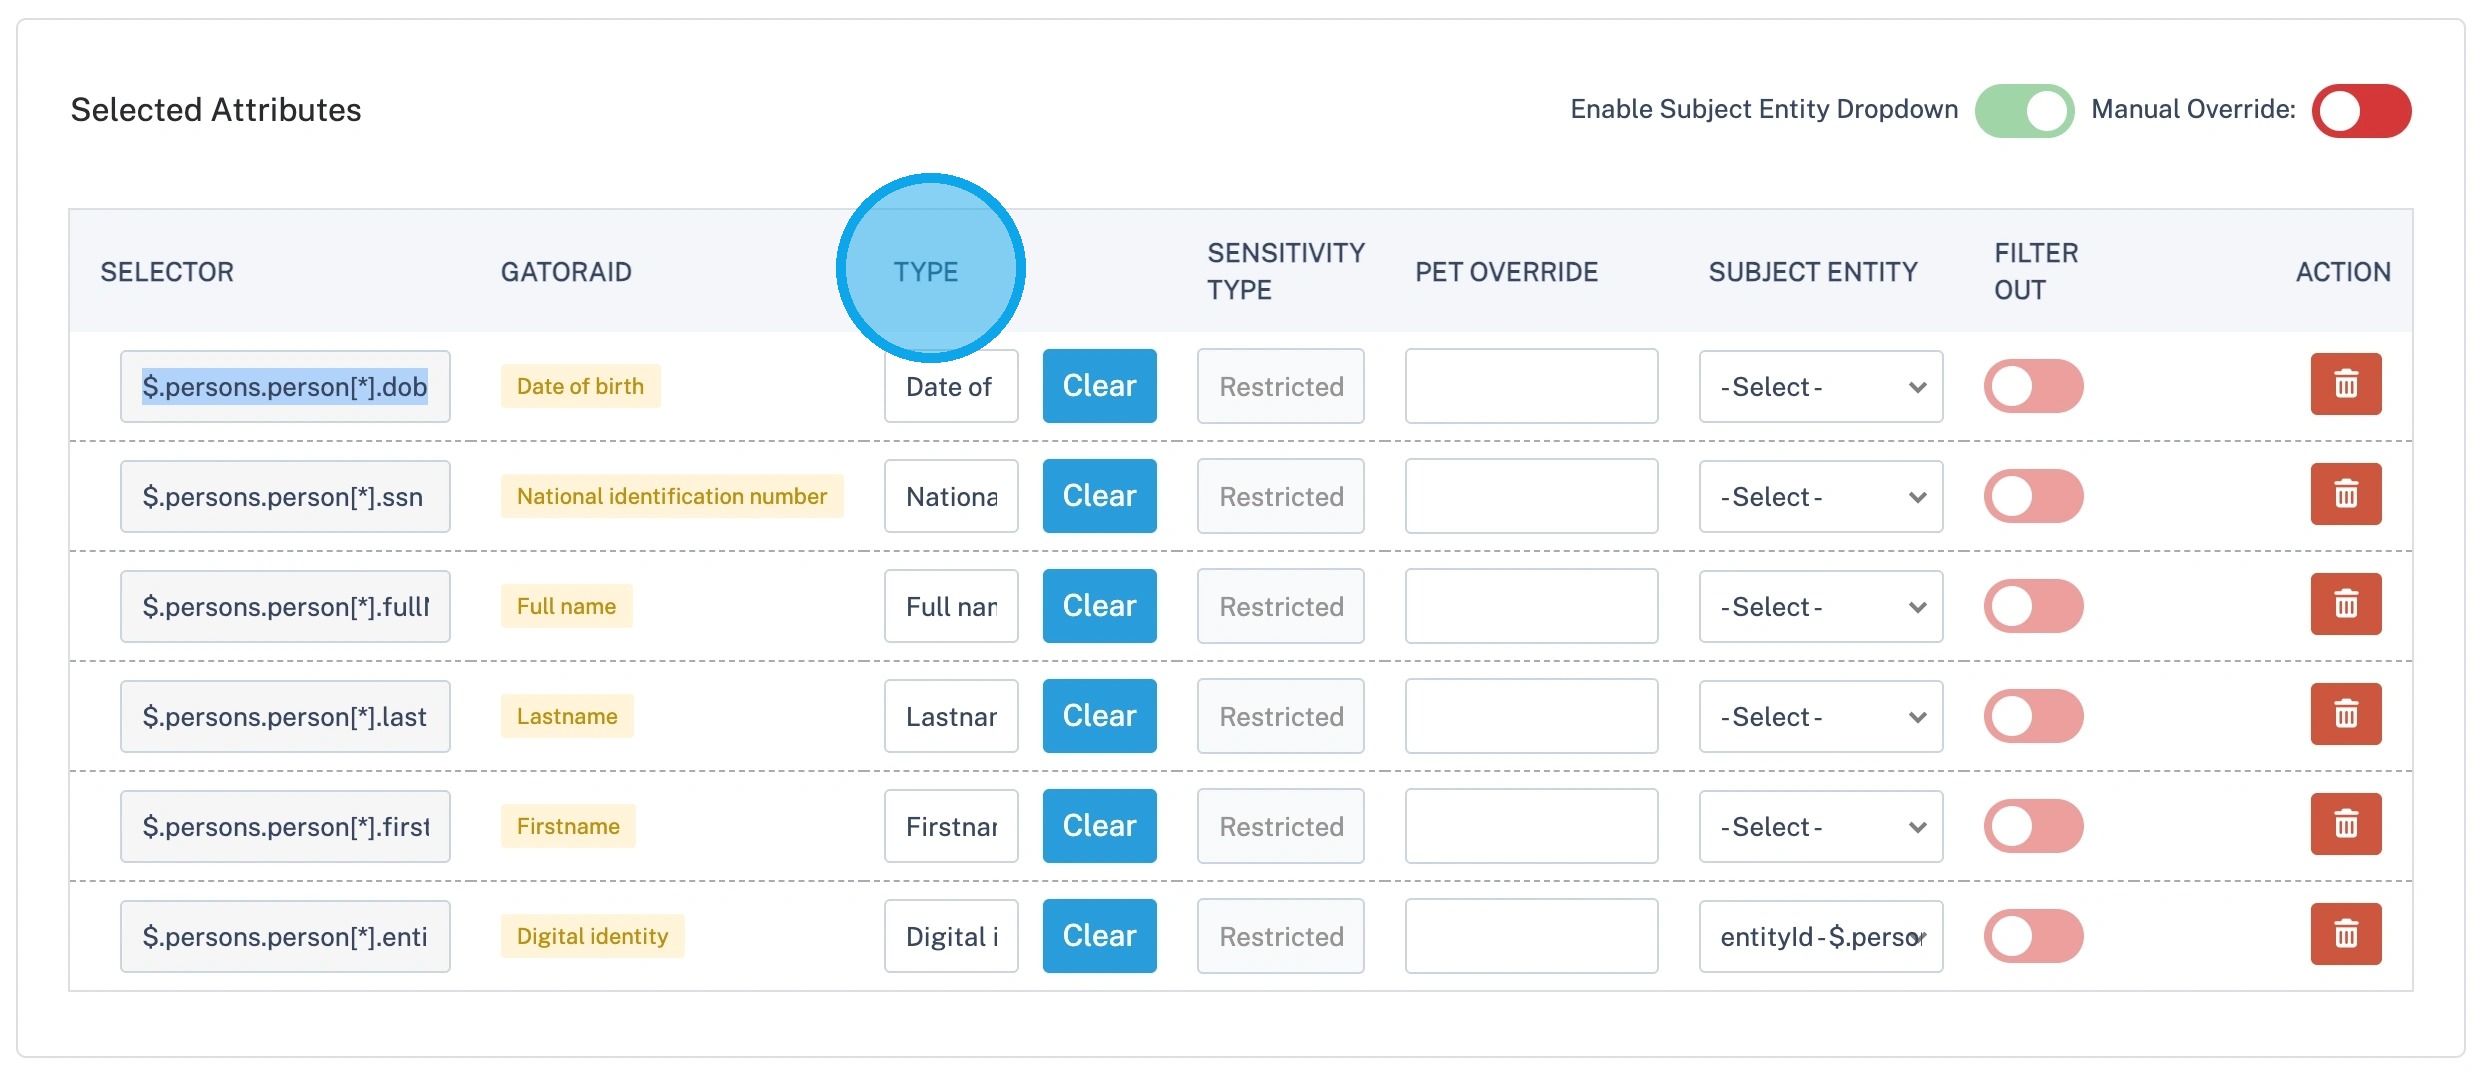
13. The third column, "Type", displays the attribute type associated with each selected field. This value provides a standardised description of the data being protected, such as Date of Birth, First Name, or National Identification Number.
The list of available attribute types can be viewed, added to, or updated in the Attribute Groups section of the platform.
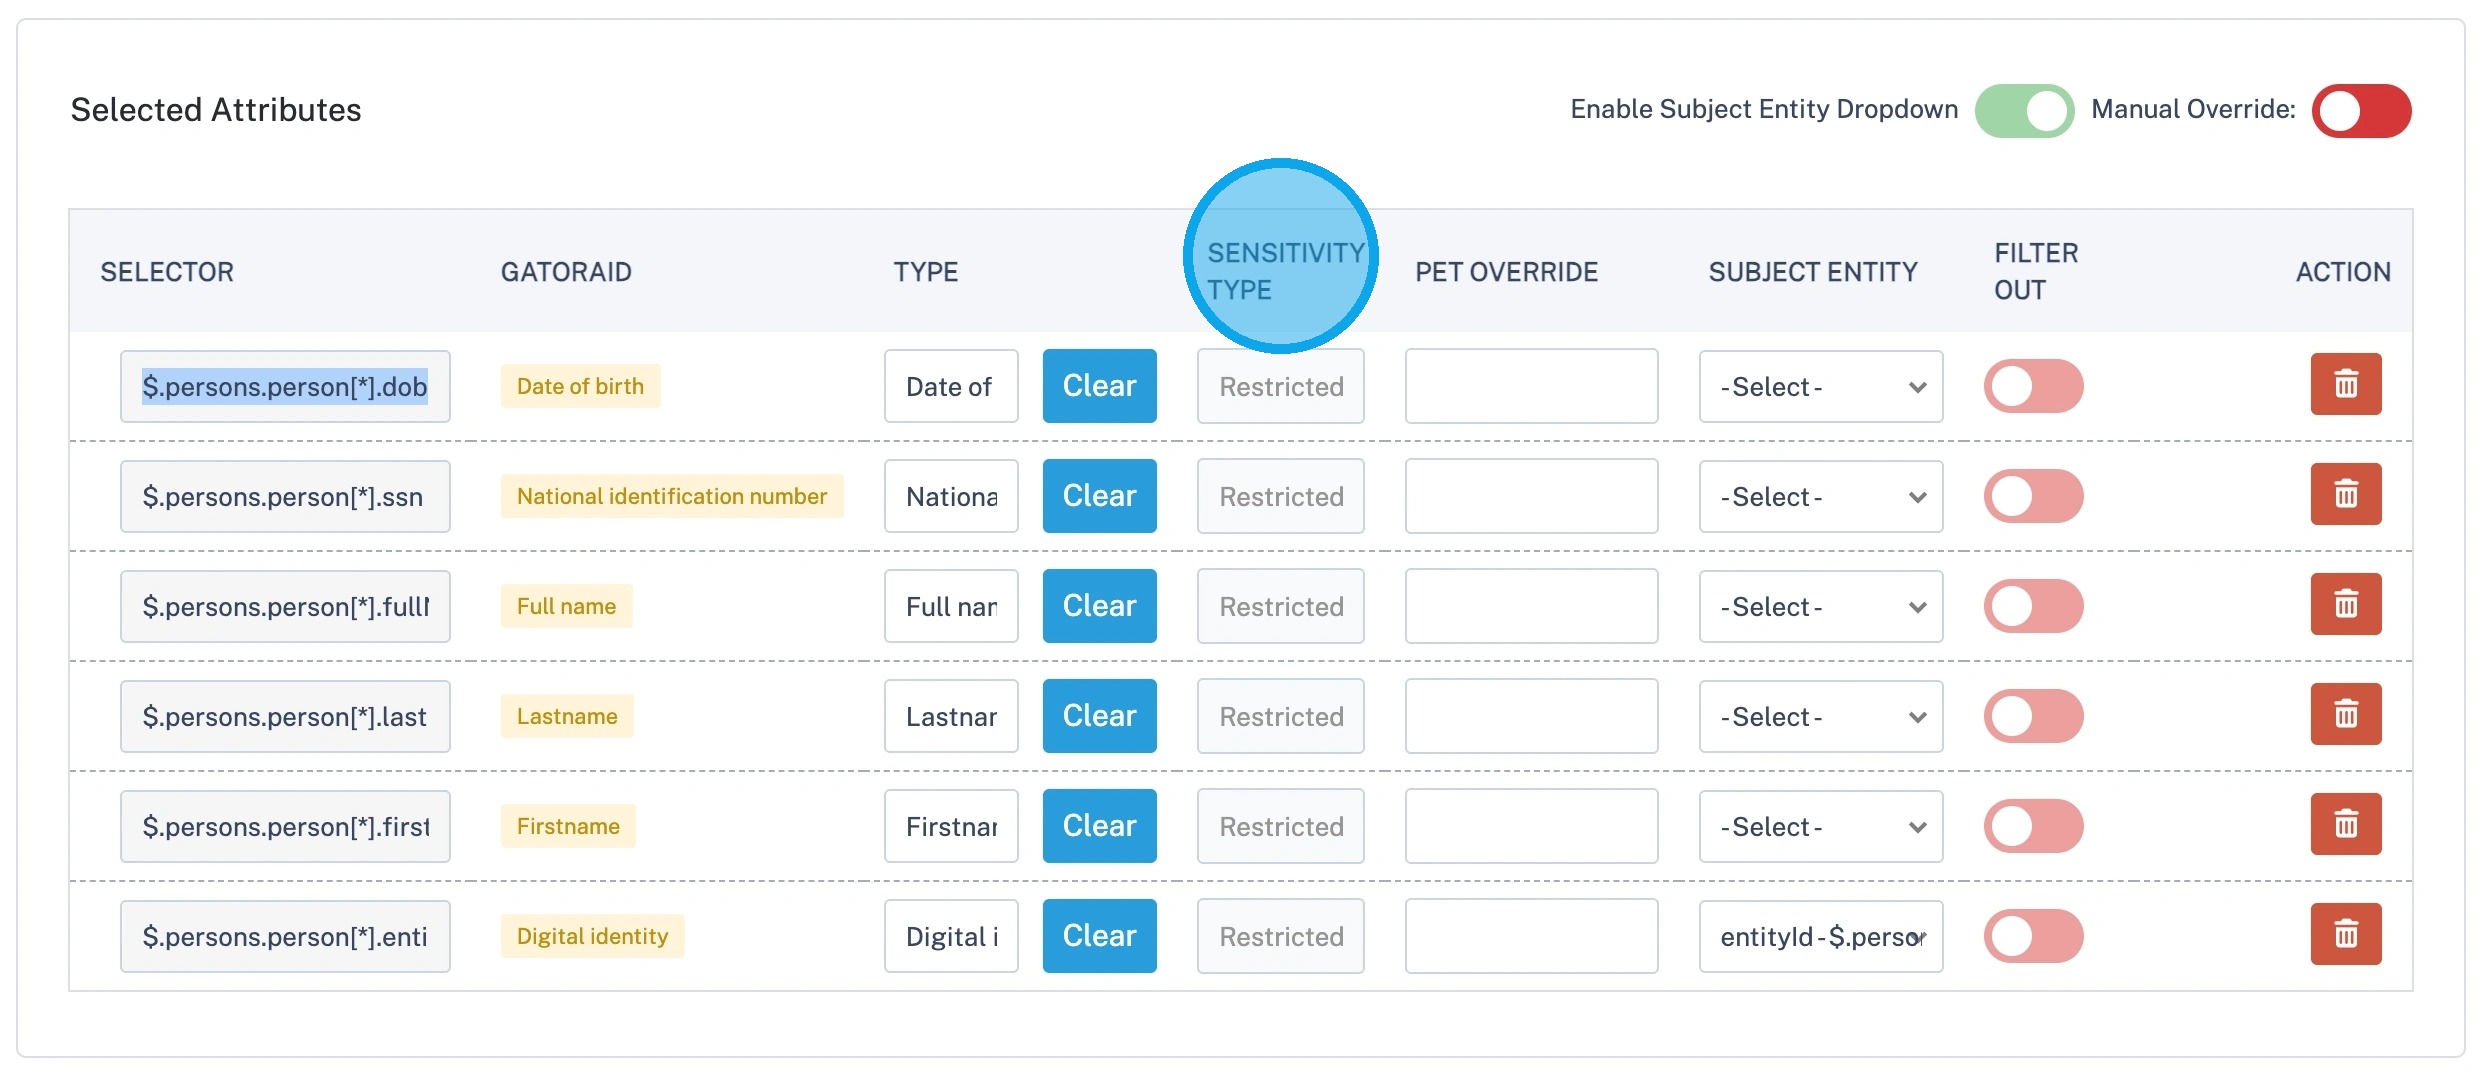
14. The fourth column, "Sensitivity Type", defines the level of sensitivity assigned to the selected attribute. This determines how the data is classified within the platform.
Sensitivity types can be viewed, created, and updated in the Attribute Groups section of the platform.
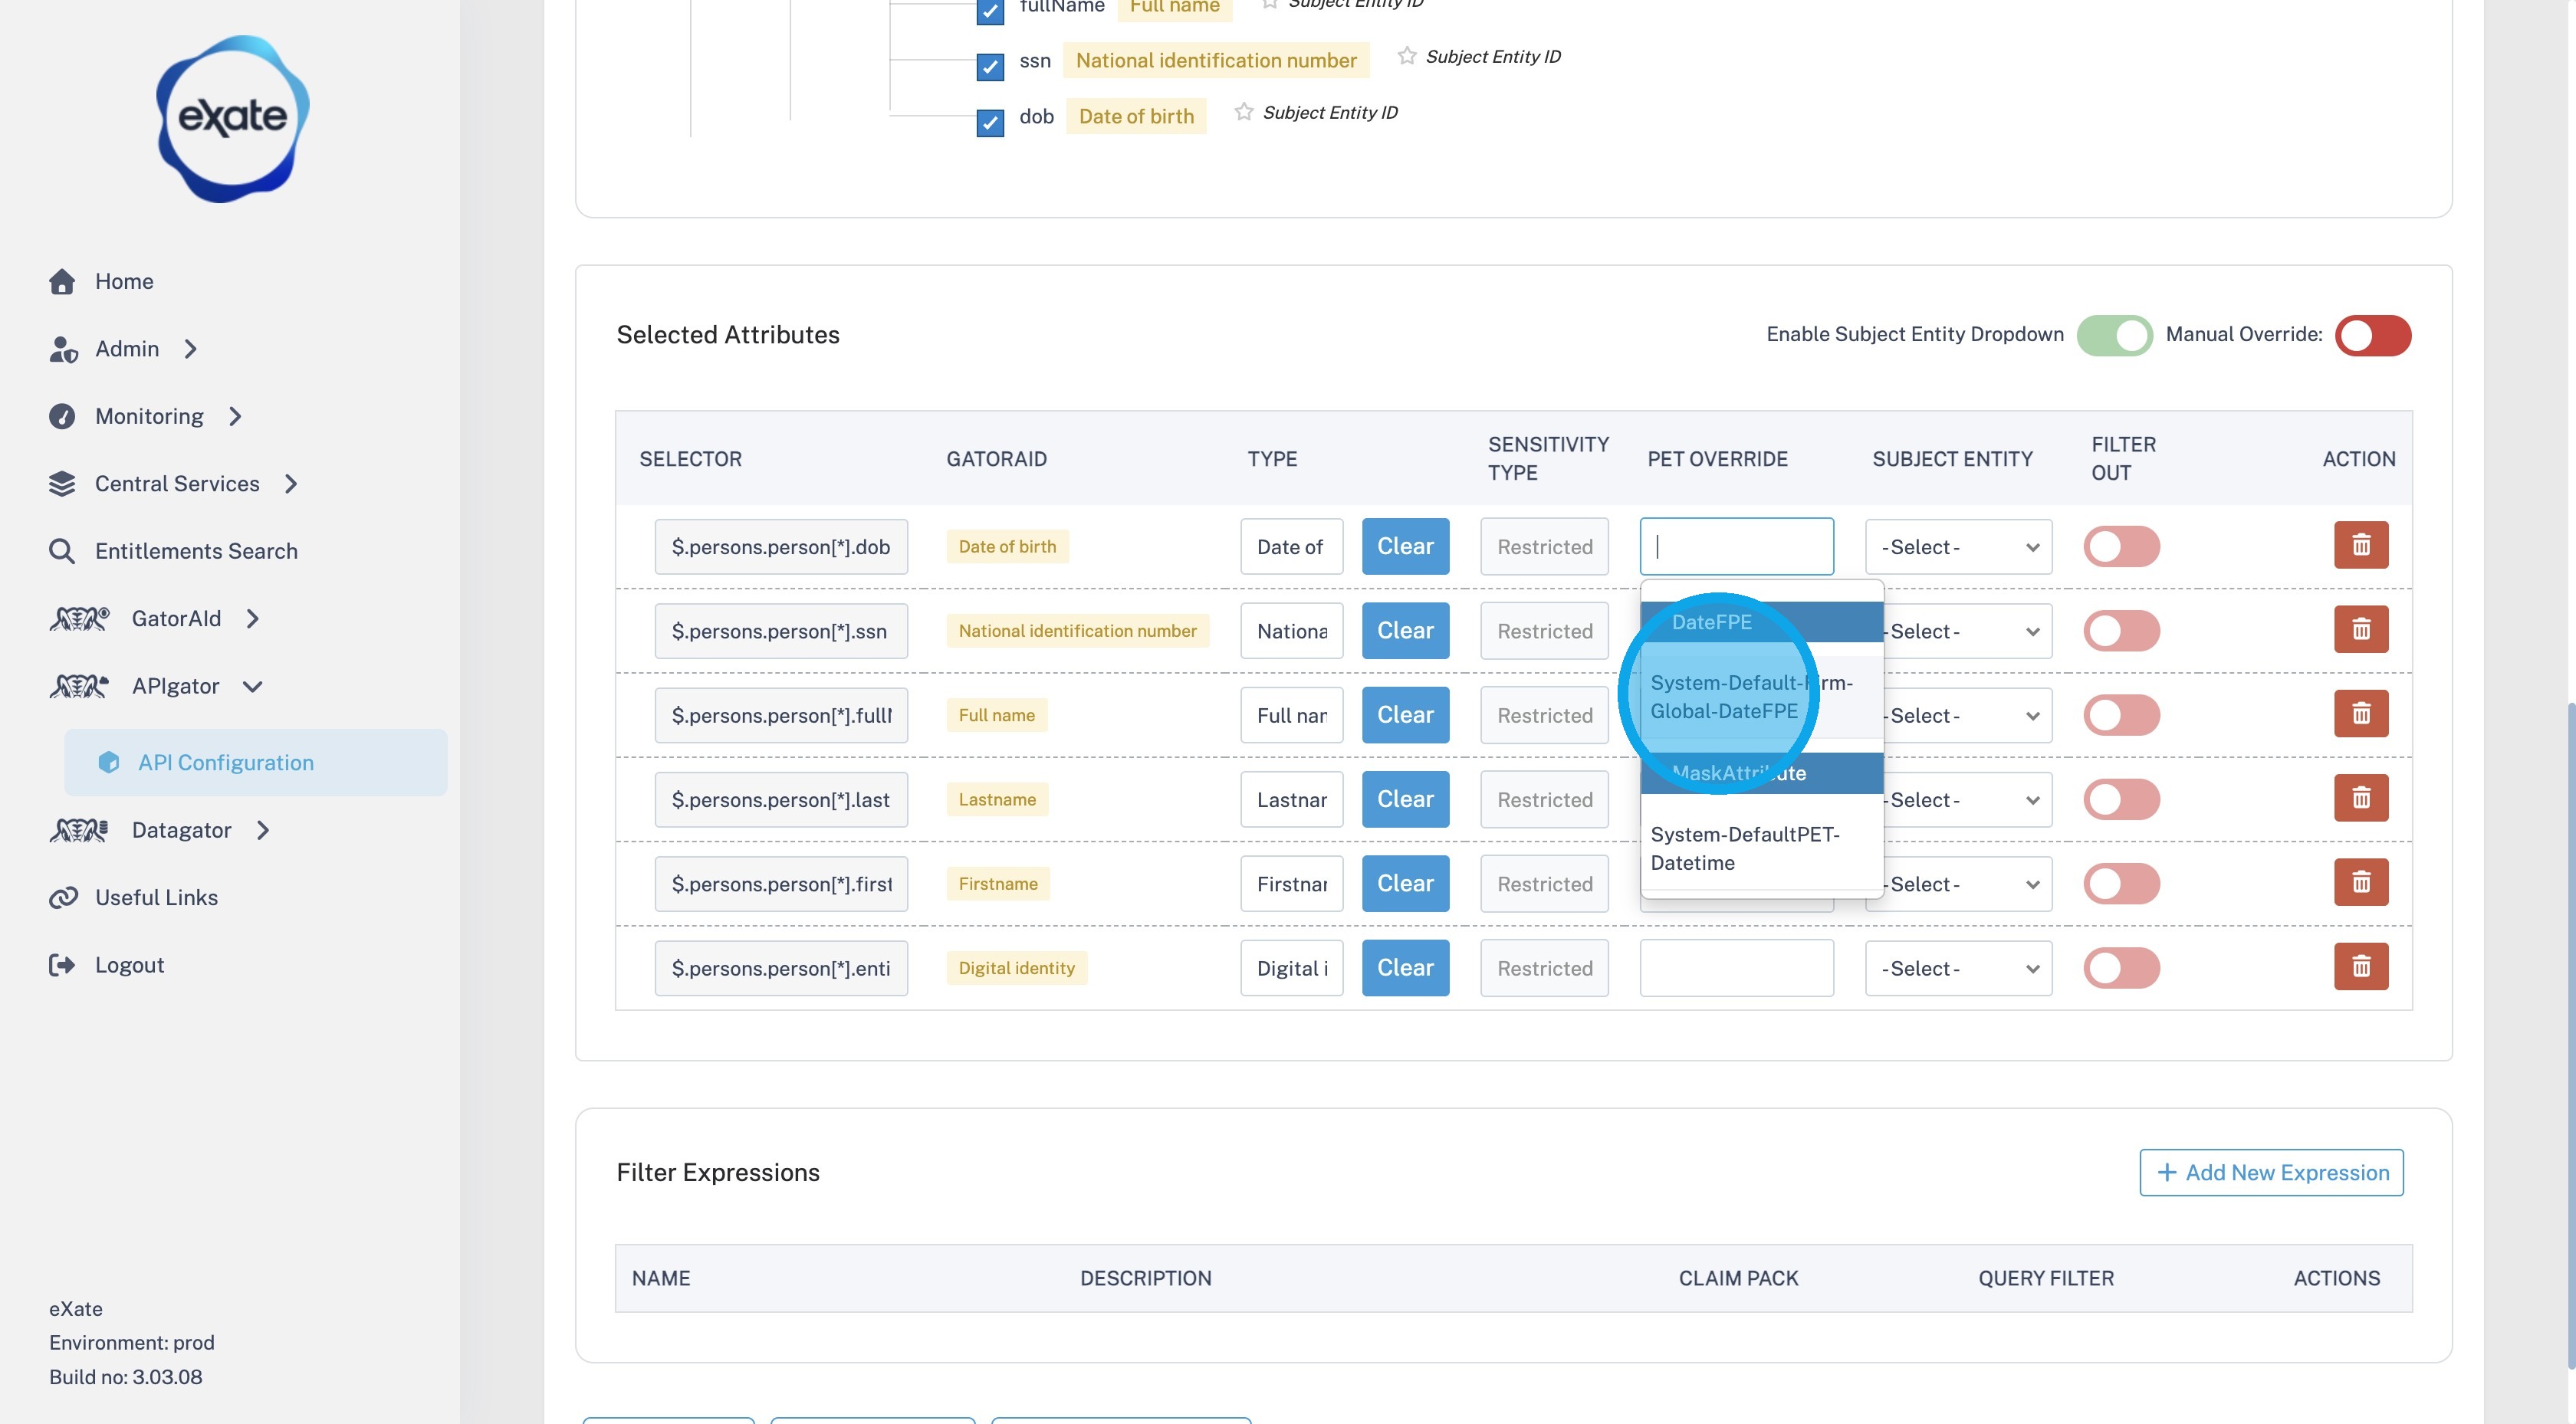
15. The fifth column, "PET Override", allows you to override the default Privacy Enhancing Technology (PET) applied to the selected attribute. This enables you to specify how the data should be protected while preserving the format or characteristics required by downstream applications.
For example, if an attribute contains a date, you may choose a PET that preserves the date format. This ensures the protected data remains compatible with downstream systems and applications that rely on a valid date format, while still protecting the sensitive information.
Concept check: if you choose a substitution-based PET here, the replacement value comes from a List, and by default the mapping is deterministic, the same input always produces the same output, e.g. "Alice" always becomes "Jane," everywhere. This consistency is controlled by a seed value called SnapshotDate, see Deterministic Masking and SnapshotDate if you need non-deterministic behaviour instead.
Tip: "Subject Entity" and "Filter Out" are available in the current release of the platform. These columns are scheduled for removal in a future release and will no longer appear in the "Selected Attributes" table.
Test Manifest
Concept check: Test Manifest lets you simulate a real request before anything goes live, so you can confirm your Policies and PETs behave as expected against the actual sample payload.
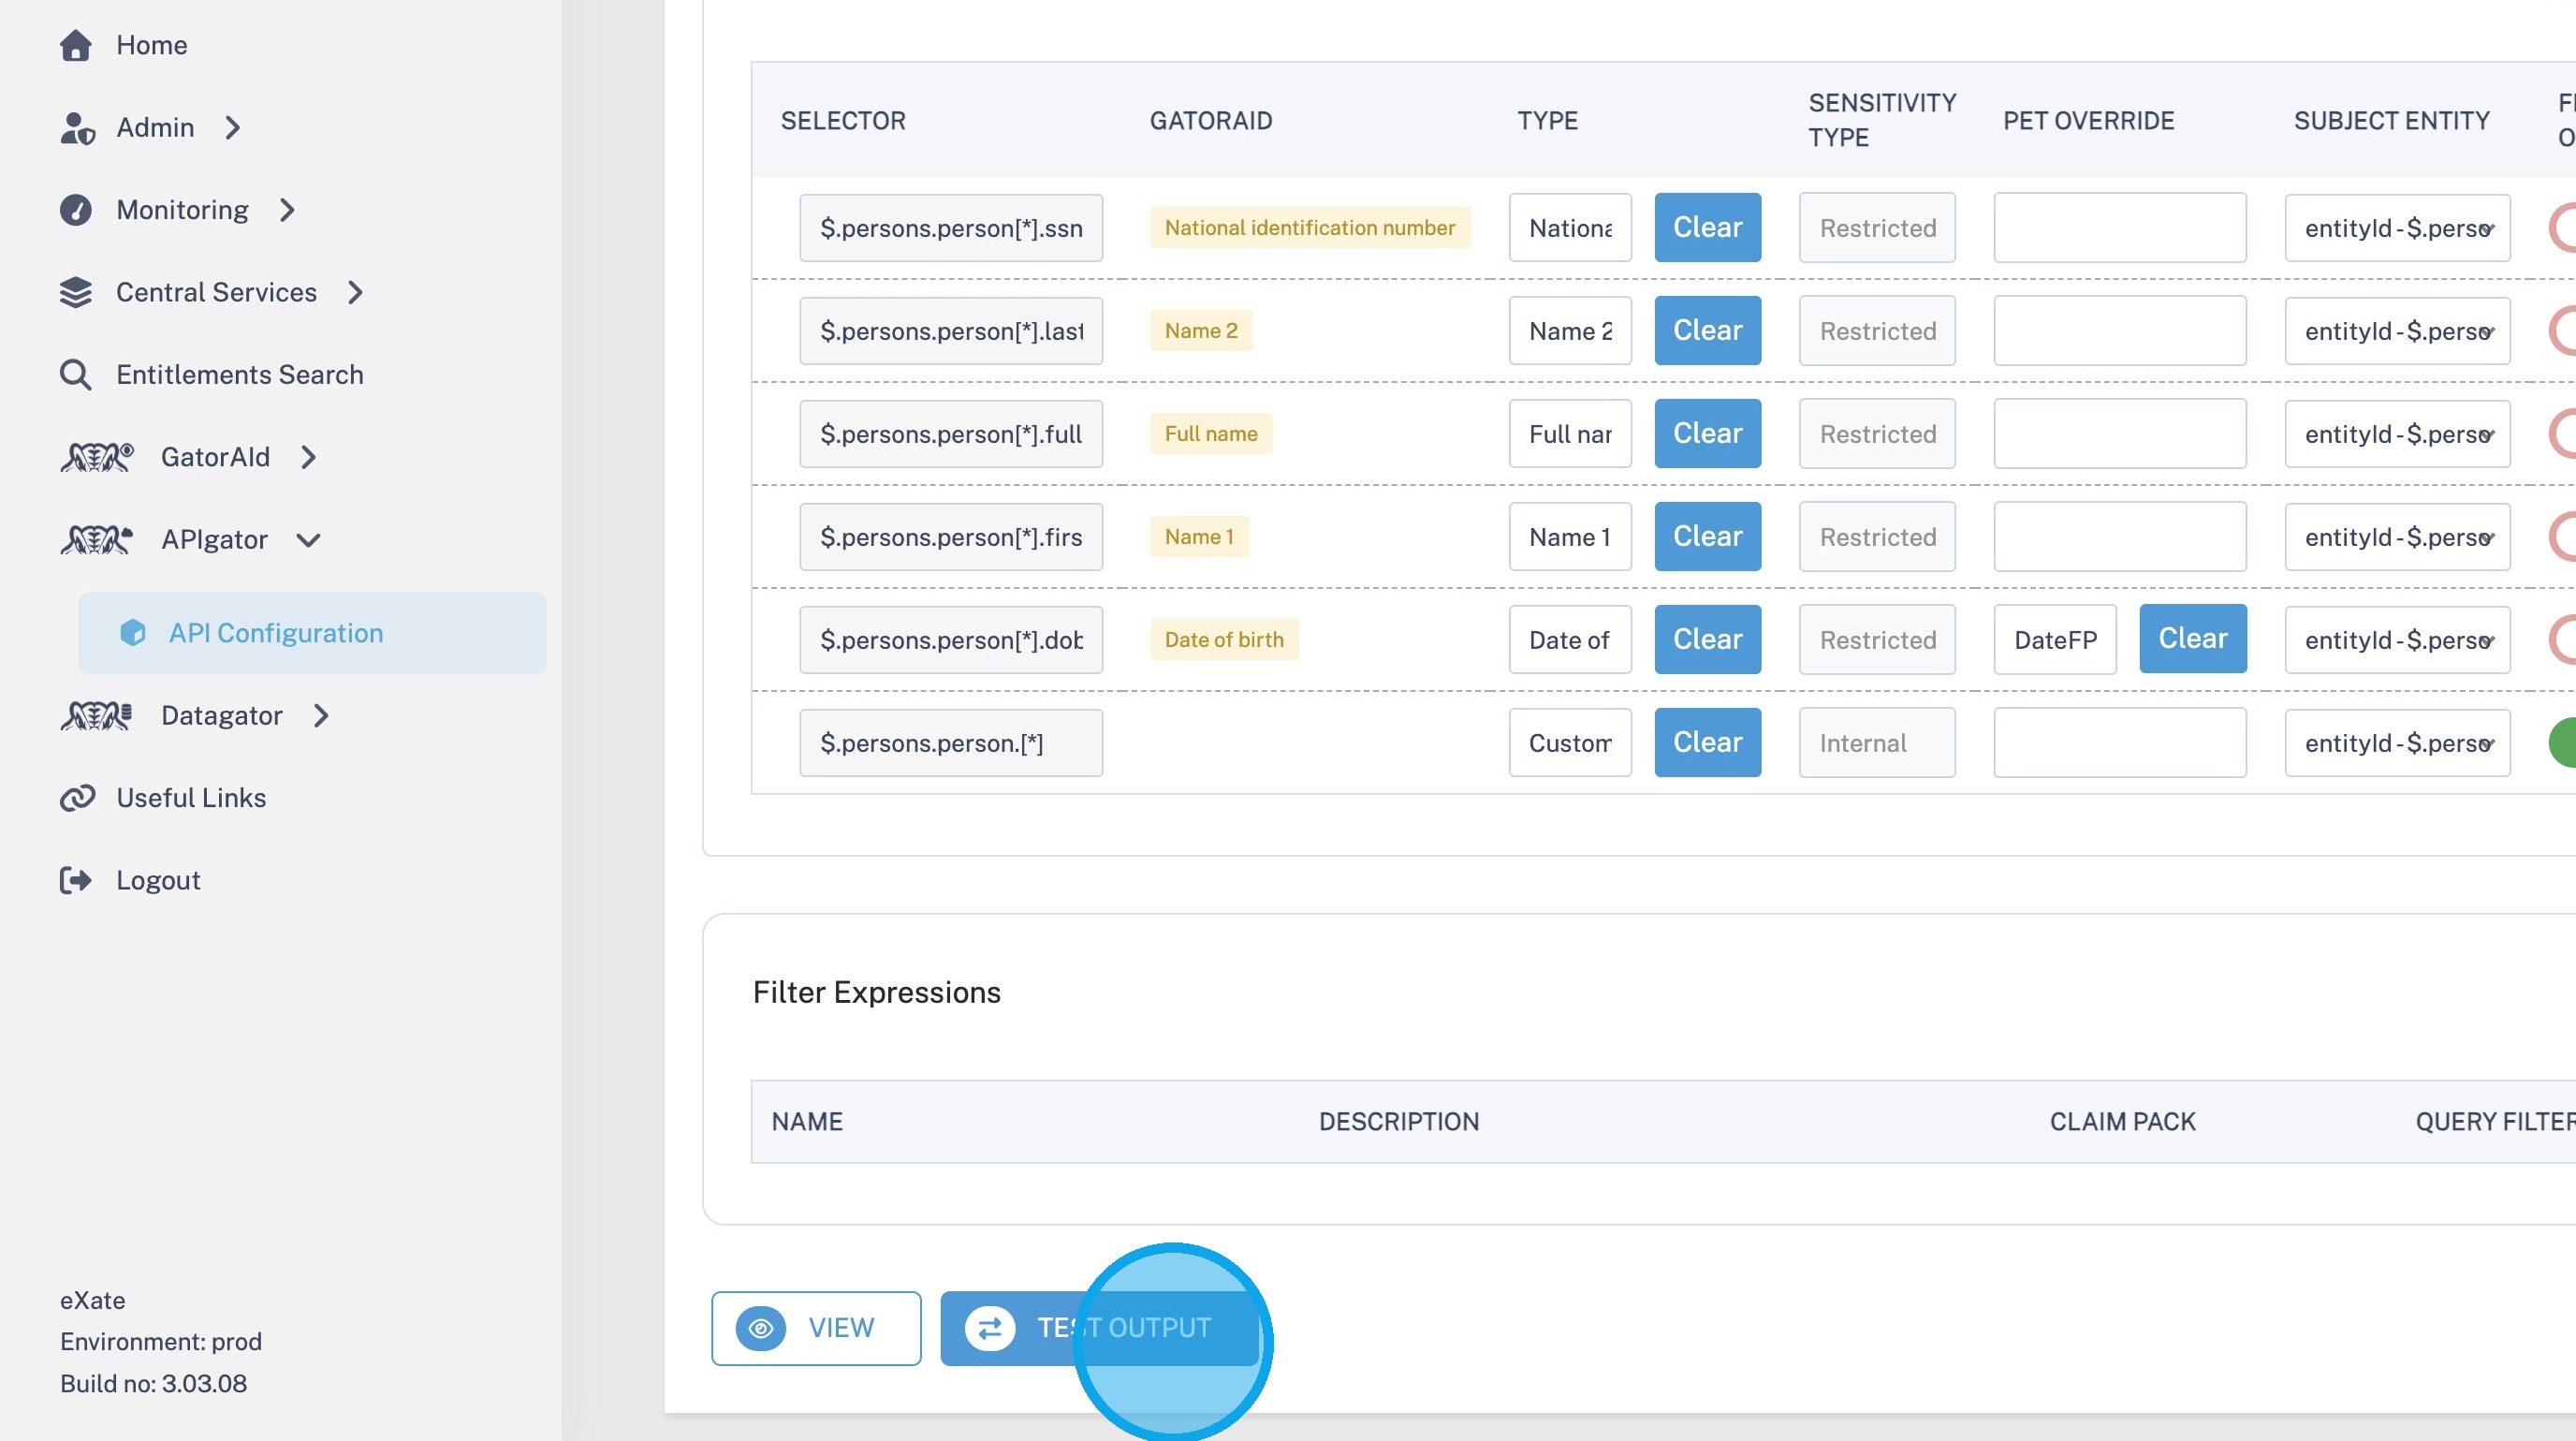
16. Click "Test Output" to configure how the job will be executed, then run a test to verify that the expected output is returned.
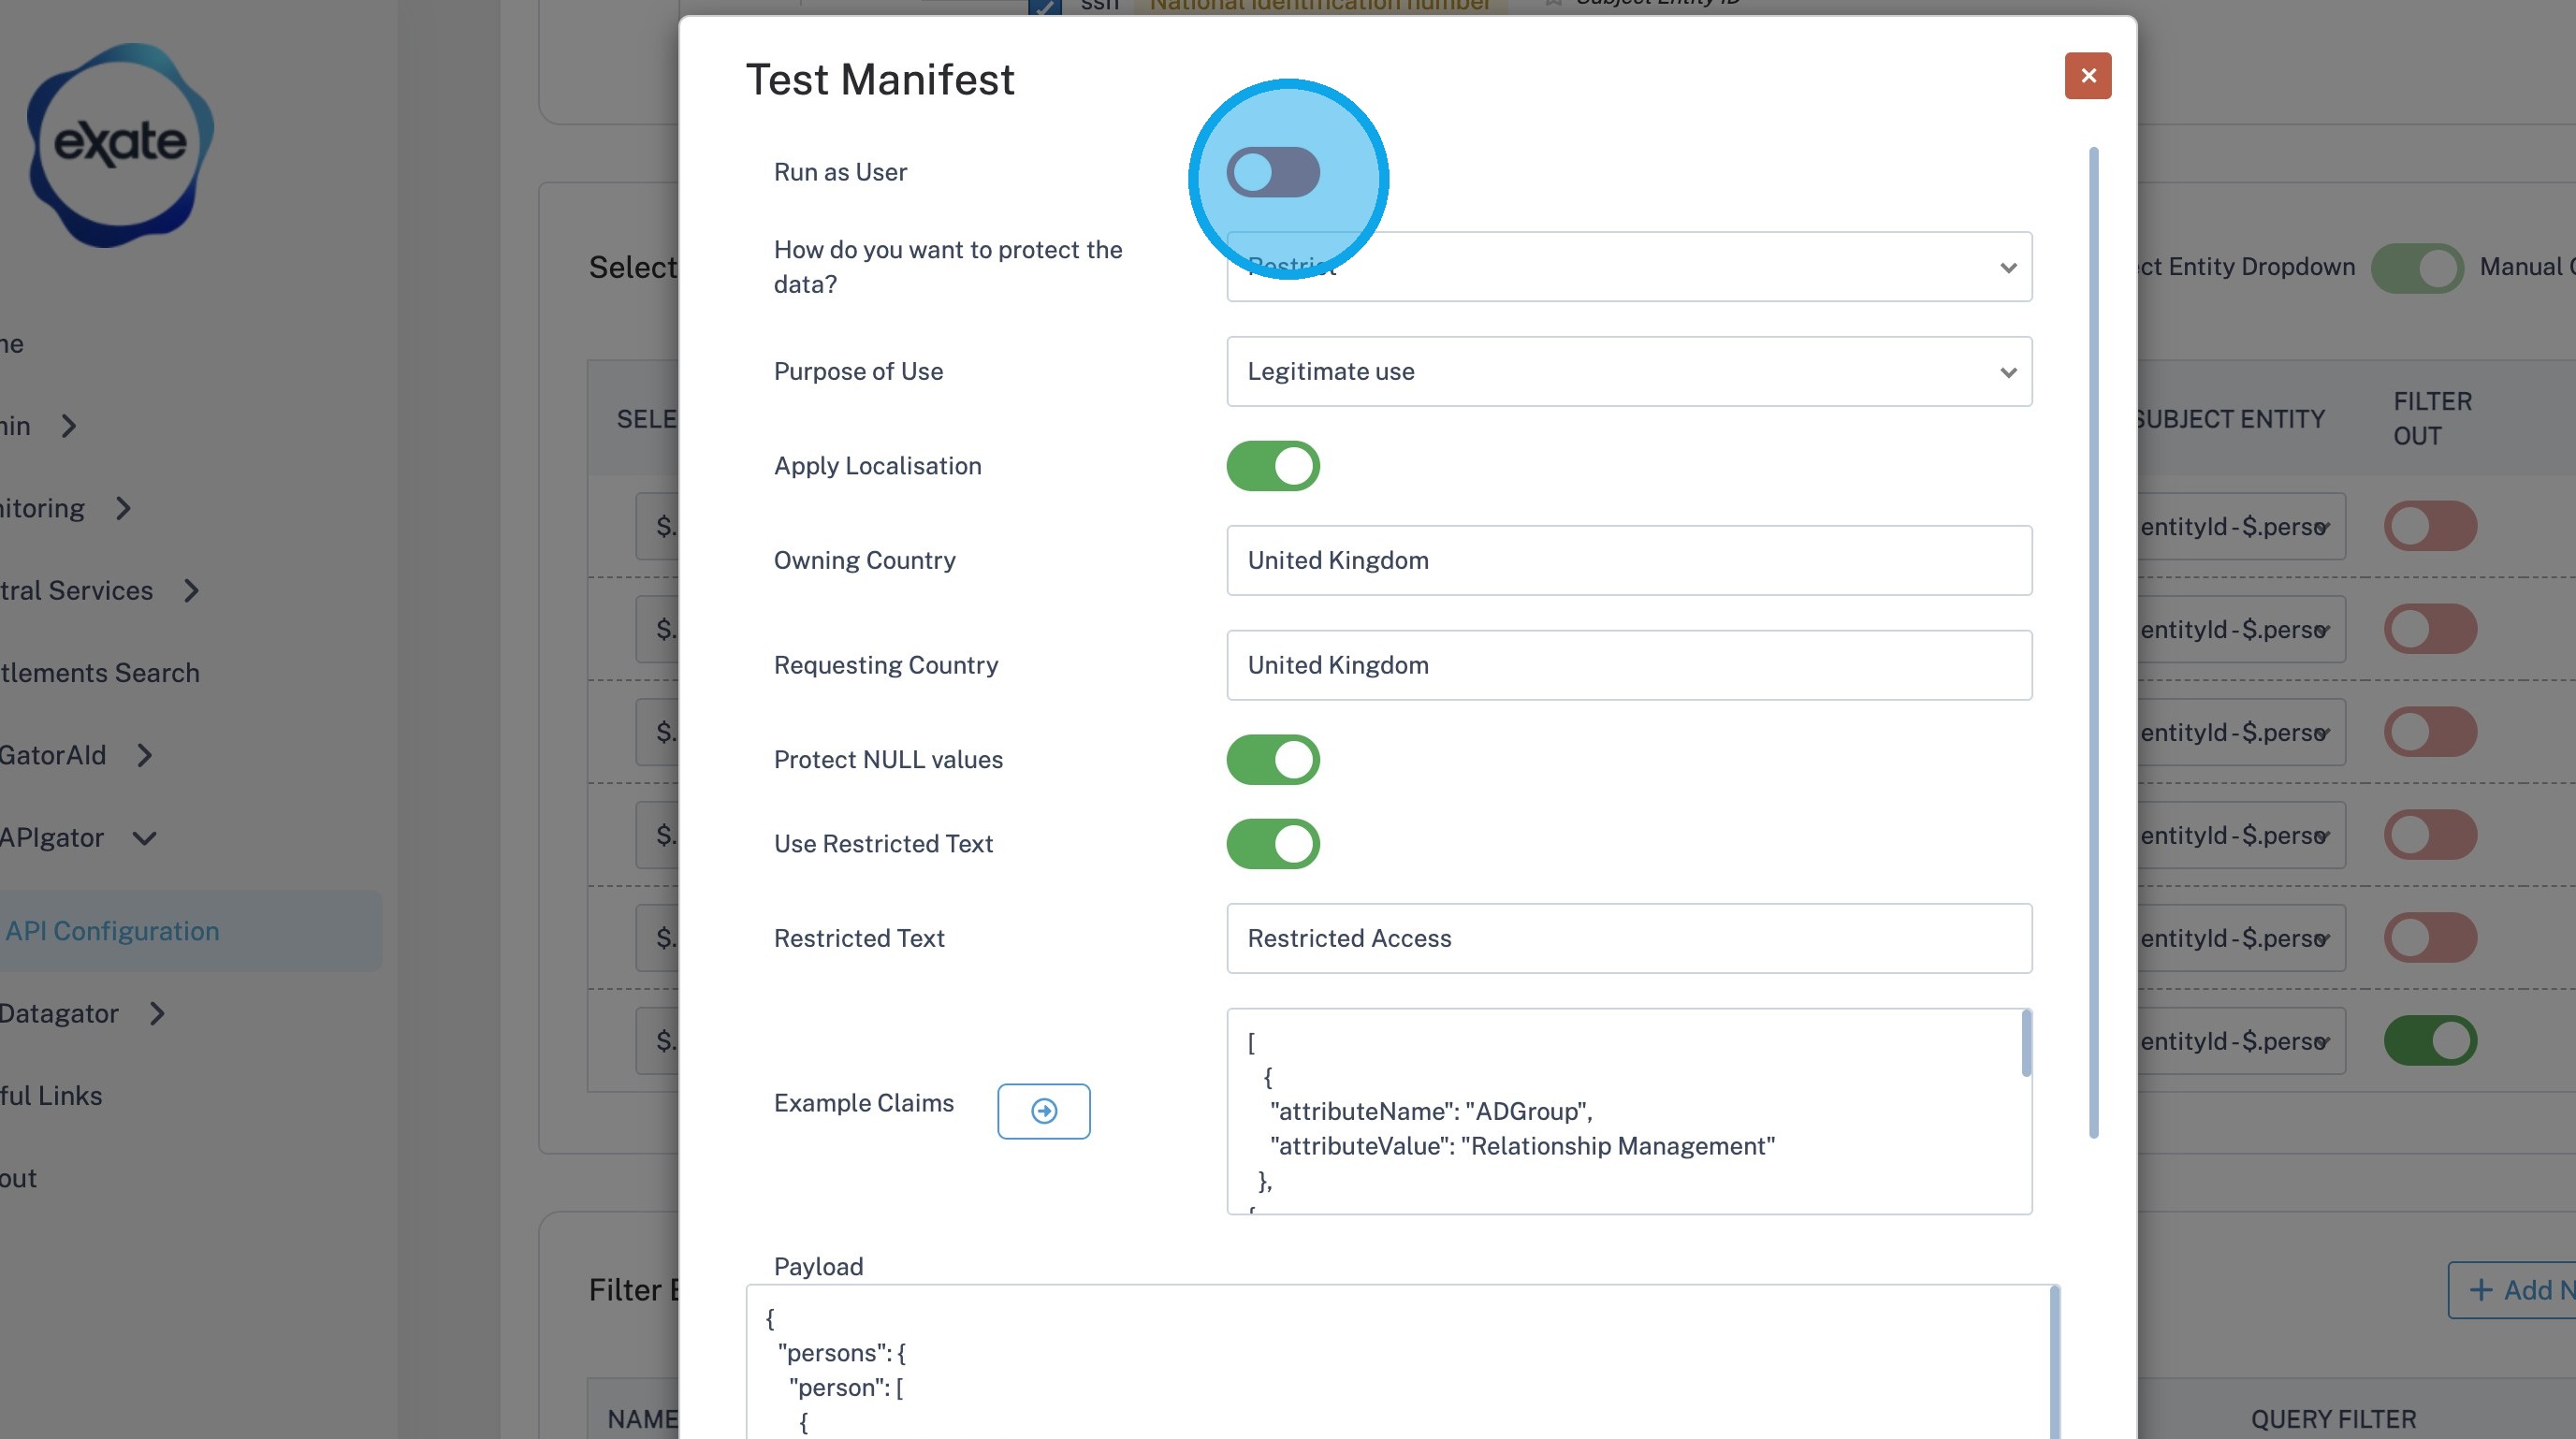
17. "Test Manifest" Options
Run as User
Enable this option to execute the test as a specific user. This allows you to validate how the manifest behaves based on an individual user's permissions and access rights.
How do you want to protect the data?
Select the protection method to apply during the test.
Purpose of Use
Specify the purpose for accessing the data. This value is evaluated against your protection Policies to determine whether access should be granted or restricted.
Apply Localisation
Enable this option to apply data localisation Policies during the test. When enabled, the owning and requesting countries are evaluated to ensure data is handled according to localisation requirements.
Owning Country
Select the country where the data is owned or originates. This value is used when evaluating localisation Policies.
Requesting Country
Select the country from which the data is being requested. This allows you to test how localisation Policies affect access from different regions.
Protect NULL Values
Enable this option to apply protection to attributes that contain NULL values. When disabled, NULL values are returned without protection.
Use Restricted Text
Enable this option to replace restricted values with custom text.
Restricted Text
Enter the text that will be displayed whenever a value is restricted. For example, "Restricted Access".
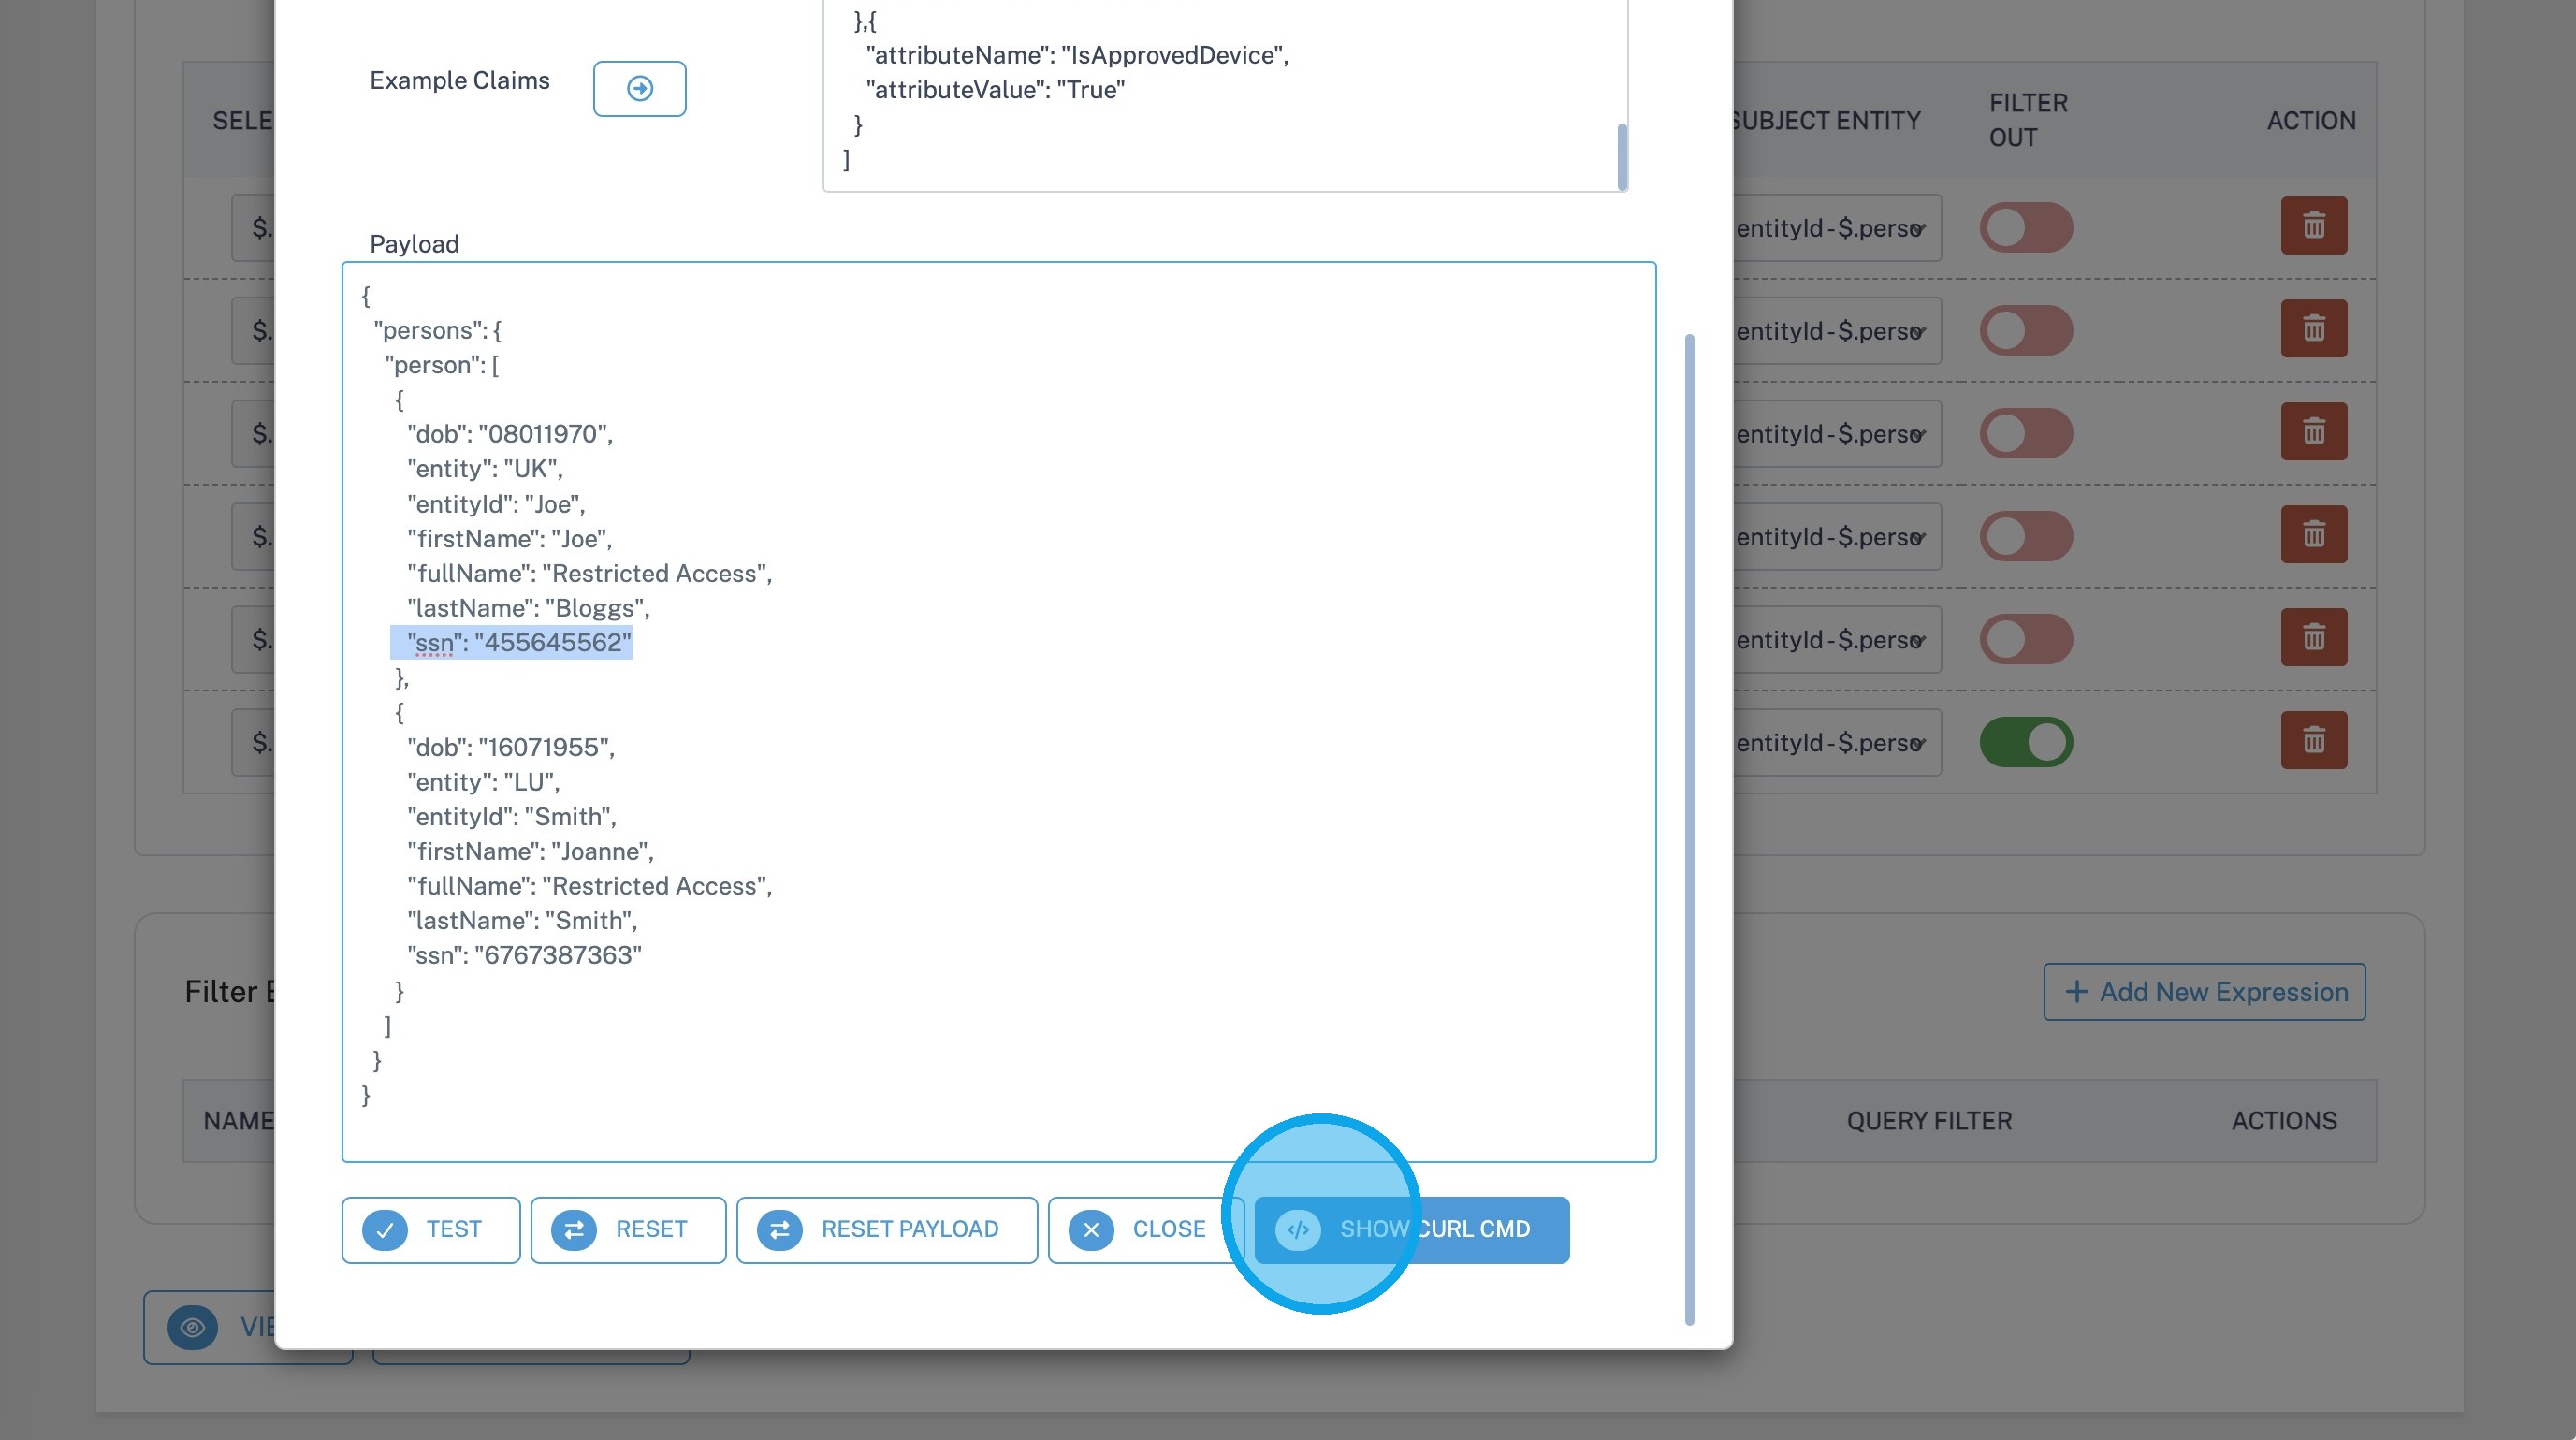
Example Claims
Add sample user claims or attributes to simulate different users or roles during testing. These claims are evaluated against the manifest's access Policies.
For more information on Claims, see Claim Packs.
Payload
Displays the sample JSON or XML payload that will be used during the test. You can review or modify the payload to validate different scenarios before executing the manifest.
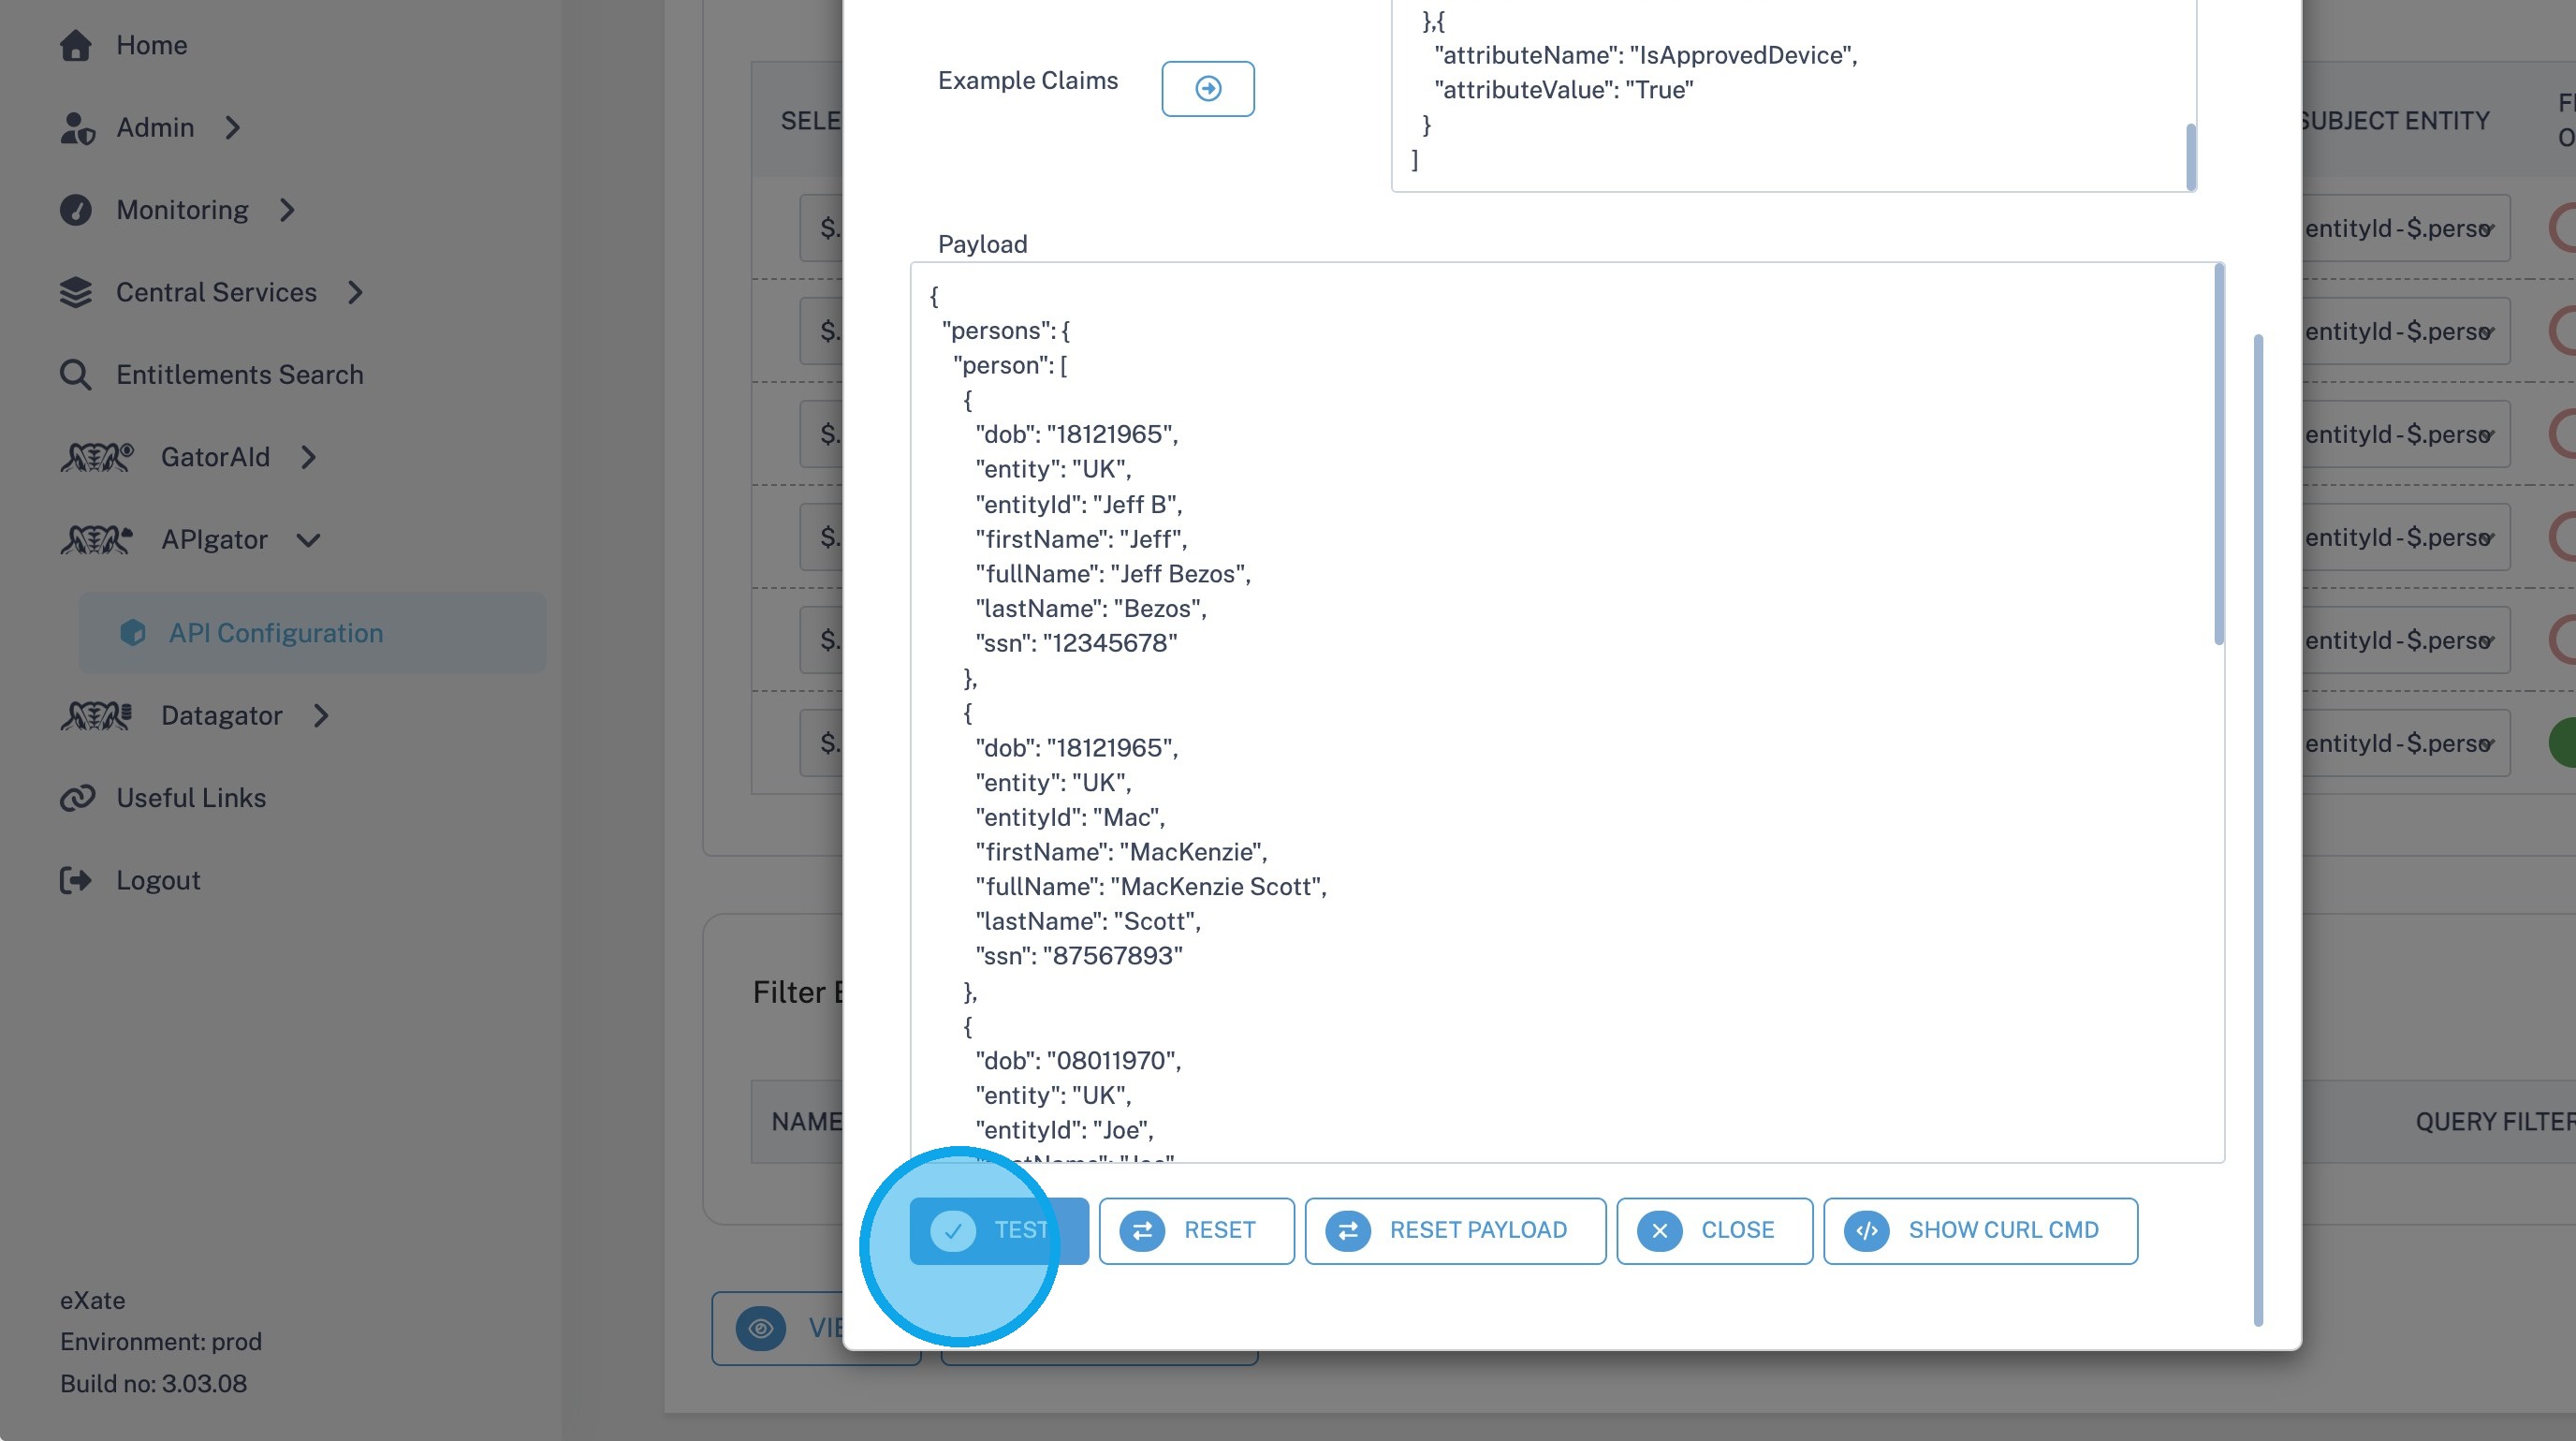
Example Manifest Testing
Tip: The following examples demonstrate three common testing scenarios.
Scenario One: Segregation of Duties
18. In this example, the manifest is executed using the default test configuration.
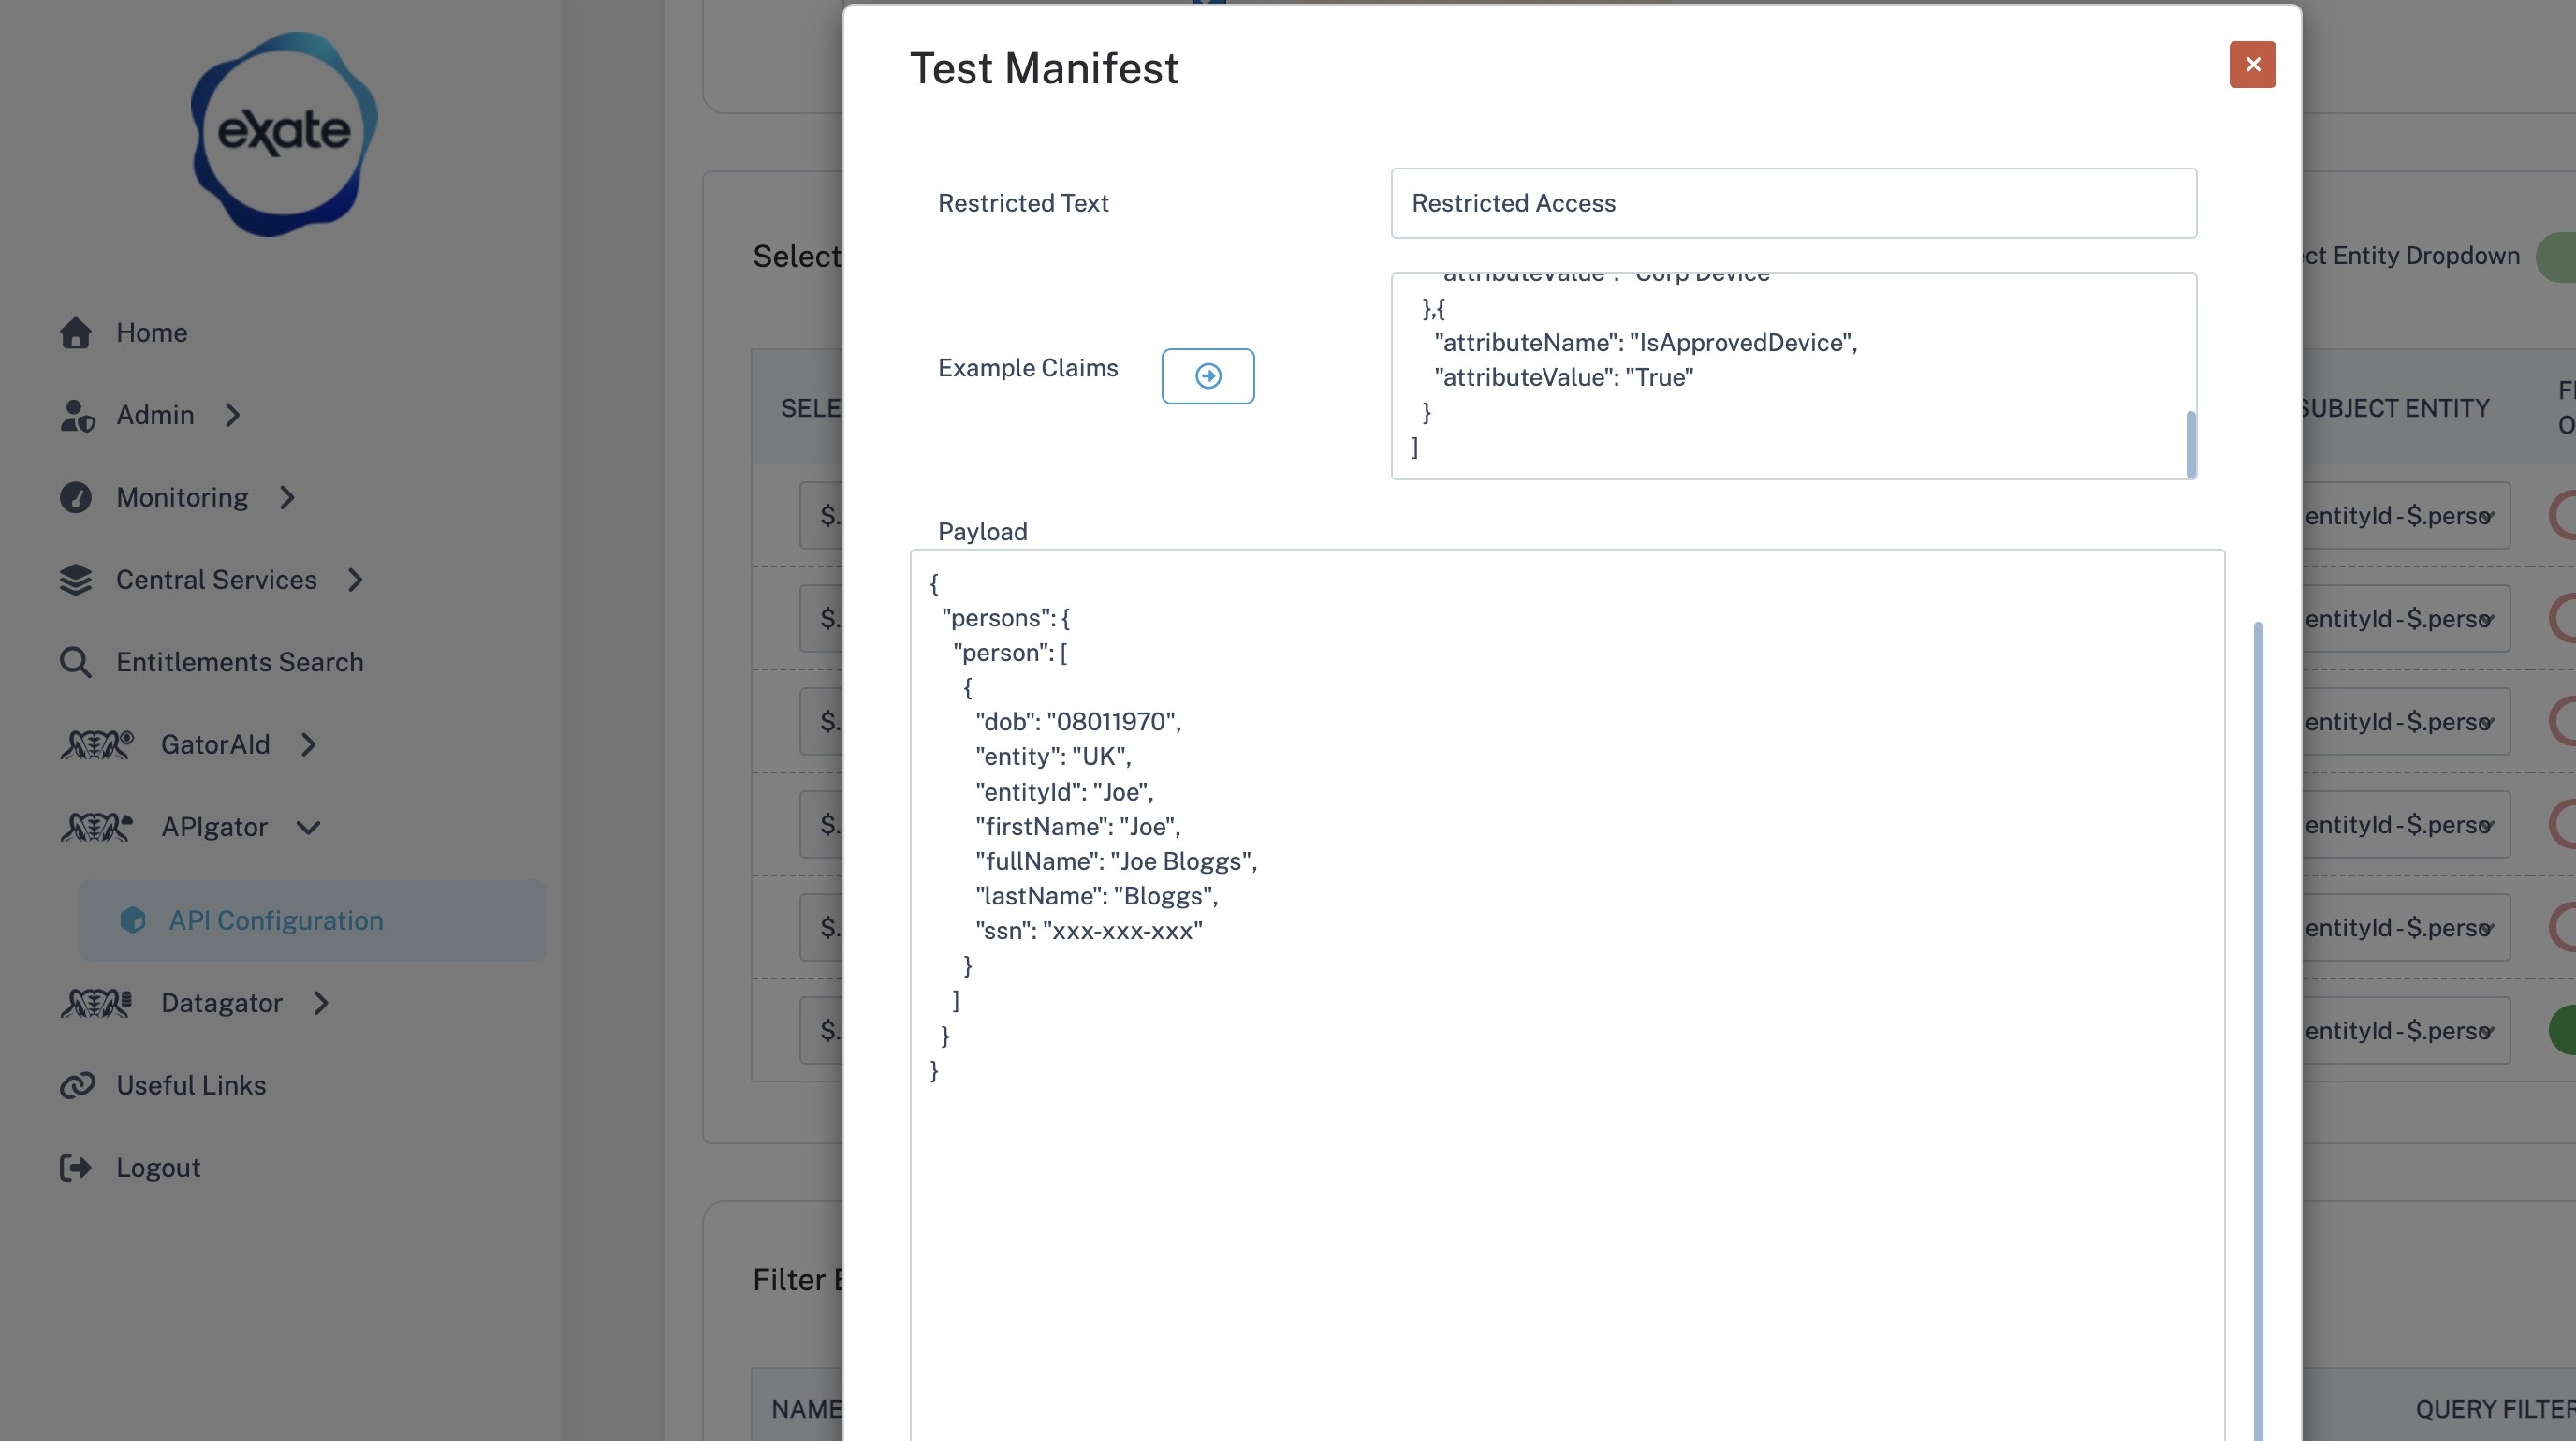
19. The results demonstrate that the configured access Policies are correctly enforcing segregation of duties. Only one client from the sample payload is returned, as the user is authorised to view only that record.
The Date of Birth (DOB) and National Identification Number (SSN) attributes are also restricted, as defined by the manifest's protection Policies.
This test confirms that users only have access to the records and attributes permitted by their assigned permissions.
Scenario 2: Regional Policy Variants
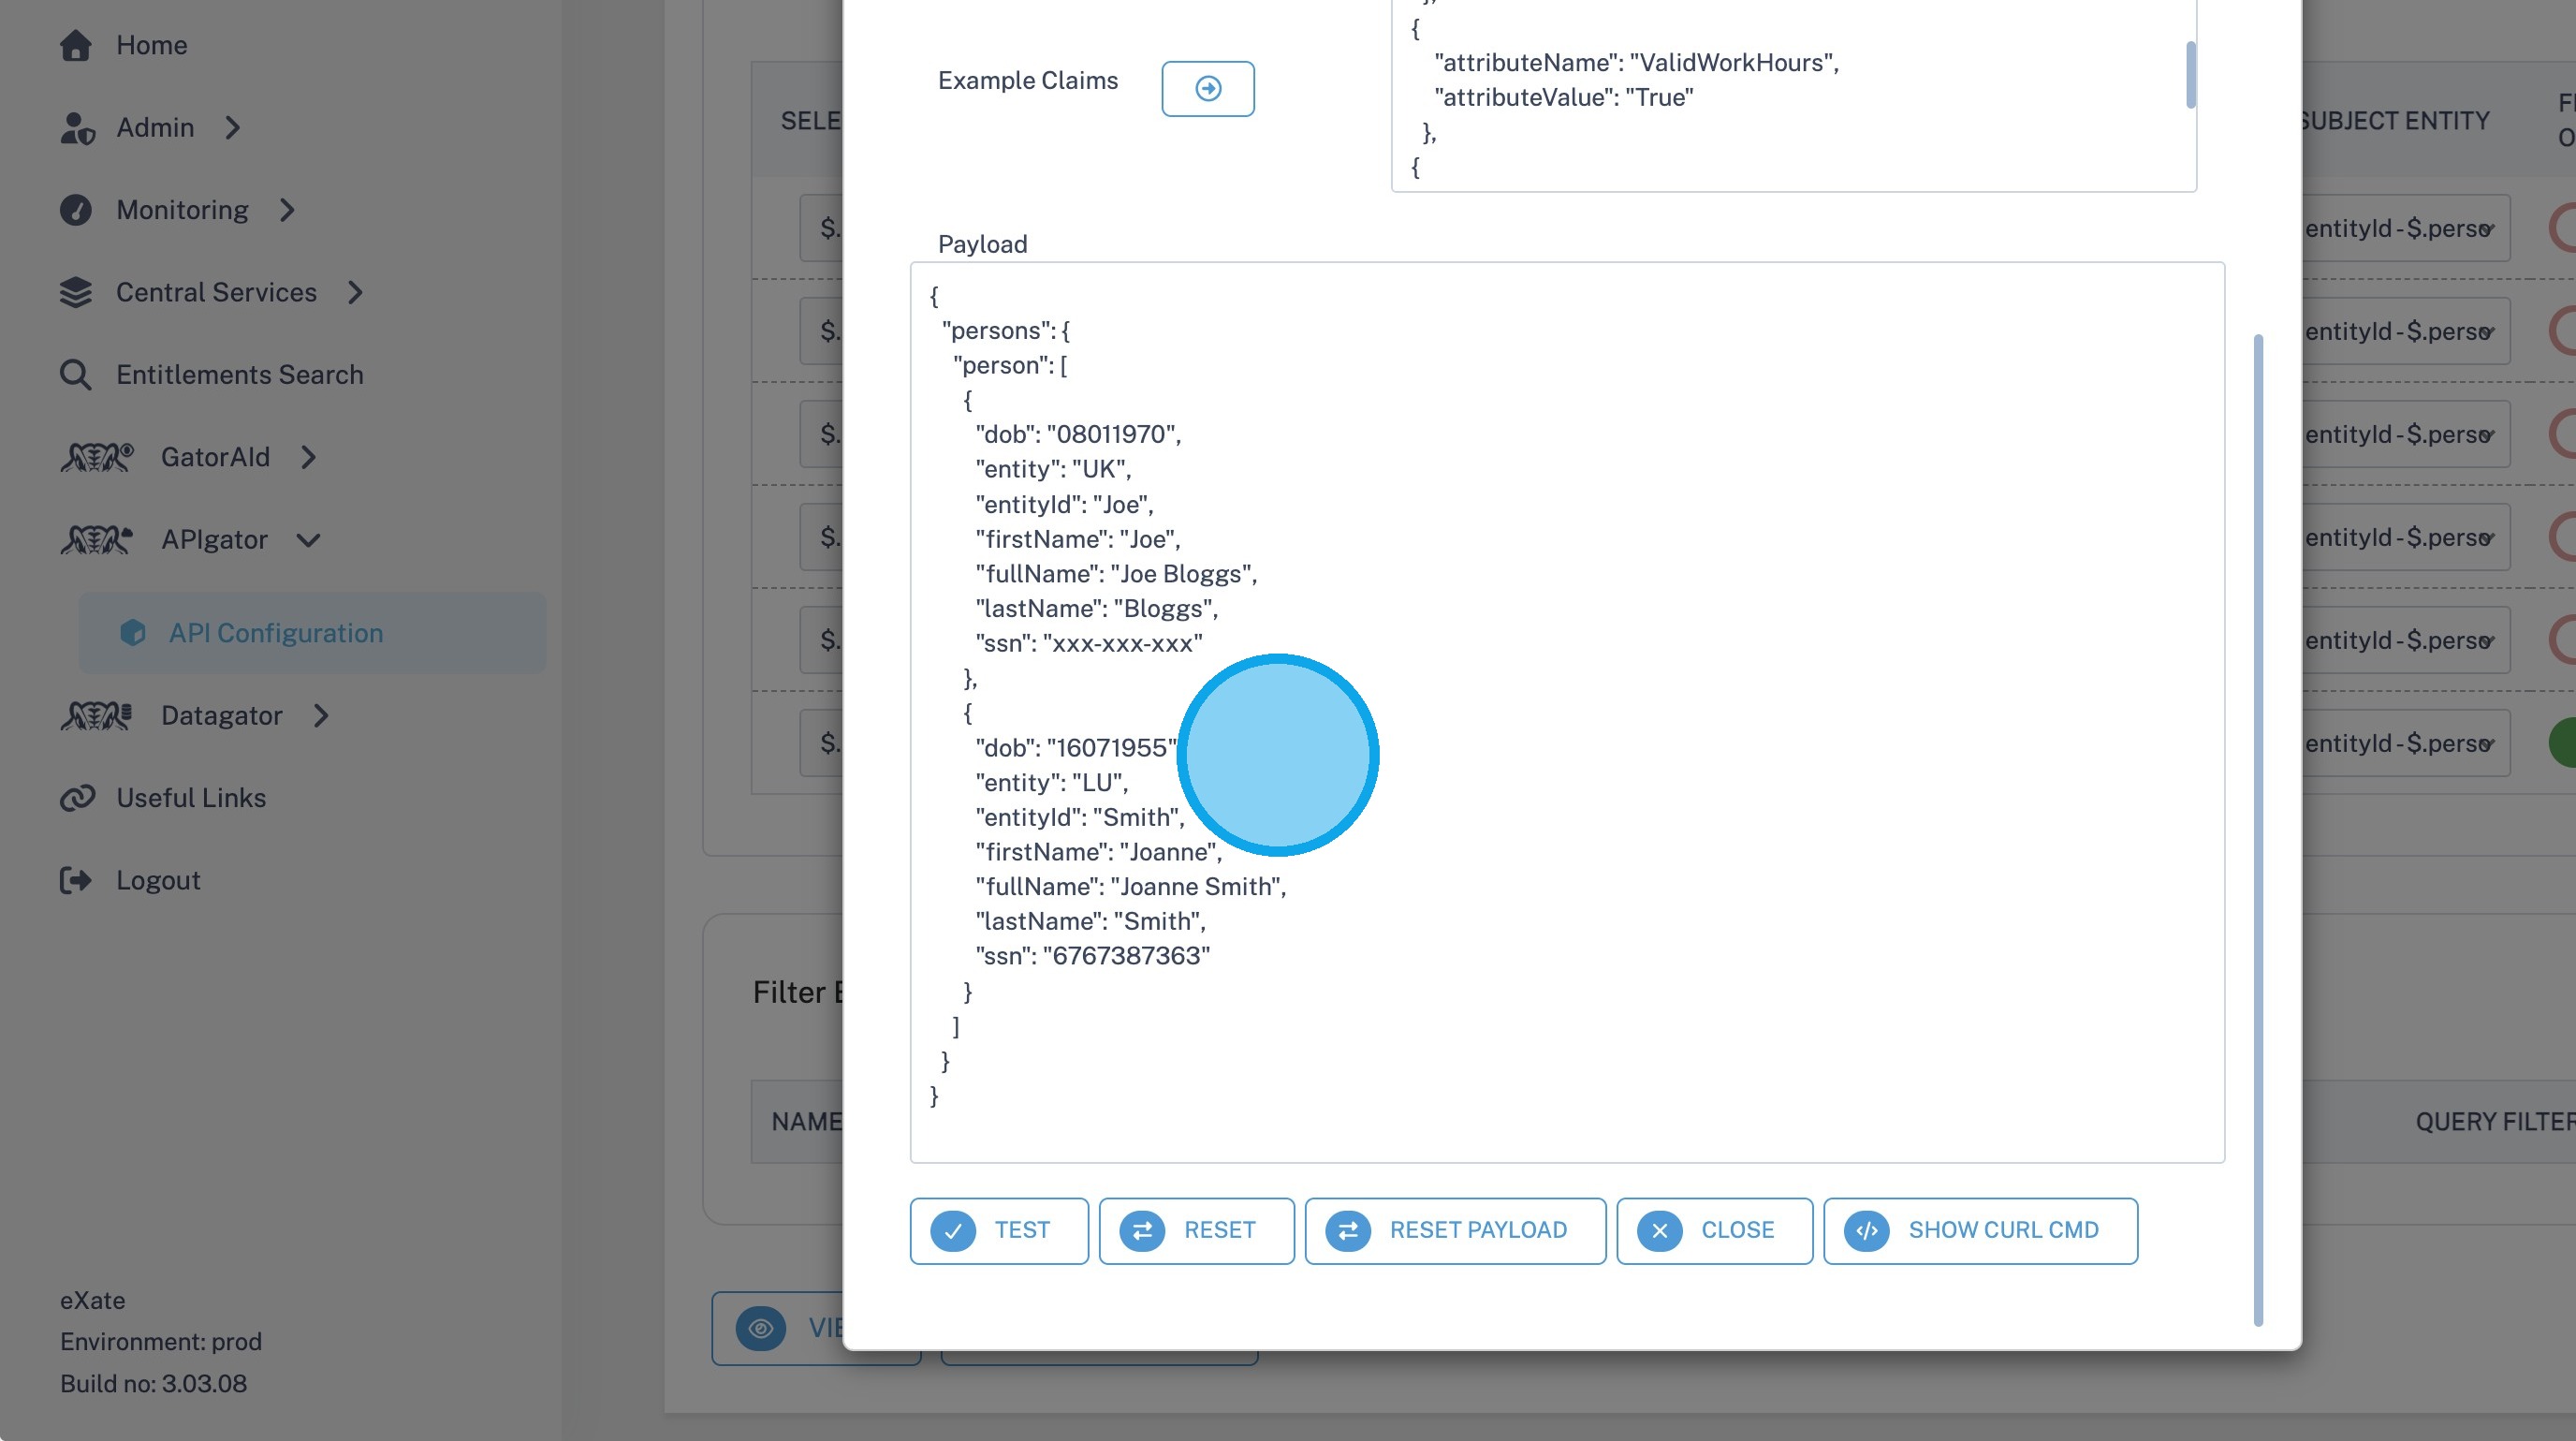
20. In this example, the "Requesting Country" is changed from United Kingdom to Luxembourg.
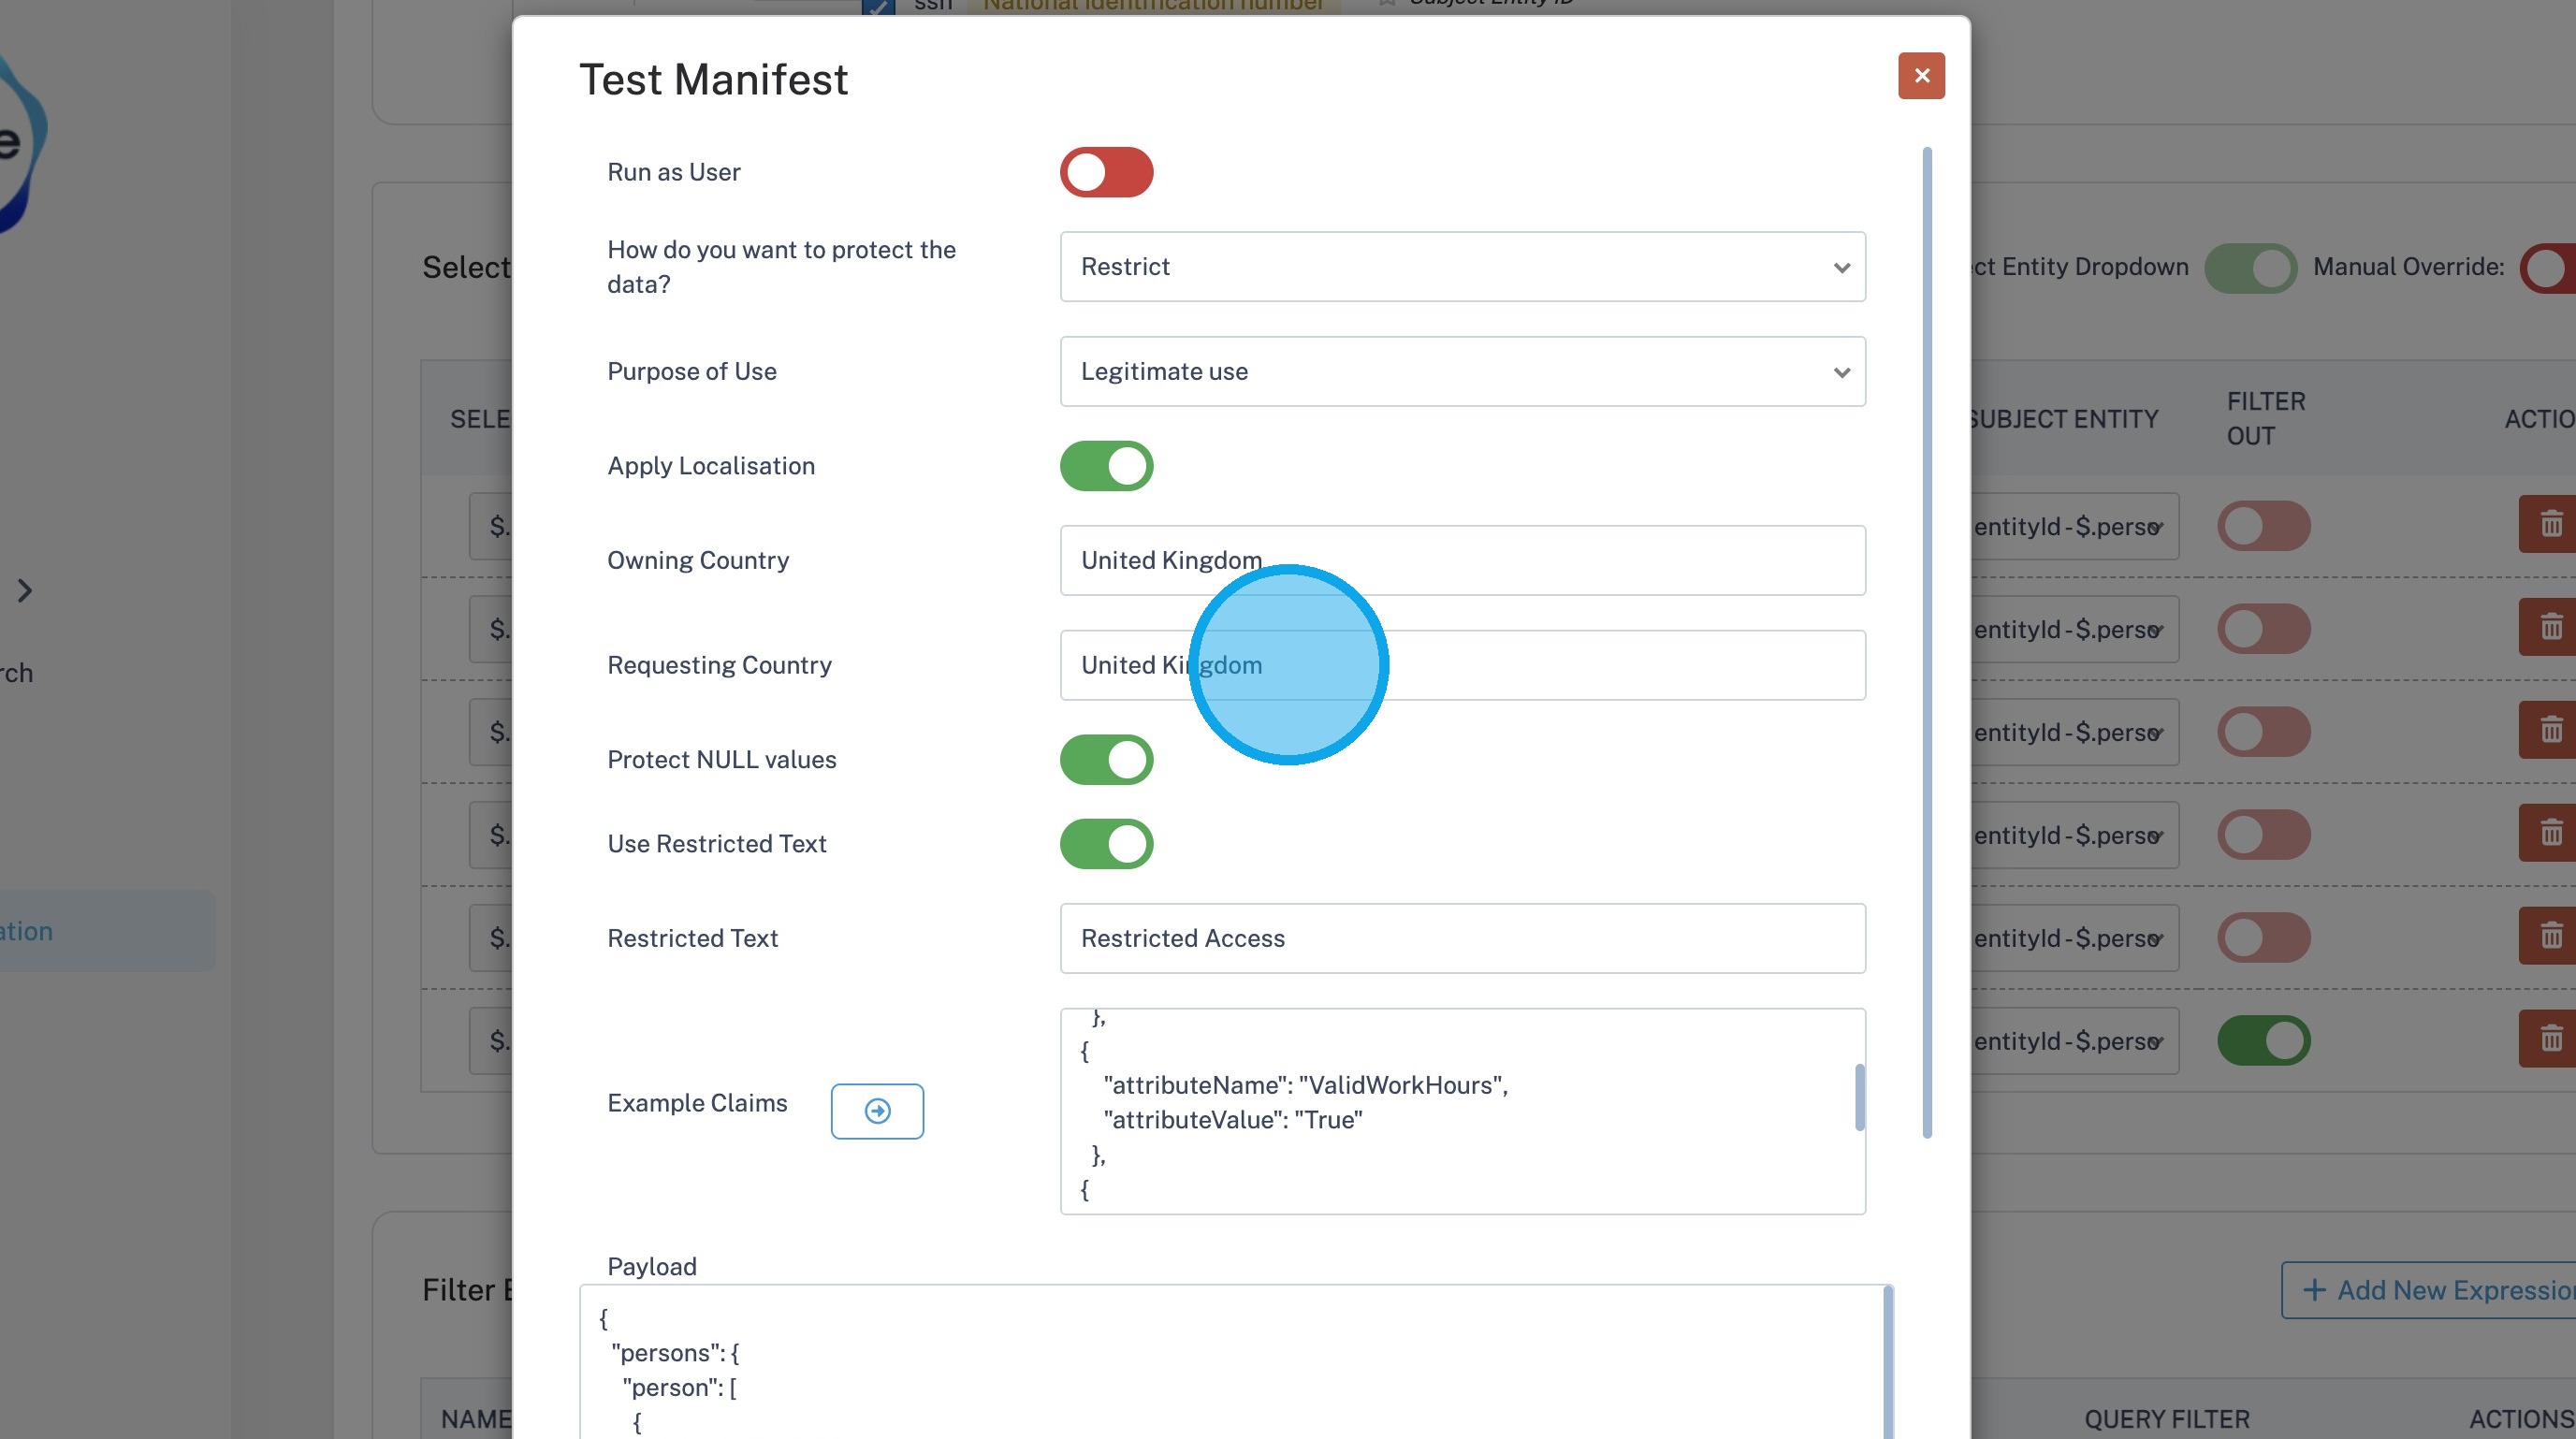
21. After running the test, two client records are returned: one for the United Kingdom and one for Luxembourg. This demonstrates that changing the requesting country affects which records the user is authorised to access.
The protection applied to sensitive attributes also changes based on the regional Policies. The SSN remains restricted for the United Kingdom client, while the Luxembourg client's SSN is visible because a different Policy applies to data originating from Luxembourg.
This test demonstrates how eXate can enforce different data protection Policies based on jurisdiction and regional compliance requirements.
Scenario 3: Context of Data Usage
22. In this example, the "Purpose of Use" is changed to Credit Decisioning.
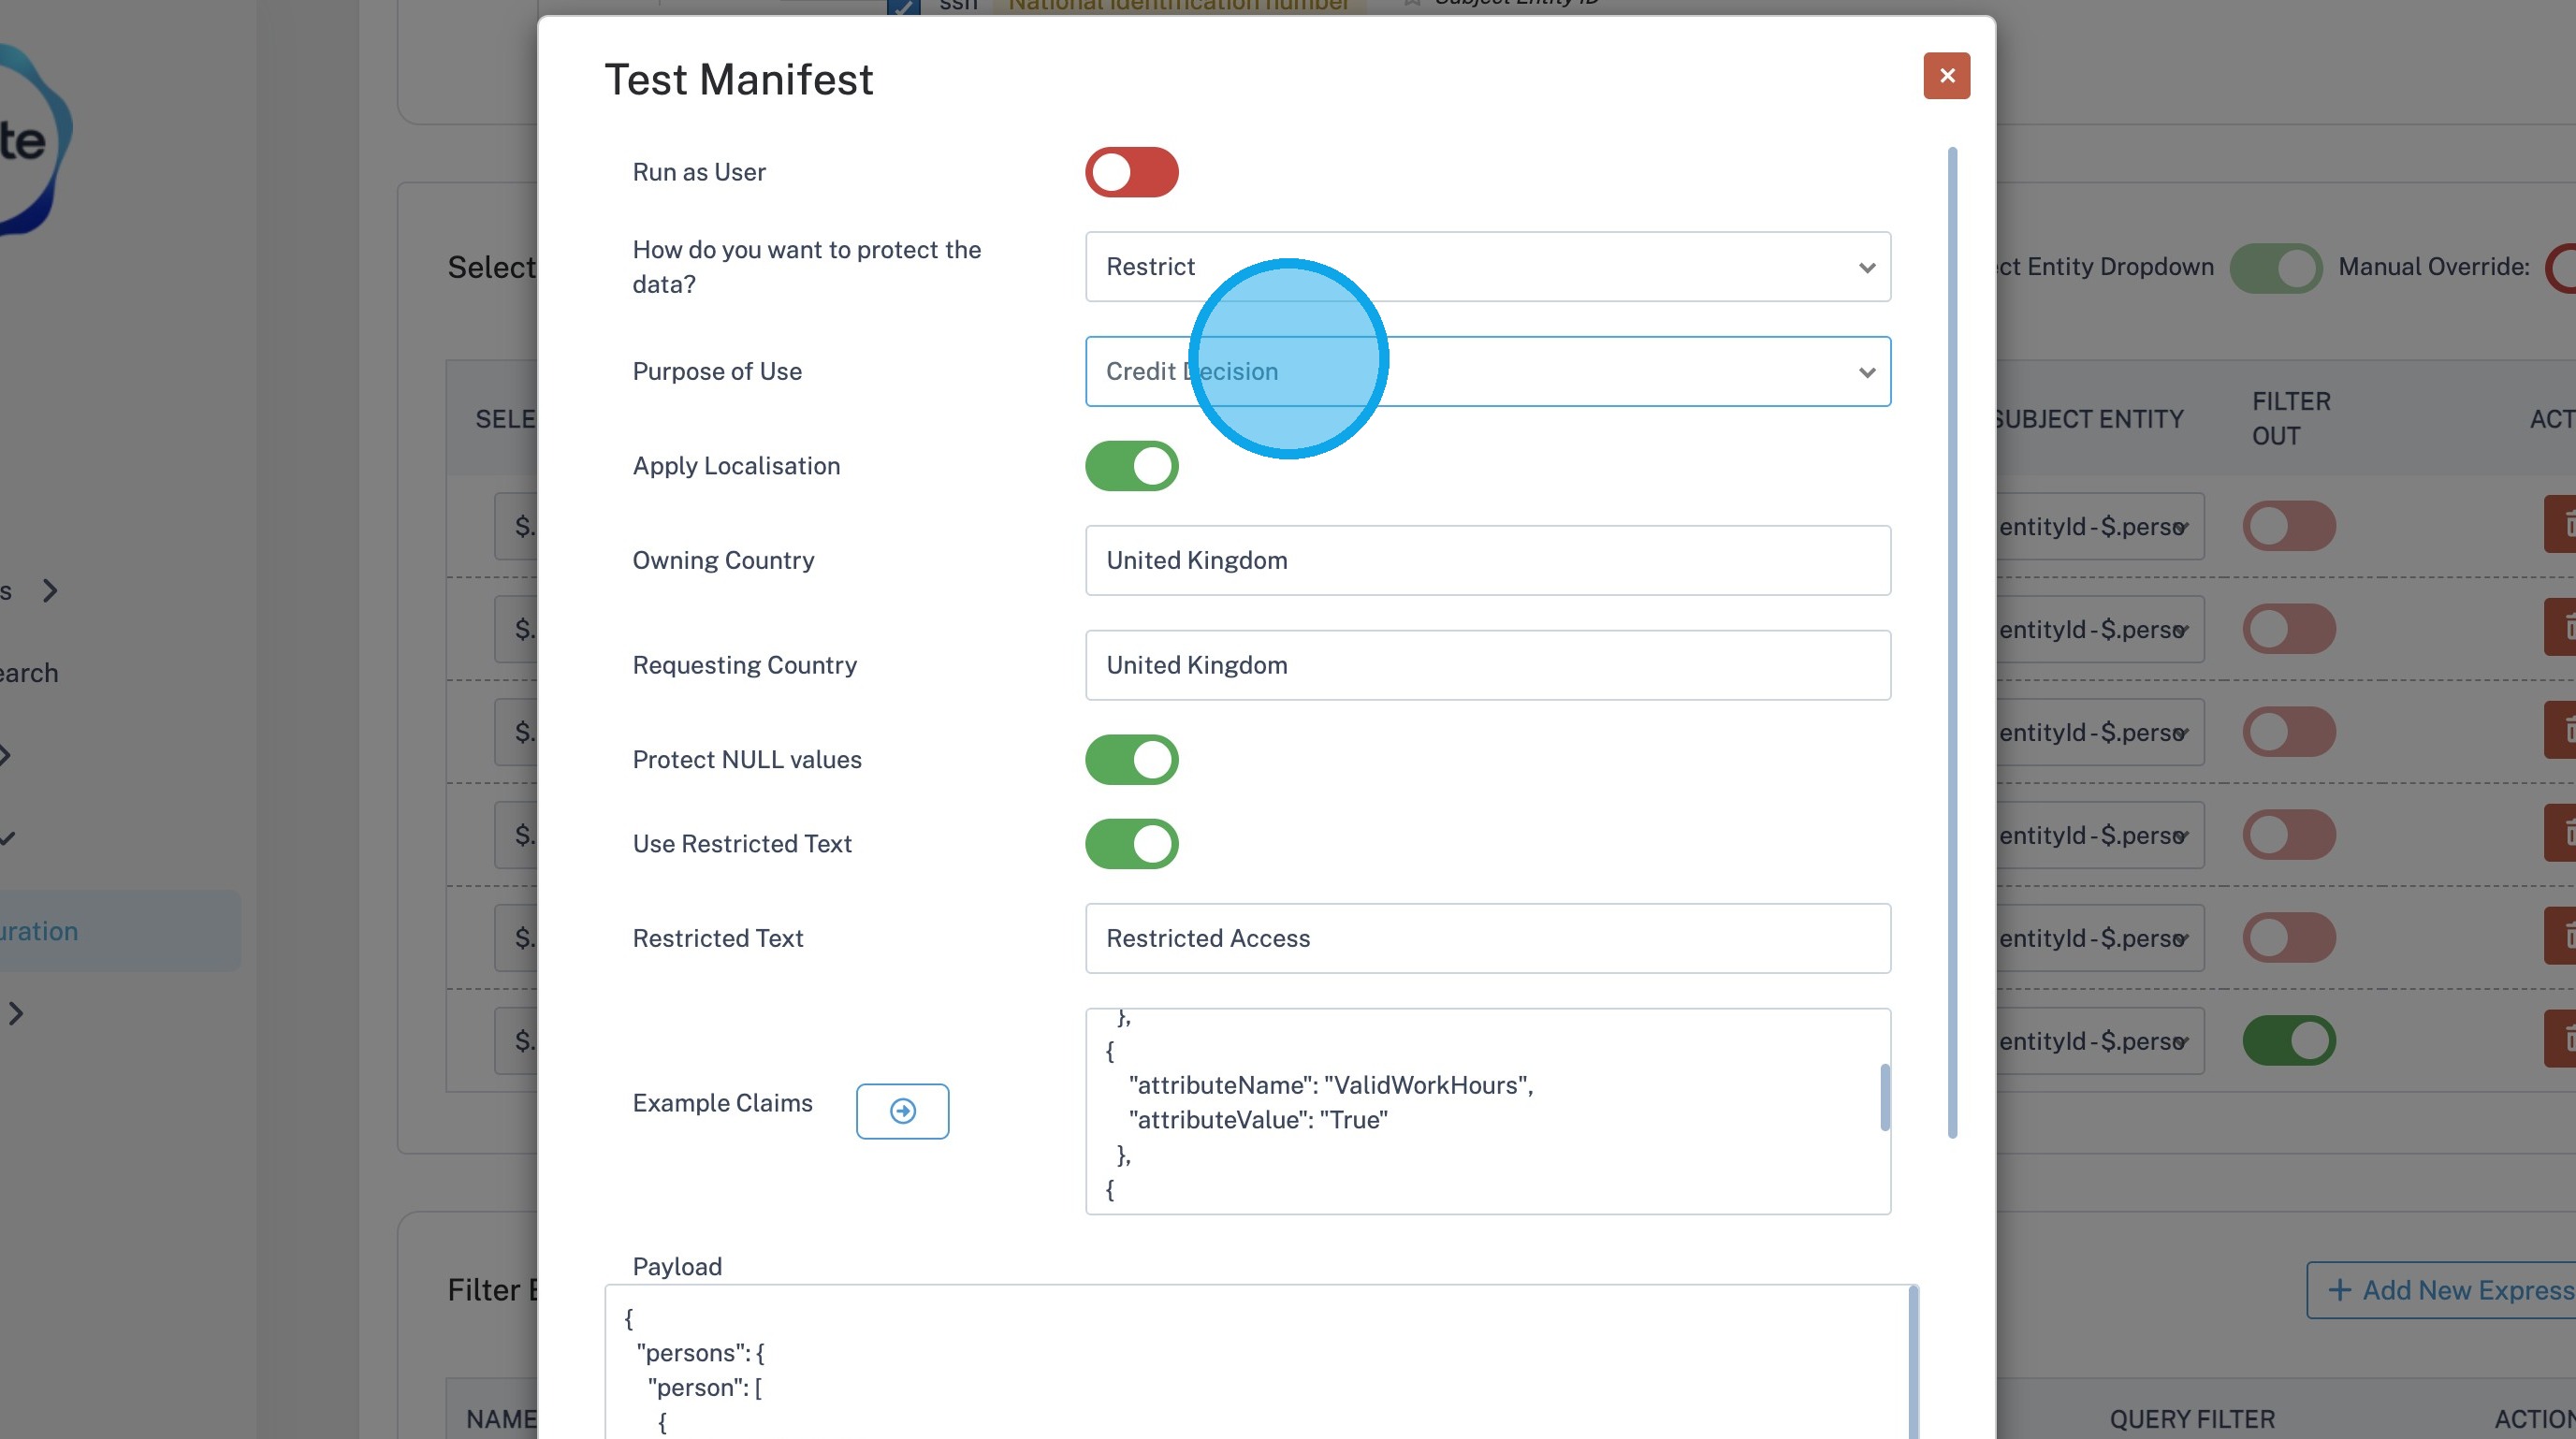
23. When the manifest is tested using this purpose, both the United Kingdom and Luxembourg client records are returned.
Unlike the previous scenarios, the SSN values are no longer restricted because the selected Purpose of Use allows access to this information under the configured Policies.
This demonstrates how eXate applies context-aware access control, allowing the same data to be protected differently depending on the reason it is being accessed.
cURL Command
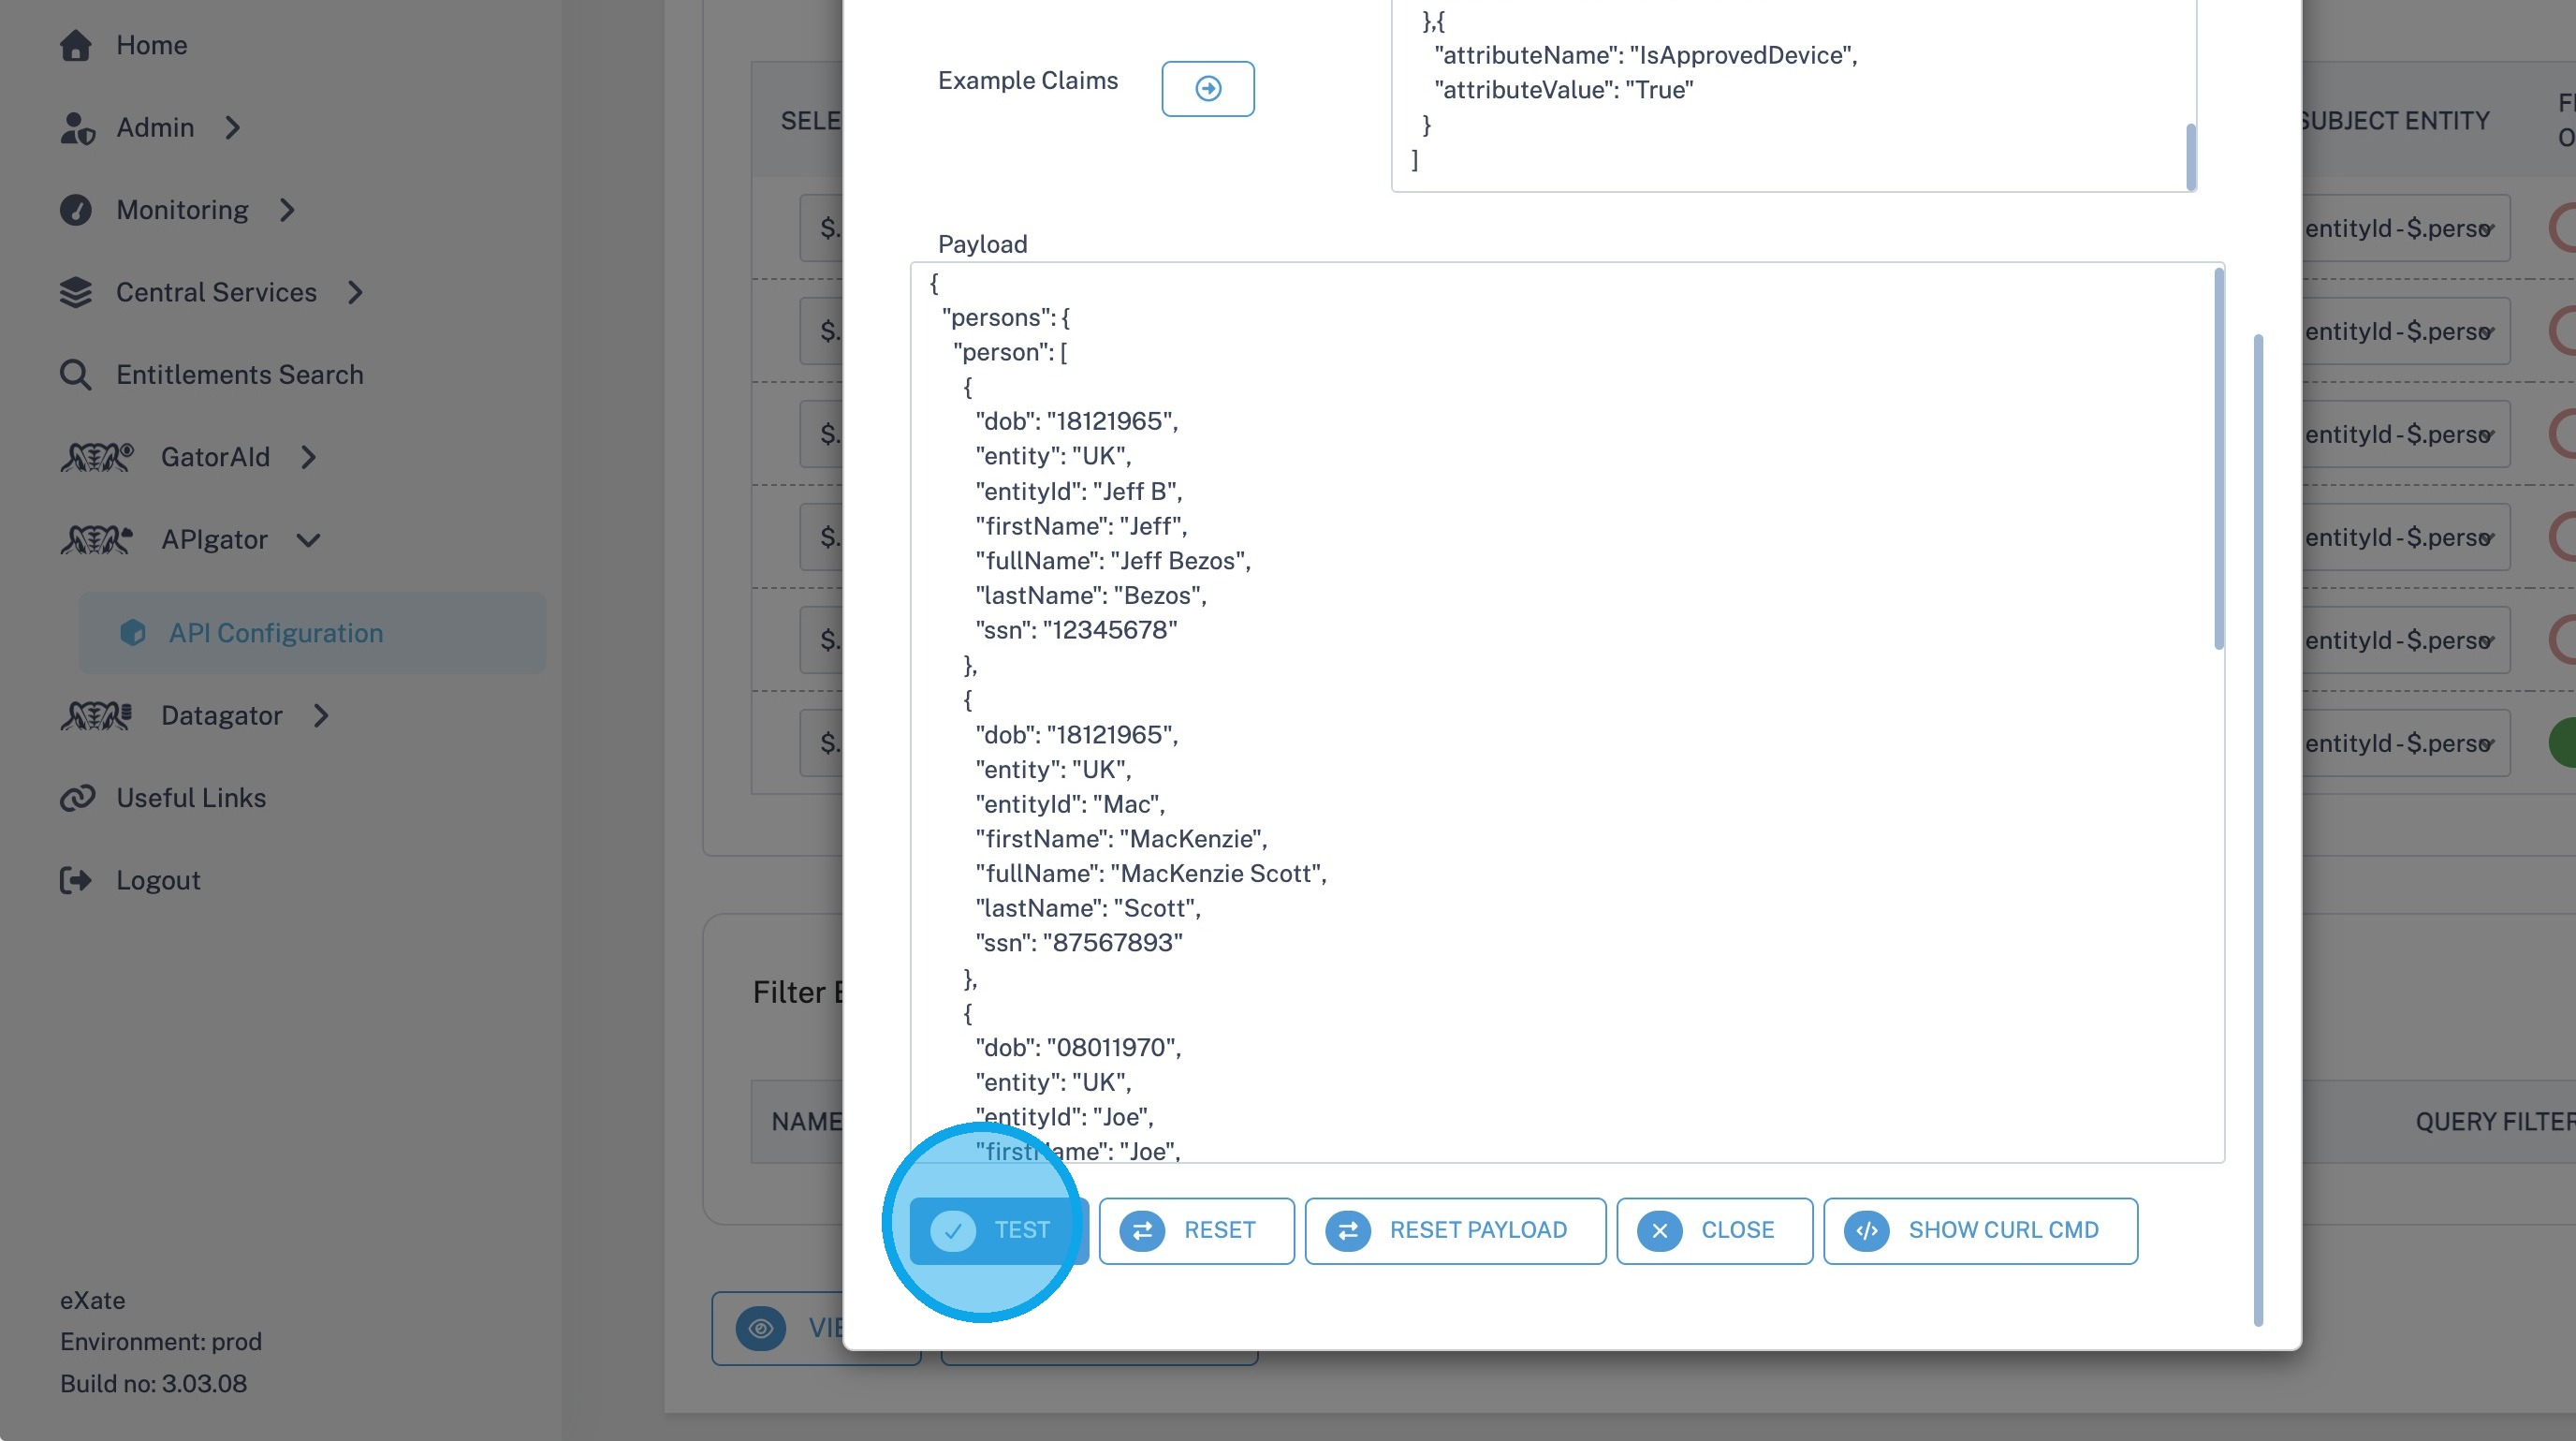
Tip: After each test has been executed, you can copy the generated cURL command.
The cURL command contains the complete request used during the test, including the selected configuration, payload, and policy parameters. This allows you to:
- Reproduce the test outside the platform.
- Validate the manifest using external tools such as Postman or a command-line interface.
- Share the request with other users or development teams for troubleshooting or integration testing.
- Use the command as a starting point for API integration.
24. To view the command, click "Show cURLCMD".